Advertisement
Table of Contents
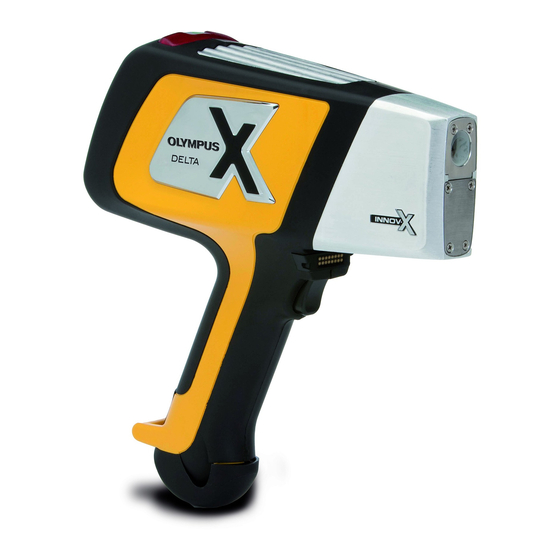
DELTA Family
Handheld XRF Analyzer
Quick Start Guide
This instruction manual contains essential information on how to use this Olympus product safely and effectively. Before using
this product, thoroughly review this instruction manual. Use the product as instructed.
Keep this instruction manual in a safe, accessible location.
Models:
DELTA 50
DELTA Premium
DELTA Professional
DELTA Classic Plus
DELTA Element
International edition
103076-01EN [U8998318] — Rev. C
June 2014
Advertisement
Table of Contents


Need help?
Do you have a question about the DELTA 50 and is the answer not in the manual?
Questions and answers