Table of Contents
Advertisement
Advertisement
Table of Contents

Related Manuals for Martin M2GO HD


Summary of Contents for Martin M2GO HD
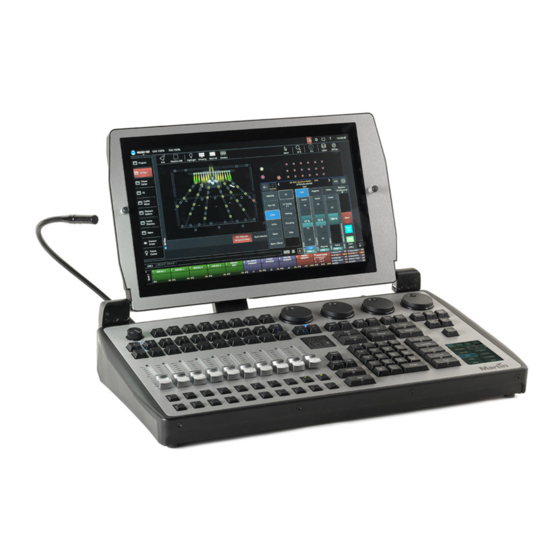
- Page 1 SERVICE MANUAL M2GO HD Revision A, 05-16-2017...
-
Page 2: Table Of Contents
Spare parts ......................................5 Product information ....................................5 Wiring diagrams ..............................6 Repair and maintenance ............................7 Opening the M2GO HD controller ......................................7 Removing the screen cover ....................................... 11 Updating software and OS ......................................... 12 Maintenance ................................12 Cleaning the product ....................................12... -
Page 3: General Information
It presents risks of lethal or severe injury due to electric shock. Read this service manual Figure 1: Safety instructions before powering on or installing the M2GO HD controller, follow the safety precautions listed below and observe all warnings in this manual and printed on the product. -
Page 4: Tools
Refer any service operation not described in this manual to a qualified technician. • Do not modify the product or install other than genuine Martin™ by Harman parts. • Transport the product only in suitable packaging or a custom fitted road case. Transportation damage is not covered under warranty. -
Page 5: Spare Parts
Before you start servicing the product, do the following: • Disconnect all cables and the power input cord from the controller. • Place the M2GO HD controller on a soft, flat surface. • Use an ESD secure workstation and an ESD wristband. -
Page 6: Wiring Diagrams
Service manual Wiring diagrams Figure 6: Wiring diagram, M2GO HD M1 HD - Revision A, 05-16-2017 6 of 13 6 of 13... -
Page 7: Repair And Maintenance
Service manual Repair and maintenance Opening the M2GO HD controller Fold down the screen assembly (1) completely so it rests on the front panel. Figure 7: Folding down the screen assembly Remove the four screws (2) on the front of the unit using a Torx 10 key. - Page 8 Service manual Figure 10: Removing screws, back side Remove the two screws (4) on each side of the middle hinge using a Torx 20 key. Figure 11: Removing screws, middle hinge Loosen the two screws (5) on the bottom of the left and right screen hinge using a Torx 20 key.
- Page 9 Service manual Figure 13: Loosening screws, screen hinge Loosen the two screws (6) on the back of the unit using a Torx 10 key. Figure 14: Loosening screws, back of unit Figure 15: Loosening screws, back of unit M1 HD - Revision A, 05-16-2017 9 of 13...
- Page 10 Service manual Carefully tilt the screen assembly away from the front panel until you cannot open it any further. NOTE! The hinges will detach from the back panel but they are still connected with the two black screws on the bottom of the hinges. Figure 17: Tilting the screen assembly Figure 16: Tilting the screen assembly Use a protective foam or cloth over the touch...
-
Page 11: Removing The Screen Cover
Service manual Figure 19: Lifting up front panel Removing the screen cover Remove the nine screws using a Torx 10 key. Figure 20: Removing the Torx 10 screws Carefully lift up the plastic cover from the left side (the side with no encoder wheels) and rotate it towards you to the left bottom side. -
Page 12: Updating Software And Os
Updating software and OS Update the software and OS according to the separate installation procedures. You find the procedures on martin.com. You find the OS and M-Series software for your M1 HD controller on controllersupport.martin.com Figure 23: Removing the plastic cover... - Page 13 Martin™, Harman™ and all other trademarks in this document pertaining to services or products by Martin Professional™...
Need help?
Do you have a question about the M2GO HD and is the answer not in the manual?
Questions and answers