Table of Contents
Advertisement
Quick Links
Advertisement
Table of Contents

Subscribe to Our Youtube Channel
Related Manuals for Speco O6MDP2


Summary of Contents for Speco O6MDP2
- Page 1 Quick Start Guide 6MP Fisheye IP Camera O6MDP2 Version 1.0.1...
- Page 2 Thank you for purchasing this network camera! Please read this manual carefully before operating the unit and retain it for future reference. Should you require any technical assistance, please contact Speco Technologies Technical Support. Important Safeguards and Warnings . . . ....
- Page 3 Connect the equipment into an outlet on a circuit different from that to which the receiver is connected. Note: Before installation, check the package and make sure that all components are included. Contact your rep or Speco customer service department immediately if something is broken or missing in the package. Component list...
-
Page 4: Table Of Contents
Table of Contents 1 Physical Specifications ............................1 1.1 Components ..............................1 1.2 Dimensions ..............................2 1.3 Bidirectional Audio ............................3 1.3.1 Device-end to PC-end ........................3 1.3.2 PC-end to Device-end ........................3 1.4 Alarm Setup ..............................3 2 Installation ............................... 5 3 IP Scanner ................................. -
Page 5: Physical Specifications
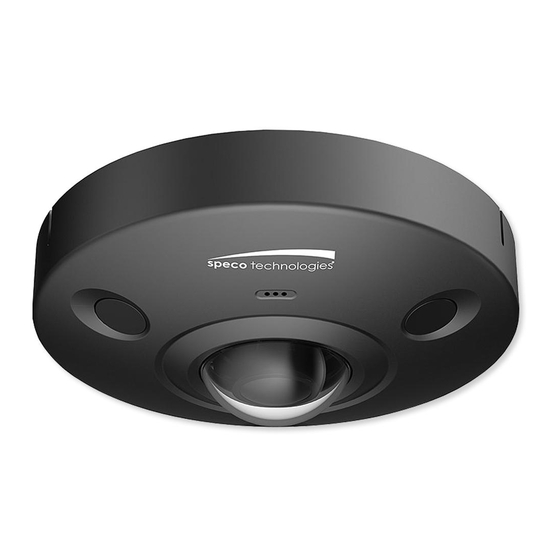
1 Physical Specifications 1.1 Components Note The following figure is for reference only, which is used to indicate the components and the functions. Refer to the following figure for component structure. Figure 1-1 Please refer to the following tables for more information about external cable functions and I/O port functions. -
Page 6: Dimensions
Port Connector Function description Alarm inputs and outputs. Refer to Table 1-2 for more details. Table 1-1 Port name Cable sequence Cable port name Function description ALARM_OUT1 Alarm output port 1, outputs alarm signal to alarm device. Note Use ALARM_OUT1 only with ALM_OUT_GND1 ALM_OUT_GND1 when connecting to an alarm device. -
Page 7: Bidirectional Audio
Front Side Front Side Bottom Side Bottom Side Figure 1-3 1.3 Bidirectional Audio 1.3.1 Device-end to PC-end Device Connection First, connect a microphone to the audio input port of the device. Then connect a speaker to the audio First, connect a microphone to the audio input port of the device. Then connect a speaker to the audio First, connect a microphone to the audio input port of the device. - Page 8 To set up the Alarm input and output, do the following: Step 1 Connect alarm input device to the alarm input port of I/O cable. Step 2 Connect alarm output device to the ALARM_OUT and ALM_OUT_GND of I/O cable, the alarm output is the relay switch output, and the alarm output port can only be connected to NO alarm device.
-
Page 9: Installation
2 Installation Installation Position Map Ceiling Mount Effect Wall Mount Effect Figure 2-1... - Page 10 Figure 2-2 Note Power down the device before installing a Micro SD card. The wall needs to sustain at least 3X weight of the bracket and camera. Step 1 Install Micro SD card (Optional). Note The cover is needed for water resistance. Make sure to install the card and put the cover back on as quickly as possible to minimize moisture intrusion.
- Page 11 Step 2 Take out the installation position map (shown in Error! Reference source not found. ) from the accessories bag, adjust the installation angle of the installation position map according to the desired monitoring angle, and then paste it on the installation surface.
-
Page 12: Ip Scanner
3 IP Scanner IP Scanner can search for the device on the local network. IP Scanner can search for the device on the local network. Please note that only devices that are on the same subnet can be discovered. Please note that only devices that are on the same subnet can be discovered. The device is set to DHCP mode by default. - Page 13 Input your IP address here Figure 4- 1 IP address The login interface is shown as below. See The login interface is shown as below. See Figure 4- 2. Please input your user name and password. Please input your user name and password. Default user name is admin and password is and password is 1234.
Need help?
Do you have a question about the O6MDP2 and is the answer not in the manual?
Questions and answers