Table of Contents

Related Manuals for Fasttel WIZARD ELITE IP


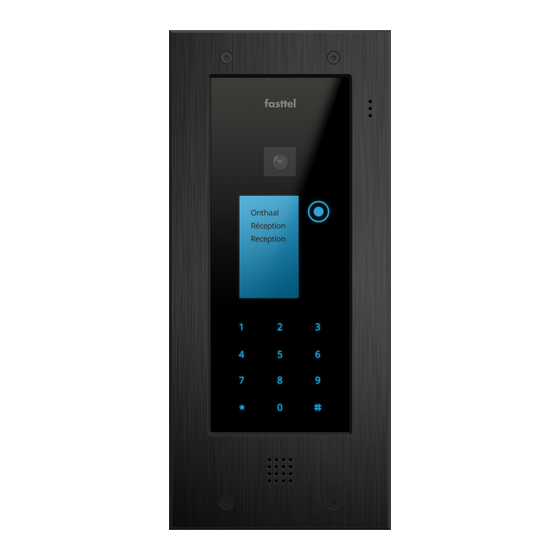
Summary of Contents for Fasttel WIZARD ELITE IP
- Page 1 Instruction Manual WIZARD ELITE IP Fasttel reserves the right to change the content of this manual without prior notice. Fasttel Belgium, Klipsenstraat 18A, 9160 Lokeren, Belgium. Tel. +32 (0)9 244 65 20 info@fasttel.com Edition 1.1 pg.1...
-
Page 2: Table Of Contents
Contents 1. Connection Diagram ....................... 3 2. Find the Wizard in the Network ..................... 3 3. Configuration .......................... 4 3.1 Logging In .......................... 4 3.2 Status..........................4 3.3 Date and Time ........................4 3.4 SIP Connection Settings ....................4 3.5 Telephone Guide ....................... 5 3.6 Quick Dial Button Settings .................... -
Page 3: Connection Diagram
The best way to power the Wizard IP is over a PoE network connection. If the available network switch does not have a PoE, it is recommended to order the Fasttel PoE injector (FTPoE). The Wizard IP without access control keypad can only be powered by PoE. -
Page 4: Configuration
3. Configuration All the settings are configured on 1 web page. 3.1 Logging In Navigate to the address of the Wizard and enter the default Username and Password. Both are admin. Change the language if desired. You will see the configuration menu on the left. 3.2 Status An overview of the default values of what you will have to configure is given here. -
Page 5: Telephone Guide
3.5 Telephone Guide The following is created here: 1. The recipients who must be able to be called. 2. And the people who must gain access with the optional access control keypad and/or badge reader. Screen name: this name is shown in the display if this recipient is assigned to a button. Telephone number: this is the number that the door intercom must call to be able to reach this recipient. -
Page 6: Quick Dial Button Settings
RFID Number: if the optional badge reader was activated, you can read out the UID here by holding the card over the Fasttel logo on the door intercom. Stop forwarding with DTMF: When a call goes to voicemail, the Wizard will see this as an answer and therefore not call the subsequent recipients. -
Page 7: Time Profile
This is used to determine which of the recipients you just created in the Telephone Guide must be called when a button is pressed. This page is licence-related: only 1 button is visible here because a door intercom with 1 button was purchased. -
Page 8: Access Control
A time profile can be created here that can be linked to a recipient under Telephone Guide. Recipients are only called when the call falls within the time profile. If no time profile is linked to a recipient, the call will always be launched. Two time profiles have already been pre-programmed: 4/5 and full time. -
Page 9: Audio And Video Settings
You can protect this link against unauthorised access by entering a user and password. Attention: this password function may not be used when using the Fasttel FT25CC and certain other video phones. You can also edit the ratios of the camera here. -
Page 10: Device Settings
3.10 Device settings LCD Mode: if you choose text, the names will appear that you created in the Telephone List and have linked to a button. You can modify the colour of this text and the overall background colour of the display. If you have chosen an image, this is of course not possible and this setting is not available. - Page 11 255 050 150: pink 170 000 220: purple 255 050 000: orange 000 000 255: blue 255 150 000: yellow You can vary the values further to obtain different intensities. LCD background lighting: adjusts the intensity of the display. Is determined by the percentage from 0 to 255.
-
Page 12: Configuration Settings
3.11 Configuration Settings The device comes in DHCP mode upon delivery. With a program such as “Advanced IP Scanner” (http://www.advanced-ip-scanner.com/), you can scan the network and if a DHCP server is active, you will find the device with the name Fasttel000551XXX, and you will see the IP address obtained (see point 2. - Page 13 Under download configuration, you can make a backup of the Wizard. Under upload, you can select and upload a backup. Add language: foreign languages can be added here. Contact Fasttel for this. Log file: this is primarily intended for any error diagnosis by the manufacturer.
-
Page 14: Licence Settings
3.12 Licence Settings This shows the MAC address of the device as well as all the options that are activated in the device. You only need a new licence key when you want to add options after purchase such as the badge reader or the 999 destinations keyboard. -
Page 15: Camera Settings
You can change the default user admin and default password admin here. 3.14 Camera Settings This is only used when the ambient lighting is strongly different than normal. After experimenting, you can use the default button to return to the default values. 3.15 Software Update You can find the latest firmware on our website under Downloads.
Need help?
Do you have a question about the WIZARD ELITE IP and is the answer not in the manual?
Questions and answers