
Subscribe to Our Youtube Channel
Related Manuals for Kampmann PowerKon + W


Summary of Contents for Kampmann PowerKon + W
-
Page 1: Installation Manual
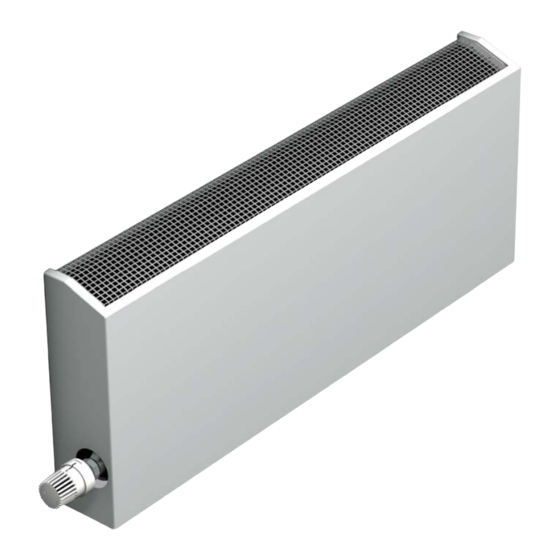
Wall Convectors 1.26 Wall models with PowerKon heat exchanger Registernummer: 6R1168 Installation Manual Retain this manual carefully for future use! I289/06/09/1 GB... -
Page 2: Table Of Contents
1.26 Wall Convectors Wall models with PowerKon heat exchanger Installation manual Table of Contents Explanation of symbols: 1. Correct and Proper Use ........Caution! Danger! 2. -
Page 3: Correct And Proper Use
Wall models with PowerKon heat exchanger Installation manual 1. Correct and Proper Use Kampmann wall convectors are manufactured in accordance with the state-of-the-art and recognised safety regulations. Personal danger or damage to the equipment or other property can be caused if the equipment is not installed, commissioned and used correctly and properly. -
Page 4: Scope Of Delivery
1.26 Wall Convectors Wall models with PowerKon heat exchanger Installation manual 3. Scope of Delivery Each wall convector comes with the following components: • 1 no. Wall casing with air outlet through C-profile linear grille or with air outlet through a perforated profile , powdercoated as a single component, with valve opening on one side... -
Page 5: Installation Of Wall Convectors
Wall Convectors 1.26 Wall models with PowerKon heat exchanger Installation manual 4. Installation of Wall Convectors 4.1 Fitting Brackets Using the wall brackets , mark the drill holes for wall-mounting the unit. Calculate the spacing, as given in Fig. 4, using the table below. A further wall bracket is needed as a central bracket for casing lengths of greater than 1600 mm. -
Page 6: Fitting Heat Exchanger / Water Connection
Then connect up the heat exchanger, as shown in Fig. 5, to the flow and return connections. Use also the 1/2” valve connection set type from the Kampmann accessories range. Fit the air vent to the flow connection. Take care to observe the correct spacings here. -
Page 7: Fitting Wall Casing
Wall Convectors 1.26 Wall models with PowerKon heat exchanger Installation manual Fig. 6: Dimensions of water connection Wall casing depth 70 mm: Wall casing depth 120 mm: Example shows Example shows linear grille perforated profile with C-profile Wall casing depth 170 mm: Wall casing depth 220 mm: Example shows linear Example shows... - Page 8 Wall casing length Finned convector length Wall casing depth T Convector height / depth BH x BT 100 x 50 100 x 100 100 x 150 100 x 200 Wall casing height H 250/400/550/700 Fig. 8: Dimensions of PowerKon + W...
Need help?
Do you have a question about the PowerKon + W and is the answer not in the manual?
Questions and answers