Bosch B450 Installation And Operation Manual
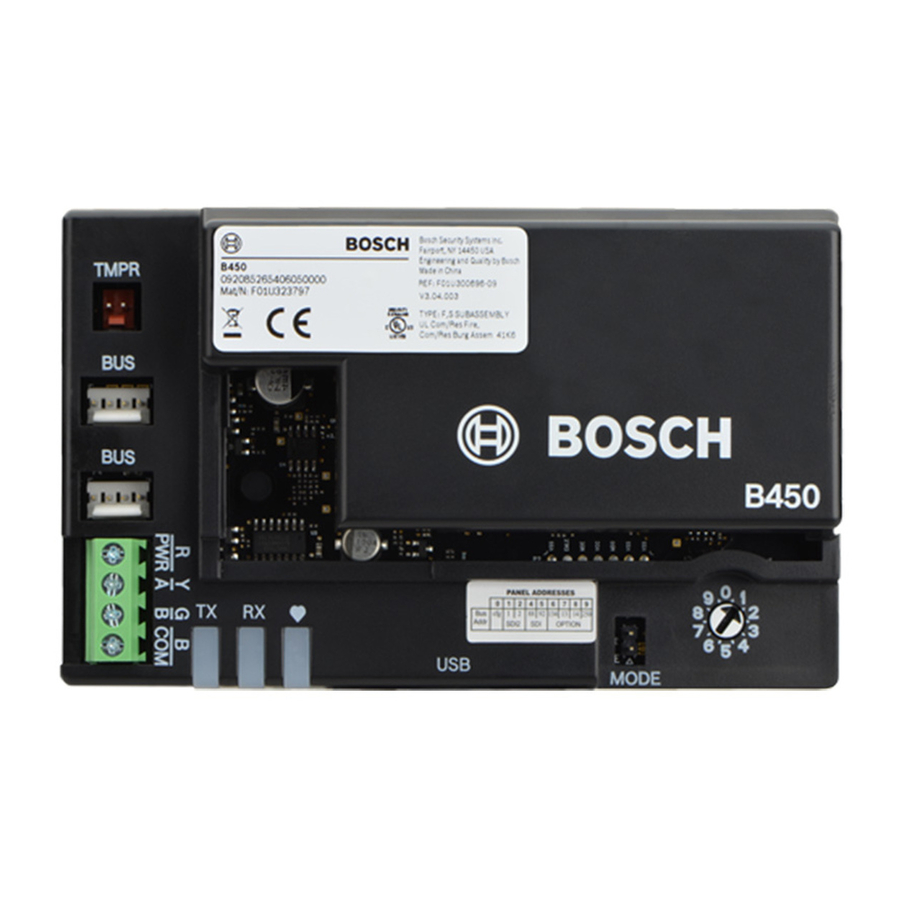
Conettix plug-in communicator
interfaces
Hide thumbs
Also See for B450:
- Installation & operation manual (48 pages) ,
- Installation manual (49 pages) ,
- Installation and operation manual (66 pages)
Table of Contents
Advertisement
Quick Links
Advertisement
Table of Contents

Related Manuals for Bosch B450


Summary of Contents for Bosch B450
- Page 1 Conettix Plug-in Communicator Interfaces B450 Installation and Operation Guide...
-
Page 3: Table Of Contents
Conettix Plug-in Communicator Interfaces Table of contents | en Table of contents Safety Introduction About documentation Bosch Security Systems, Inc. product manufacturing dates Installation workflow System overview Module overview Cellular interface compatibility Bus address settings Installation Inserting a plug-in cellular module (required) -
Page 4: Safety
Warning! Failure to follow these instructions can result in a failure to initiate alarm conditions. Bosch Security Systems, Inc. is not responsible for improperly installed, tested, or maintained devices. -
Page 5: Introduction
All hardware and software product names used in this document are likely to be registered trademarks and must be treated accordingly. Bosch Security Systems, Inc. product manufacturing dates Use the serial number located on the product label and refer to the Bosch Security Systems, Inc. website at http://www.boschsecurity.com/datecodes/. Bosch Security Systems, Inc. -
Page 6: Installation Workflow
Remove all power (AC and battery) before making any connections. Failure to do so might result in personal injury and/or equipment damage. Plan the installation of the B450 Conettix Plug-in Communicator Interface. Unpack the device contents. Power down the system. -
Page 7: System Overview
2 ᅳ Panel data bus (SDI2, SDI, or option) 7 ᅳ Internet/LAN/WAN 3 ᅳ B450 8 ᅳ Remote Programming workstation 4 ᅳ USB connection for module configuration 9 ᅳ Compatible IP receiver (Bosch D6100IPv6 shown) 5 ᅳ B44x plug-in communicator (available separately) Module overview The module is a four-wire powered SDI, SDI2, or option bus device that provides two-way communication over commercial cellular networks using a plug-in communicator. -
Page 8: Cellular Interface Compatibility
Option/SDI SDI2 Details IP Event Reporting TCP communication is only supported on SDI2 Remote Program Requires Bosch (RPS or A-link) Cellular service or other cellular network access 2017.10 | 09 | F.01U.300.740 Installation and Operation Guide Bosch Security Systems, Inc. -
Page 9: Bus Address Settings
Cellular service or other cellular network access The module also supports multiple cellular networks through the use of Bosch cellular communication modules. Refer to the following table to determine the supported Bosch cellular module and corresponding cellular network technology. Cellular technology compatibility... - Page 10 B3512, D9412GV4/ D7412GV4/D7212GV4 B9512G/B8512G/ Automation, Remote D9412GV4/D7412GV4/ Programming, Reporting D7212GV4 D9412GV4/D7412GV4/ Remote Programming or D7212GV4, D9412GV3/ Reporting D7412GV3/D7212GV3, D9412GV2/D7412GV2/ D7212GV2 v7.06+ D9412GV4/D7412GV4/ Remote Programming, Reporting D7212GV4, D9412GV3/ D7412GV3/D7212GV3 2017.10 | 09 | F.01U.300.740 Installation and Operation Guide Bosch Security Systems, Inc.
- Page 11 SDI bus configuration is also supported. The FPD-7024 must be at firmware version 1.06 or greater in order to configure using bus address 134. Tab. 3.1: Address switch settings Bosch Security Systems, Inc. Installation and Operation Guide 2017.10 | 09 | F.01U.300.740...
-
Page 12: Installation
Notice! Correct installation Push the plug-in cellular module into the B450 until the module “clicks” into position. Callout ᅳ Description 1 ᅳ SIM card (required for some cellular modules, available separately) 2 ᅳ... -
Page 13: Mounting The Module
The control panel powers the B450 via the terminal block or bus connection. Mount the B450 on the inside wall of a separate enclosure. The control panel in a nearby, separate enclosure powers the B450 via the terminal block or bus connection. -
Page 14: Installing The Tamper Switch (Optional)
Best performance If the module has a weak signal, position the antenna on top of a metal surface that has a radius of 10.16 cm (4 in). 2017.10 | 09 | F.01U.300.740 Installation and Operation Guide Bosch Security Systems, Inc. -
Page 15: Connecting The Module To The Control Panel
B COM PWR A B COM Callout ᅳ Description 1 ᅳ Compatible SDI2 control panel (B6512 shown) 2 ᅳ B450 3 ᅳ Terminal strip wiring 4 ᅳ Interconnect cable Bosch Security Systems, Inc. Installation and Operation Guide 2017.10 | 09 | F.01U.300.740... -
Page 16: Connecting To Option Bus Control Panels
When you wire the module to the option bus terminal strip on the control panel, verify the terminal position of the wires. Option bus terminals might differ from module terminals. (For example, option bus = R, B, G, and Y) and (B450 = R, Y, G, and B.) Callout ᅳ Description 1 ᅳ... -
Page 17: Configuration
Before you begin, review the B450 configuration information in the next section. Configuration parameters This section gives details about each of the parameters for the B450. Use this information to program a control panel for PnP, for USB configuration, or for SMS configuration. In this section, the parameters are listed in the order you see them in the USB menus. - Page 18 Inbound SMS Default: Yes Selections: – Enabled (Yes) - you can use inbound SMS text messages to configure the B450. – Disabled (No) - the B450 does not process inbound SMS text messages. Reporting Delay for Low Signal Strength (sec.)
- Page 19 IP addresses. In DHCP mode, the DHCP server’s default DNS is used. To use a custom DNS server in DHCP mode, enter the custom DNS server’s IP address here. Alternate IPv4 DNS Server IP Address Bosch Security Systems, Inc. Installation and Operation Guide 2017.10 | 09 | F.01U.300.740...
- Page 20 The control panel records a No IP Address restoral event when the cellular plug-in module registers with one or more towers and receives an IP address within 60 seconds. Reporting Delay for Single Tower (sec) Default: 1800 2017.10 | 09 | F.01U.300.740 Installation and Operation Guide Bosch Security Systems, Inc.
-
Page 21: Plug And Play (Pnp) Configuration
Configuration | en Selections: 0 (disabled) - 3600 (seconds) Keep this parameter at the default setting unless instructed by a Bosch Security Systems, Inc. representative. When the cellular plug-in module senses only one tower for the seconds set at this parameter, the control panel records a Single Tower event. -
Page 22: Usb Configuration
B442 and B443. Refer to RPS and RPS Help for information on these parameters. Use RPS settings on Module 1 only. For a second B450 module, you must use the USB menu. For SDI2 control panels using firmware version v1.00 to v2.02, use the USB interface connected to the B450. - Page 23 On the connected computer, navigate to the Tera Term file from the CD-ROM or zip downloaded from the website. Follow the prompts in the installation wizard until the Select Components page of the wizard. Select Compact installation from the drop-down list. Bosch Security Systems, Inc. Installation and Operation Guide 2017.10 | 09 | F.01U.300.740...
- Page 24 Logging into the module Connect the USB cable to the module. Connect the USB cable to the computer. Open Tera Term. The New connection dialog box opens. 2017.10 | 09 | F.01U.300.740 Installation and Operation Guide Bosch Security Systems, Inc.
- Page 25 Conettix Plug-in Communicator Interfaces Configuration | en From the Serial Port drop-down list, select the B450 (for example, Port: COM7: B450 [COM7]). Click OK. Tera Term connects. Press [Enter]. A windows appears with a request to enter the passcode. Enter the password (default is B450) and press [Enter]. The USB main page opens.
-
Page 26: B450 Home Page
If Tera Term shows a Menu access disabled error message, refer to USB menu access disabled, page 40. 5.3.2 B450 home page The B450 home page in Tera Term opens when you do one of the following: – Log in. –... - Page 27 Tamper. The status of the tamper switch connection is Yes, No, or Disabled (through configuration). Access level overview The access level for the module is Restricted or Full. Main Menu overview Refer to Main Menu, page 28. Bosch Security Systems, Inc. Installation and Operation Guide 2017.10 | 09 | F.01U.300.740...
-
Page 28: Main Menu
Disable All Verbose Modes Off Save and Exit Exit *The Diagnostic Log option is used in troubleshooting communication issues with the B450. Only use the Diagnostic Log option if told to do by Bosch technical support. Main Menu important tips –... -
Page 29: Status Menu
6. Diagnostic The Diagnostic Log option is used to troubleshoot communication problems. Only use of the Diagnostic Log option at the direction of Bosch Technical Support. For more information, refer to Diagnostic log, page 44. 7. Firmware Use to update the B450 firmware. - Page 30 000-000-0000 is listed when there is no phone number. Electrical Serial # Shows the B44x radio modem serial number. (ESN) Data Status Shows one of the following: Disconnected, Connecting, or Connected. 2017.10 | 09 | F.01U.300.740 Installation and Operation Guide Bosch Security Systems, Inc.
- Page 31 SIM PIN Wrong – SIM PIN Lockout – Invalid Access Point – No IP Address Advanced Status Menu The following section describes the Advanced Status menu parameters. Bosch Security Systems, Inc. Installation and Operation Guide 2017.10 | 09 | F.01U.300.740...
- Page 32 UDP Packets Shows from power up, or Option 3 (Reset Status) Transmitted UDP Packets Shows from power up, or Option 3 (Reset Status) Received Advanced Modem Status 2017.10 | 09 | F.01U.300.740 Installation and Operation Guide Bosch Security Systems, Inc.
- Page 33 When you select Signal Strength, Tera Term shows up to 192 values that represent the signal strength over the last 48 hours. If the B450 has been powered up less than 48 hours, the list shows only the samples taken so far.
-
Page 34: Basic And Advanced Configuration Menus
SMS message. Entering CONFIG mode For the B450 to receive SMS messages, you must set the address switch to 0. With other addresses, the B450 discards incoming SMS. For detailed information on the configuration options, refer to Configuration parameters, page 5.4.1... - Page 35 Configuration | en Before you begin – Separate each ID or value pair with a semi-colon ; (for example, %1;1=B450;19=1;!). To allow spanning of configuration across multiple messages, each SMS starts with the sequence number followed by the command line separator.
-
Page 36: Sending The Inbound Sms
B450 to ignore the programming request. 5.4.2 Sending the inbound SMS Make sure that the address switch on the B450 is set to 0. Send the configuration SMS to the B44x module’s phone number. The transmission might take several minutes. -
Page 37: Exiting From Config Mode
Exiting from CONFIG mode Change the bus address switch to the desired value, depending on the supported control panel. Check the signal strength and Heartbeat LED for status. 5.4.4 Configuration Bosch Security Systems, Inc. Installation and Operation Guide 2017.10 | 09 | F.01U.300.740... -
Page 38: Maintenance And Troubleshooting
USB configuration, page 22. From Windows, start Tera Term. Log into the USB interface as described in Log into the USB interface. The B450 USB login window appears, listing the current software version and build. Select option 7 and press [Enter]. - Page 39 Conettix Plug-in Communicator Interfaces Maintenance and troubleshooting | en Click Open to start the firmware update. The Tera Term: XMODEM Send dialog box opens and indicates the update process. Bosch Security Systems, Inc. Installation and Operation Guide 2017.10 | 09 | F.01U.300.740...
-
Page 40: Usb Menu Access Disabled
Select the correct control panel. Select SDI2 MODULES > IP Communicator. Double-click on Web/USB Access Enable, and select Yes. This allows you to view or change information from the B450 USB menu. 2017.10 | 09 | F.01U.300.740 Installation and Operation Guide... -
Page 41: Led Status Indicators
Conettix Plug-in Communicator Interfaces Maintenance and troubleshooting | en Send the configuration to the control panel. LED status indicators The B450 includes the following on-board LEDs to assist with troubleshooting: – Heartbeat (system status) – RX (receive) – TX (transmit) The plug-in module also includes LEDs for troubleshooting and status. - Page 42 Occurs every time a packet is transmitted on- air. Flashing Tab. 6.3: RX and TX LED descriptions Plug-in communicator LEDs For communicator LED information, refer to the compatible communicator documentation. B450 trouble condition LEDs Condition B450 Heartbeat B450 Transmit B450 Receive Plug-in module...
- Page 43 Steady Invalid access 5 quick flashes, point repeating Steady Low signal 1 Hz Heartbeat strength Steady No towers Steady Steady Detecting plug-in module type Steady Steady Steady Bosch Security Systems, Inc. Installation and Operation Guide 2017.10 | 09 | F.01U.300.740...
-
Page 44: Firmware Version Leds
– If the problem persists after rebooting the system, replace the SIM card. You might need to reconfigure the B450 to match a new SIM card parameters. Diagnostic log You can use the Diagnostic Log option during an intermittent service outage, or communication error. -
Page 45: Network Polling
Bosch Cellular Service User Guide (P/N: F01U273558). RPS Diagnostics You can view B450 status information for SDI2 control panels in the Diagnostics window in RPS. The information shown and the path for the content depends on the control panel firmware version: –... -
Page 46: Technical Specification
12 AWG (2.0 mm) - 122 m (400 ft) You can extend the wire distances 300 m (1000 ft). Use a separate power supply, such as the B520 Auxiliary Power Supply Module. Compatibilities Control panels - B450 B9512G/B8512G B6512/B5512/B4512/B3512 (B5512E/B4512E/B3512E with firmware v2.03 and higher) D9412GV4/D7412GV4/D7212GV4 (v1.00.0xx+) D9412GV3/D7412GV3/D7212GV3 D9412GV2/D7412GV2/D7212GV2 (v7.06+) - Page 47 Conettix Plug-in Communicator Interfaces Technical specification | en Enclosures D8103 D203 Applications Tera Term (for USB B450 configuration) Hyper Terminal (for USB B450 configuration) RPS version 5.16 or higher Remote Security Control Remote Security Control+ Notice! The enclosure might cause temporary loss of communication due to static.
- Page 49 Bosch Security Systems, Inc. Bosch Sicherheitssysteme GmbH 130 Perinton Parkway Robert-Bosch-Ring 5 Fairport, NY 14450 85630 Grasbrunn Germany www.boschsecurity.com © Bosch Security Systems, Inc., 2017...
Need help?
Do you have a question about the B450 and is the answer not in the manual?
Questions and answers