Table of Contents
Advertisement
Advertisement
Table of Contents

Related Manuals for Ingenico IWL 250


Summary of Contents for Ingenico IWL 250
- Page 1 TERMINAL User Guide...
-
Page 3: Table Of Contents
Contents Welcome ............................1 1. Wireless Terminal Hardware ....................1 1.1 Terminal Base ........................1 1.2 Terminal Power Up ......................1 1.3 Terminal Function Keys ..................... 2 1.4 Estimating the Number of Terminals.................. 3 1.5 Locating Communication and Charging Bases ..............4 1.5.1 Common Wireless Communication Obstacles: ............ - Page 4 3.5 Reprint..........................25 3.6 Force Post ........................26 4. SecureTablePay ........................26 4.1 TGI Installation ......................... 26 4.2 Get the POS (RMS) IP ..................... 27 4.3 Terminal Configuration ..................... 28 4.4 Terminal Status ........................ 29 4.5 Terminal Operation ......................29 4.5.1 Full Payment ......................
-
Page 5: Welcome
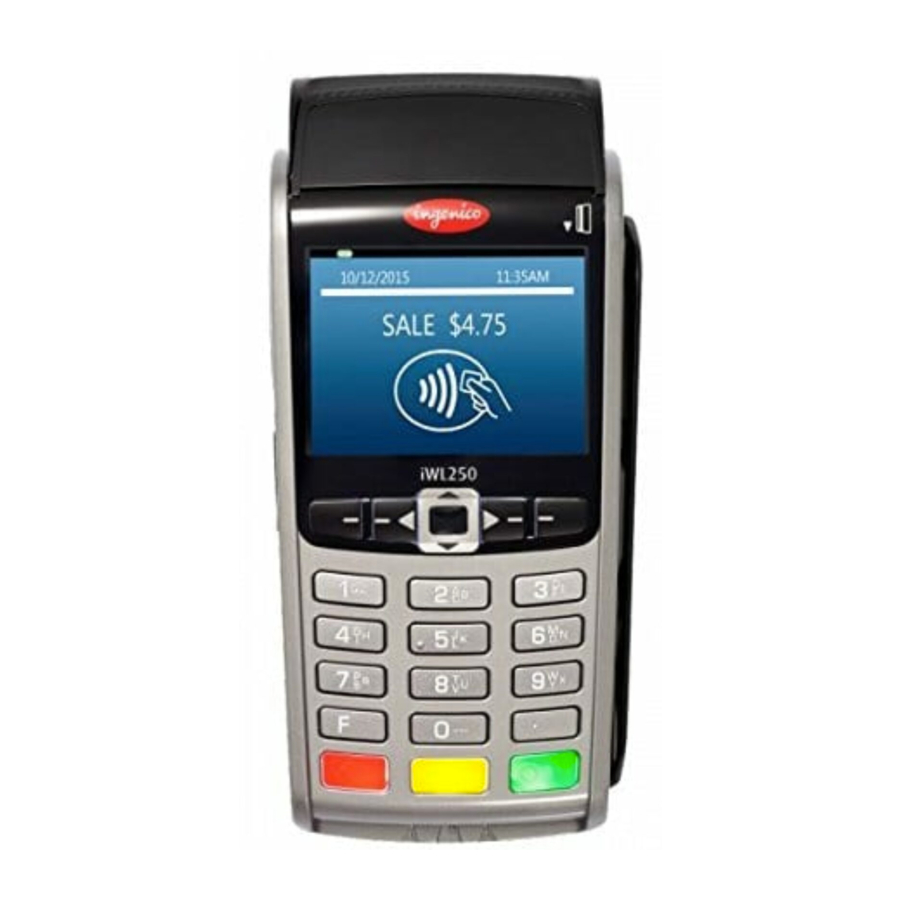
Pay at the Table (PATT) solution that can be connected to POS (Point of Sale) software. This guide will explain accessing it using the Ingenico iWL250 wireless terminal keypad that can work in a Stand-Alone state or a POS integrated payment version. -
Page 6: Terminal Function Keys
1.3 Terminal Function Keys Figure 2 When the Terminal starts up, it will show the SecureTablePay version screen (Figure 2). TID 123: This is the 8-digit Terminal identification number. SecureTablePay Screen SWIPE/KEY SERVER: This is a prompt for the Server to log on to the payment system by either: •... -
Page 7: Estimating The Number Of Terminals
1.4 Estimating the Number of Terminals Before they can be ordered, the number of terminals, communication and charging bases need to be estimated for your specific installation sites. The following factors may affect the number of terminals necessary for a specific site: 1. -
Page 8: Locating Communication And Charging Bases
5. Two communication bases cannot be placed within two meters (6.5 feet) of each other. In general, Bluetooth devices (not Ingenico specific) can affect performance of Wi-Fi devices (because their frequency ranges are overlapping) – it is recommended to keep iWL Bluetooth terminals away from Wi-Fi routers, access points and other Wi-Fi devices. -
Page 9: Common Wireless Communication Obstacles
8. Probably the most difficult task when planning where to place a communication base is to predict potential wireless communication obstacles. As a general rule, the communication base should be placed away from the obstacles listed next: 1.5.1 Common Wireless Communication Obstacles: •... -
Page 10: Verifying Bluetooth Coverage After Equipment Delivery
3. Install the communication base at the planned location. Follow the installation instructions provided with the base. 4. Assign the terminal to the base if it has not been done. This procedure is described in section: 1.8 Assigning the Terminal to a Communication Base. 5. -
Page 11: Checking The Link Between The Terminal And The Base
8. Remember that certain equipment works on an intermittent basis (example: air conditioning units). Conduct the verification when this equipment is on. 9. If the terminal cannot establish the Bluetooth link, it displays a communication error message or other similar message defined in your payment application indicating that coverage is weak. -
Page 12: Assigning The Terminal To A Communication Base
1.8 Assigning the Terminal to a Communication Base This option logically assigns a terminal to a communication base. This option needs to be done only if the terminal is not assigned or, if it needs to be re-assigned to another base. With the Terminal connected to its communication Base, refer to section: 2.6 Maintenance When in the Stand-Alone Setup Menu (refer to section: 2. -
Page 13: Exchanging Bases
This manual configuration for a base is done using one of the hand-held terminals assigned to it and it will be done only once (using 1 hand-held terminal). Reboot other hand-held terminals assigned to this base once the base configuration is completed. Example: assign static IP addresses to different bases using one terminal. -
Page 14: Mac Address
1.9.2 MAC Address The following image is a label from the bottom of a terminal base. The third line shows the MAC address if the merchant requires it for registration on their network. 1.10 Charging the Battery and Assuring Maximum Battery Life The terminal is supplied with a lithium- ion removable battery. -
Page 15: Battery Icon
The maximum number of transactions performed with a full battery charge varies considerably. It could range up to 1000 depending on the following: ‒ The number of receipt copies printed. ‒ The size and format of receipts and reports. ‒ The transaction frequency and duration. -
Page 16: Replacing The Battery
1.10.3 Replacing the Battery Li-ion battery 2050mAh Battery connector Follow these steps to replace the battery: 1. Remove the terminal from its base and press the [.,#*] and [Yellow Correction] keys at the same time to turn it off, before handling the battery. 2. -
Page 17: Paper Specifications And Storage
For more details please go to the Ingenico web site: http://ingenico.cleaningcards.com Smart Card Reader and MSR Head Cleaning To clean the Smart card reader pins and Magnetic head, Ingenico advises the use of cleaning cards part number 296118799. For more details please go to the Ingenico web site: http://ingenico.cleaningcards.com... -
Page 18: Stand-Alone Admin Menu
2. Stand-Alone Admin Menu To enter the Stand-Alone Admin Menu, press the F-Key, above CHOOSE the Red Cancel key (Refer to 1.2 Terminal Function Keys, F1->STANDALONE Figure 2). F4->MENU A selection will appear on the screen to choose Stand-Alone or Menu for SecureTablePay. -
Page 19: Changing The Terminal Date And Time
Press 2 for System Setup. Screen: ADMIN PASSWORD + OK Enter the Admin Password: defaulted to 6 zeros: 000000 and press the Green Enter key. 2.2.1 Changing the Terminal Date and Time NOTE: The Batch must be cleared to change the date and time or, they will not display. If necessary, the Batch can be cleared by going to STANDALONE\Setup\5. -
Page 20: Setup/Options
Screen: 1. NONE 2. DYNAMIC 3. STATIC Press 1 for None. Press 2 for Dynamic to automatically get the IP address for the terminal. Press 3 for Static to enter an IP address. Press the Green Screen: TERMINAL ADDRESS + OK Enter key to continue. -
Page 21: Print Setup
2.4 Print Setup When in the Stand-Alone Setup Menu, press the number 3 key on the keypad to enter the Terminal Print Setup. Screen: PAUSE BETWEEN COPIES YES NO YES Press the F1 key under NO or the F4 key under YES and press the Green Enter key. If the setting is already done and acceptable, press the Green Enter key to continue. -
Page 22: Reports
When in the Stand-Alone Setup Menu, press the corresponding 1. REPORTS key number on the keypad for the numbered selection on the 2. SETUP screen. 3. PRINT SETUP 4. MAINTENANCE 2.5 Reports When in the Stand-Alone Setup Menu, press the number 1 key on the keypad for the Terminal Reports. - Page 23 Select: Screen: 1. CLEAR REVERSAL, 2. CLEAR BATCH, 3. DIAGNOSTICS, 4. TIMEOUTS Press 1 to clear Reversal Press 2 to clear the Batch. Press 3 for DIAGNOSTICS Select: Screen: 1. MSR TEST, 2. PRINTER TEST, 3. PING 1. MSR Test (Magstripe) Screen: MSR TEST RUN MSR TEST? NO YES...
-
Page 24: Training Mode
ETHERNET CONNECT TIMEOUT + OK 10 ETHERNET RETRY COUNTER + OK 1 ETHERNET RECEIVE TIMEOUT + OK 65 When in the Stand-Alone Setup Menu, press the corresponding 1. SALE key number on the keypad for the numbered menu selection on 2. -
Page 25: Info Screen
Enter the new password (6-digit maximum) and press the Green Enter key. NOTE: The Admin password overrides the merchant password. 3. REPORT PWD CFG Screen: ADMIN PASSWORD + OK Enter the Admin password and press the Green Enter key. Screen: BATCH REPORTS YES NO YES Press the F1 key under NO or the F4 key under YES and press the Green Enter key. -
Page 26: Stand-Alone Transaction Menu
3. Stand-Alone Transaction Menu To enter the Stand-Alone Transaction Menu, press the F-Key, CHOOSE above the Red Cancel key (Refer to 1.2 Terminal Function F1->STANDALONE Keys, Figure 2). F4->MENU A selection will appear on the screen to choose Stand-Alone or the Menu for SecureTablePay. -
Page 27: Adding A Tip
Screen: PRESS OK AND PASS TERMINAL TO CARDHOLDER Press the Green Enter key. Screen: SALE $10.00 OK? Press F4 under OK or the Green Enter key. Screen: SALE ADD TIP? $AMT SKIP 3.2.1 Adding a Tip The cardholder can add a tip by pressing the F1 key under the percent % sign for a percentage tip to be automatically calculated and added or, F2 under $AMT to add a tip amount or, F4 under SKIP to not add a tip (Figure 4). -
Page 28: Adding A Tip Amount
The cardholder swipes their card, in the card swipe reader, on the right side of the terminal or inserts it at the bottom. Screen: SALE TRANS APPROVED THANK YOU OBTAIN CARD Press the Green enter key to continue. Screen: SALE APPROVED AUTH # XXXXXX $12.00 RETURN CARD Press the Green Enter key and the terminal will print a receipt. -
Page 29: Void
Screen: PRESS ENTER AND PASS TERMINAL TO SERVER OBTAIN CARD Press the Green Enter key and the terminal will print a receipt. 3.4 Void A Void is possible to do while a Batch is open. Stand-Alone Start Menu 1. SALE When in the Stand-Alone Start Menu, press 3 for Void. -
Page 30: Force Post
Locate a receipt sequence number to Reprint. Enter the 6 digits of the sequence number. Press the Green Enter key to reprint the transaction. Or press the F4 key under LAST to reprint the last transaction. 3.6 Force Post • WARNING: Call for an Authorization Number before proceeding. -
Page 31: Get The Pos (Rms) Ip
• Install TGISecure. • Add the license file to C:\Program Files (x86)\Terminal Management Concepts\TGI Secure\TGI_Client. • Locate the TGIClient folder and open the gateway_sm properties file. • Make any of the following most common changes: tgi.client.changepos=1 ‒ If the POS is Aloha, Micros, Squirrel = 0 ‒... -
Page 32: Terminal Configuration
‒ NOTE: Confirm tgi.client.service.port=9999 is not blocked. Refer to: TGIClient folder\ gateway_sm properties file. NOTE: For further information, please refer to the SecureTablePay TGI User Guide. 4.3 Terminal Configuration To enter the SecureTablePay state, press the F-Key, above the CHOOSE Red Cancel key (Refer to 1.2 Terminal Function Keys, Figure F1->STANDALONE F4->MENU... -
Page 33: Terminal Status
YES NO Press the F1 key under YES or the F4 key under NO and press the Green Enter key. If the setting is already done and acceptable, press the Green Enter key to continue. Screen: CASH ALLOWED NO YES NO Press the F1 key under YES or the F4 key under NO and press the Green Enter key. -
Page 34: Full Payment
• Key in their server id code on the Terminal Keypad. Press the Green Enter key at the bottom, right of the keypad to continue. (Optional. Refer to section: 4.3 Terminal Configuration) Screen: Enter TABLE No. Enter the Table Number for transaction processing or press the Green Enter key at the bottom, right of the keypad to continue. -
Page 35: Adding A Tip
‒ Screen: The cardholder can add a tip by pressing the F1 key SALE under the percent % sign for a percentage tip to be ADD TIP? automatically calculated and added or, F2 under $AMT to add a tip amount or, F4 under SKIP to not add a tip. -
Page 36: Cash Payment
Press F4 under $AMT Screen: TIP $AMT + OK? $0.00 Press the amount for the tip, example: 100 for $1.00 and press the Green Enter key. Follow the screens the same as for a % tip to complete the transaction. 4.5.4 Cash Payment is selected in the SecureTablePay section: 4.3 Terminal CASH ALLOWED YES... - Page 37 ‒ Screen: The Split amount is separated equally. BALANCE: $3.20 ‒ Pressing F4 under NO will return to Enter # of Splits SALE: $1.06 ‒ Press F1 for YES. SPLIT#: 1 Screen: PRESS OK AND PASS TERMINAL TO CARDHOLDER Screen: SALE $1.06 OK? Screen: SALE ADD TIP? % $AMT SKIP...
-
Page 38: Index
Index Admin Password ..........14 Password Batch Reports ......... 21 Aloha .............. 27 Password Finan PWD CFG ......21 Authorization # ..........26 Password Misc PWD CFG ........ 21 Battery Specs ..........10 Password Print Setup Menu ......21 Cash Allowed ..........29 Password Refund .......... - Page 39 Reports TERM CFG .......... 18 Timeout Error Message ......... 19 Reprint Transaction ........29 Timeout Ethernet Connect ......20 RES1 RES2. etc..........30 Timeout Ethernet Receive ......20 SecureTablePay state ........28 Timeout Merchant Display ......19 Sequence # ............. 25 Timeout Pass to Customer ......
- Page 40 ...
Need help?
Do you have a question about the IWL 250 and is the answer not in the manual?
Questions and answers