Table of Contents
Advertisement
Advertisement
Table of Contents

Related Manuals for Truma VarioHeat eco AU


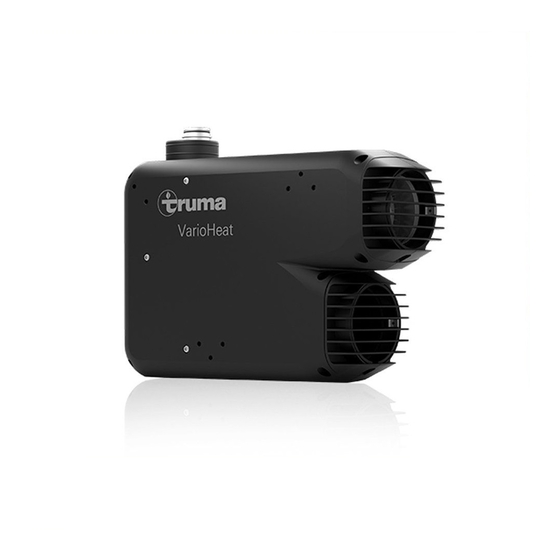
Summary of Contents for Truma VarioHeat eco AU
- Page 1 Truma VarioHeat® eco AU Installation instructions Page 2...
-
Page 2: Installation Example
Installation example 1 Room temperature sensor 2 Control panel Truma CP plus VarioHeat 3 Electric window switch (optional) 4 Exhaust duct 5 Warm air 6 Circulating air 7 Gas inlet connection with gas pressure test point 8 Type plate Fig. 1... -
Page 3: Table Of Contents
Trademark information • Do not modify this heater or its controls. This can cause Truma VarioHeat® eco AU referred to as VarioHeat below. unforeseen serious hazards and will void the warranty. • Do not perform a hi-pot test on the heater unless the... -
Page 4: Scope Of Delivery
(see „Circulated air intake“ page 7). • A water pipe may be placed on the warm air duct only if there is a gap of at least 1.5 m to the heater. The Truma Location of the wall cowl hose clip SC (part no.: 40712-01) can be used from this dis-... -
Page 5: Fastening The Heater
hole pattern Exhaust duct Mounting bracket / hole pattern arrangement With the VarioHeat you must use Truma accessories (e. g. the Hole pattern Truma “Warm air basic kit” with • wall cowl kit,EW 24 • exhaust duct AA 24 (1m) and •... -
Page 6: Connecting The Exhaust Double Duct To The Appliance
• Cut the pipes so that they project outside the hole for the cowl during installation. The exhaust duct (1) must be 10 % Use only Truma accessories to distribute warm air in the RV. longer than the combustion air intake duct (5). This prevents expansion and tensile loading of the exhaust duct. -
Page 7: Circulated Air Intake
Y 80 10 mm ÜR 10 - 100 cm Fig. 17 Fig. 15-2 – Truma “Warm air basic kit”+ “Warm air ad- Installing a digital control panel ditional kit” 3. Secure all pipe connections with clips / tapping screws. Fix Description pipes with ZRS / ÜS clamps. -
Page 8: Choosing A Location
Take care with the connector cables so that they are not pulled out or squashed. TIN-Bus CI-BUS + = red 12 V - = red/black Fig. 20 – View from the rear Only with variant Truma CP plus VarioHeat CI-BUS. By default, an external control panel (master) is connected. -
Page 9: Wiring Diagram
Plug / contact Description unimportant. X7-1 Room temperature sensor X7-2 Room temperature sensor X7-3 Window switch or wire bridge X7-4 Window switch or wire bridge X7-5 — X7-6 — X5-1 + Battery X5-2 - Battery TIN Bus / Truma CP plus VarioHeat... -
Page 10: Gas Connection
(3) must be1.8 – 2.2 kPa. If the VarioHeat pre- pressure regulator cannot be installed to perform correctly, please contact Dometic Service Centre. More stickers can be obtained from Truma. The VarioHeat pre-pressure regulator must be installed to en- Technical changes reserved. - Page 12 In Australia, always notify the Dometic Service Centre if problems are encountered; in other countries the relevant service partners should be contacted (www.truma.com). Having the equipment model and the serial number ready (see type plate) will speed up processing. Dometic Pty Ltd...
Need help?
Do you have a question about the VarioHeat eco AU and is the answer not in the manual?
Questions and answers