Table of Contents
Advertisement
Quick Links
Download this manual
See also:
Installation Manual
Gas Type Conversion
EF5000 – NZ
-
Installation, service and gas conversion must be performed by a qualified
installer, service agency or gas supplier.
WARNING: Improper installation, adjustment, alteration, service or mainte-
-
nance can cause injury or property damage. Read the installation, operating
and maintenance instructions thoroughly before installing or servicing this
equipment.
Manufactured by: Escea Ltd, PO Box 5277 Dunedin NZ, Ph: +64 3 478 8220, email:
For contact details of your local Escea distributor or dealer please visit www.escea.co.nz
v 1.0
630138 Gas Conversion Instructions EF5000 NZ
info@escea.co.nz
Advertisement
Table of Contents

Summary of Contents for Escea EF5000-NZ
-
Page 1: Gas Type Conversion
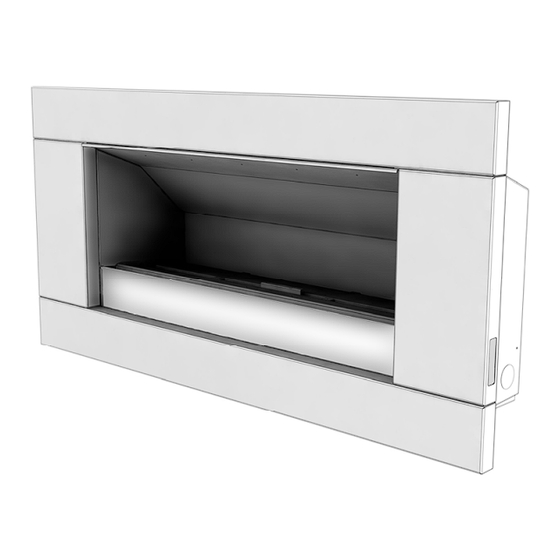
Read the installation, operating and maintenance instructions thoroughly before installing or servicing this equipment. Manufactured by: Escea Ltd, PO Box 5277 Dunedin NZ, Ph: +64 3 478 8220, email: info@escea.co.nz For contact details of your local Escea distributor or dealer please visit www.escea.co.nz... - Page 2 Warning: Before starting the gas conversion, ensure that the fireplace is cool. Step one: Lift the fascia and hang it in the second slot, now you can un- plug both of the fascia leads and remove the Fascia from the EF5000 firebox by lifting up and outwards.
- Page 3 Step five: Change the two jets with the conversion jets sup- plied in kitset and bond the new gas label over the old at the bottom tray of the engine. Replacement Burner Jets Gas-Type Label Step six: change regulator pressure settings from LPG to Natural gas sim- ply unscrew the top cap off the regulator and pull...
- Page 4 Note: If you have been supplied with a new pair of conversion burners, skip step seven and con- tinue with step eight. If you have been supplied with only the restrictor sleeves then continue with step seven. Holes must line up Step seven.
- Page 5 Step ten. When you have pushed the fascia in as far as it will go, briefly push down on the fascia to secure the fascia into position. Operation Chart. Once the fire has been re-assembled, test the fire to ensure it is running correctly. 630138 Gas Conversion Instructions EF5000 NZ...


Need help?
Do you have a question about the EF5000-NZ and is the answer not in the manual?
Questions and answers