Table of Contents
Advertisement
Advertisement
Table of Contents

Subscribe to Our Youtube Channel
Related Manuals for Graco SimpleSwitch


Summary of Contents for Graco SimpleSwitch
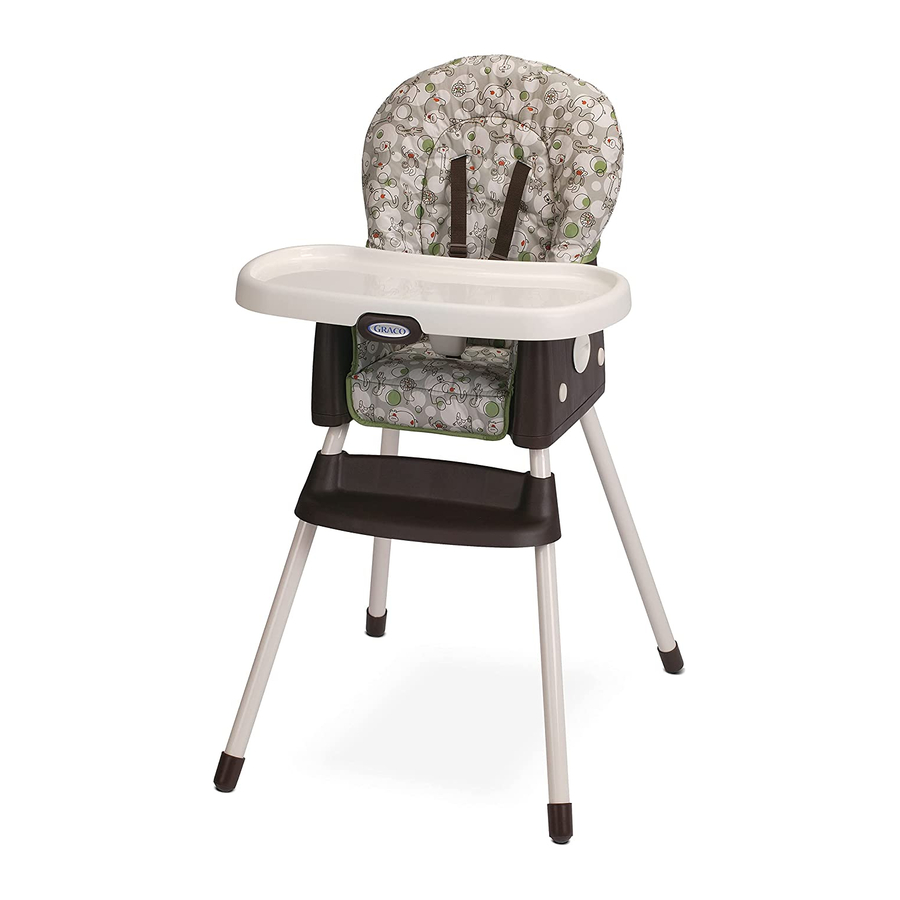
- Page 1 • Owners Manual ©2011 Graco PD162120B 11/11...
- Page 2 This product can be used in the following modes: Highchair Feeding Booster attached to chair...
- Page 3 Failure to follow these warnings and the assembly instructions could result in serious injury or death. PLEASE SAVE OWNER’S STRANGULATION HAZARD: MANUAL FOR FUTURE USE. Do not place product in any location where there are cords, FOR YOUR CHILD’S SAFETY, such as window blind cords, read the labels and the owner’s drapes, phone cords, etc.
- Page 4 THIS FEEDING BOOSTER SEAT is designed to be used by a child up to 60lbs (27.3kg). USE ONLY SimpleSwitch™ highchair accessories with this product. UNTIL CHILD IS ABLE to get in and out of the feeding booster...
-
Page 5: Parts List
Parts list This model may not include some features shown below. Check that you have all the parts for this model BEFORE assembling your product. If any parts are missing, call Customer Service. No tools required. - Page 6 To Attach Front Legs Grab leg with collar and insert it firmly into openings in footrest as shown. Line up buttons and guide with channels in opening. collar Push front legs up into footrest until the collars stop them.
- Page 7 Align arrows on front legs with the arrow on the booster base as shown. Insert front leg assembly into bottom of seat as shown. SNAP!
- Page 8 To Attach Rear Legs Insert rear legs into bottom of seat as shown. SNAP!
- Page 9 To Remove Legs To remove front legs, press button on side of seat and pull leg out a little. NOTE: DO NOT pull leg out completely until you have pressed button on the other side of seat to release the other leg. To remove rear legs, press buttons on side of seat as shown.
- Page 10 Seat Back Insert seat back into base of infant seat. NOTE: Make sure straps DO NOT get caught between seat bottom and back.
- Page 11 Squeeze handle to allow rods to drop into holes. SNAP! Turn two pieces over while holding the seat back in place and CHECK to make sure the seat back is in the seat base before inserting pins into place. Insert pins through seat hinge past the tabs.
- Page 12 Attaching Seat Pad Insert straps on back of seat pad into slots in seat back as shown. Pull waist straps through openings in seat pad.
- Page 13 Pull shoulder straps and crotch strap through openings in seat pad. Wrap seat pad over the top of the infant seat. Make sure recline handle is sticking out the hole in the seat pad.
- Page 14 Hook seat pad onto side of seat back as shown. Repeat on other side. Fasten elastic straps on seat pad to hooks under infant seat as shown.
- Page 15 Head support and Harness covers (On certain models) Never use this head support on any other product. Place head support on top of seat pad. Pull waist straps through openings in head support.
- Page 16 Pull shoulder straps through openings in head support. Slide harness covers onto shoulder straps.
- Page 17 To Use Tray Squeeze release levers on each side of tray, place tray on seat, and snap into side tray locks. SNAP! To release squeeze release levers on each side of tray and lift off. OR/OU/O To release push button on front of tray.
- Page 18 Tray Cover Dishwasher safe. Attach tray cover by pushing it down on the tray. SNAP! To remove pull up on the back of the tray.
- Page 19 To Recline Seat WARNING DO NOT adjust the seat recline with the child in Squeeze handle on back of seat and push down or pull up to adjust. There are 3 recline positions.
- Page 20 WARNING Always use the seat belt.
- Page 21 To convert to 3-pt harness. Use slide adjuster at waist for tighter adjustment.
- Page 22 Use slide adjuster at shoulder and waist for tighter adjustment. Repeat on other side. When changing harness strap slots, MAKE SURE harness straps are going through same slots in seat pad and seat back. The harness straps must go into slot that is even with or slightly above the shoulders.
- Page 23 Using as Feeding Booster In order to use as feeding booster you will need to remove all of the legs. See page 12 to remove the front and rear legs. Slide 4 strap doors over leg holes in seat to access straps. Pull straps out from compartments in bottom of seat.
- Page 24 Place feeding booster on a chair with no armrests and that has a back, ensuring that the straps are hanging freely. Make sure that there are no extra seatpads or cushions on the chair that you are using with the booster. Wrap top straps around back of seat and secure clip.
- Page 25 Wrap bottom straps around base of seat and secure clip under the seat. Tighten by pulling on the loose straps. CHECK to make sure feeding booster is securely attached by moving from side to side. SNAP! Ensure the feeding booster is attached correctly by pulling up on it.
- Page 26 To Remove Feeding Booster from Chair WARNING DO NOT remove feeding booster seat with the child in it. FALL HAZARD Never move or lift high chair or booster seat with child in it. Unfasten clips on bottom of seat. Unfasten clips from back of seat.
- Page 27 Remove feeding booster seat from seat. Fold and store straps in compartments on bottom of feeding booster as shown. Slide 4 strap doors over strap compartments to store straps. In order to use in highchair mode, MAKE SURE the compartment door is closed before reattaching the legs.
- Page 28 To Store Legs To remove front legs, press button on side of seat and pull leg out a little. NOTE: DO NOT pull leg out completely until you have pressed button on the other side of seat to release the other leg. To remove rear legs, press buttons on side of seat as shown.
-
Page 29: Care And Maintenance
Care and Maintenance FROM TIME TO TIME CHECK YOUR HIGHCHAIR for worn parts, torn vinyl or stitching. Replace or repair the parts as needed. Use only Graco replacement parts. TO CLEAN HIGHCHAIR FRAME, use only household soap and warm water. NO BLEACH or detergent.
Need help?
Do you have a question about the SimpleSwitch and is the answer not in the manual?
Questions and answers
for storage: how do you remove the front legs from the foot rest