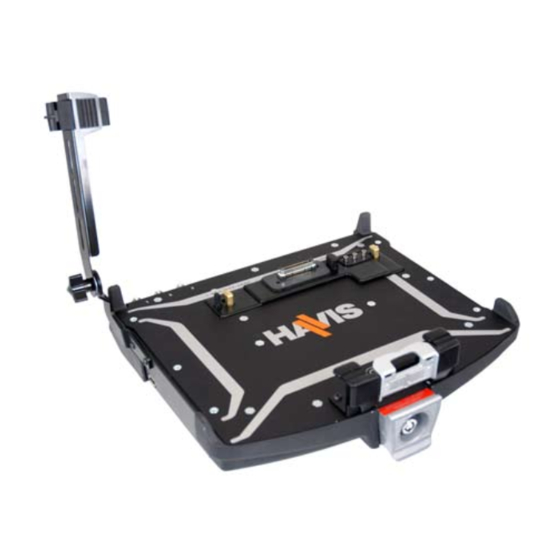
Summary of Contents for Havis DS-DELL-300 Series
- Page 1 DS-DELL-300 Series Havis Rugged Mobile Docking Station For DELL XT2 XFR www.havis.com 1-800-524-9900...
- Page 2 Before Beginning Havis is pleased to provide these set-up instructions to aid in the proper installation and use of the DS-DELL-300 Series docking station for the DELL XT2 XFR laptop. For questions regarding the set-up of your DS-DELL-300 Series docking station, please contact Havis at 1-800-524-9900 or visit www.havis.com for additional...
- Page 3 Table of Contents Hardware Kit..........................2 Name and Function of Parts....................3 Installation...........................4 Cable Management........................5 Installation of Screen Stiffener....................6 Operation - Docking/Undocking...................7 Operation - LCD Clip........................9 Hardware Kit The hardware kit includes: 1. Zip Ties (4) 2. Keys (2) 3. Zip Tie Mounts (2) 4.
-
Page 4: Name And Function Of Parts
+ Power USB IEEE 1394 USB 2.0 USB 2.0 Power DB9 Serial Ethernet Input (Firewire RJ45 Screen Stiffener (DS-DA-403) Front Hold-Down Docking Bracket Connector Head LCD Clip Front Latch Locator Pins Handle Barrel Lock/ Dock Release www.havis.com • 1-800-524-9900... -
Page 5: Installation
Installation 1). Remove the mounting bracket from the packaging. Next install the mounting bracket to the motion device using (4) 1/4“-20 button head screws (supplied). Torque screws to 13.4Nm (120 in-lbs) ± 10%. 1/4” - 20 Screws (4) Mounting Bracket Typical Motion Device Example 2). -
Page 6: Cable Management
Secure to zip tie mount This loop must be large Close up of Zip Tie Mount enough to allow full range of rotation and extension without yanking connections Tie off on stationary part of the mounting system www.havis.com • 1-800-524-9900... -
Page 7: Installation Of Screen Stiffener
Installation of Screen Stiffener 1). Align holes in screen stiffener with holes on side of docking station. 2). Apply a drop of medium strength thread-locking adhesive and attach with (2) M4 x 0.7 x 8mm BHCS screws. Torque to 1.8Nm/16 ± 10% in-lbs using a 2.5 hex drive. Screen Stiffener Clip Screen Stiffener Bracket... -
Page 8: Operation - Docking/Undocking
LCD and main body. Take care to center computer in dock when loading. 4). Lower back of laptop down onto docking connector. CAUTION Do Not Force Laptop Onto Connector if There is Resistance - Check Alignment With Locating Features www.havis.com • 1-800-524-9900... - Page 9 Operation - Docking/Undocking Front Latching Handle 5). With computer seated on dock apply slight downward pressure on the rear of the computer and push front latch handle towards the computer/docking station until latched 6). If desired secure computer by locking barrel lock with supplied key.
-
Page 10: Operation - Lcd Clip
LCD clip or damage may occur. Lift from this edge 2). Ensure that the LCD clip is lowered to it’s stowed position for storage and to minimize risk of damage. www.havis.com • 1-800-524-9900... - Page 11 Operation - LCD Clip (continued) Clip Removal (optional): Should use of the LCD clip not be required, it can be removed according to the following procedure. 1). Remove computer from docking station. 2). Using a 2.5 mm Hex drive, remove the two screws used to secure the front hold down bracket.
- Page 12 AU-0111-IS-A...


Need help?
Do you have a question about the DS-DELL-300 Series and is the answer not in the manual?
Questions and answers