Table of Contents
Advertisement
Quick Links
ML6 -
with Remote Control
Installation and Operating Instructions
These instructions should be retained in a safe place for future reference.
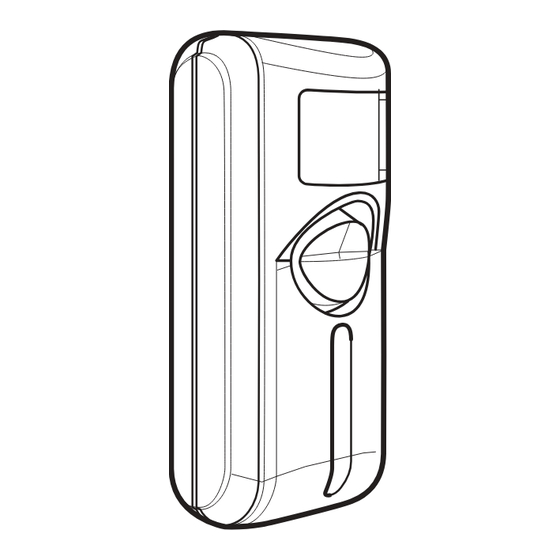
INTRODUCTION
The Alarm can be either wall mounted using the
bracket supplied or used freestanding for
portable use.
The Remote Control is used to ARM and DISARM
the system. The Remote Control operates using
Infra Red so it must be pointing directly at the PIR
Alarm to function.
A Passive Infra-Red (PIR) detector is designed to
detect movement in an area by detecting changes
in infra-red radiation levels caused for example
when a person/animal moves within the devices
field of vision.
The system has 2 operating modes: ALARM and
CHIME. Chime Mode is a low security feature
that will produce a door-chime sound when the
alarm is triggered. In Alarm Mode the device will
produce a constant high volume alarm sound
when triggered.
Safety: Always follow the manufacturers advice
when using power tools; steps, ladders etc. and
wear suitable protective equipment (e.g. safety
goggles) when drilling holes etc.
Before drilling holes in walls, check for hidden
cables and pipes, the use of a cable/pipe locater
may be advisable if in doubt.
The use of ear protection is advisable when
working in close proximity to the Siren due to the
high sound level produced by this device.
Do not use in
wet locations.
Single Room PIR Alarm
INSTALLATION
The alarm is designed to be wall mounted with the
ball and socket mount (included). The ball and
socket mount will provide the flexibility to aim the
motion sensor in a particular direction.
1. Select
your desired location for the alarm, such
as the corner of a room.
maximum coverage.
Note:
The sensor has a 6m. detection zone,
with approximate angles of 110° horizontal
and 70° vertical. Recommended installation
height is 1.8 - 2.4m.
This will provide
Advertisement
Table of Contents

Related Manuals for Response ML6


Summary of Contents for Response ML6
- Page 1 ML6 - Single Room PIR Alarm with Remote Control Installation and Operating Instructions These instructions should be retained in a safe place for future reference. INTRODUCTION The Alarm can be either wall mounted using the bracket supplied or used freestanding for portable use.
-
Page 2: Low Battery Indicator
Insert three AA Alkaline batteries (not included). Take care to note the polarity diagram inside the battery compartment. Replace battery compartment cover and secure screw. Installing the battery in the Remote Control: The Remote Control is supplied fitted with one CR2032 battery. - Page 3 tone, and the light will stop flashing to confirm Locate the ALARM/ CHIME switch on the side the remote has been linked to the Alarm. The of the remote. alarm unit will now respond to the remote. Replace the battery compartment cover on the main alarm unit and secure the screw.
- Page 4 1. Proof of purchase. 2. A full description of the fault. 3. All relevant batteries (disconnected). Response is a trademark of Novar ED&S. CUSTOMER HELPLINE Most issues can be solved over the phone in a few minutes. Please contact our Helpline Team on the number below for any installation...
Need help?
Do you have a question about the ML6 and is the answer not in the manual?
Questions and answers