Advertisement
Quick Links
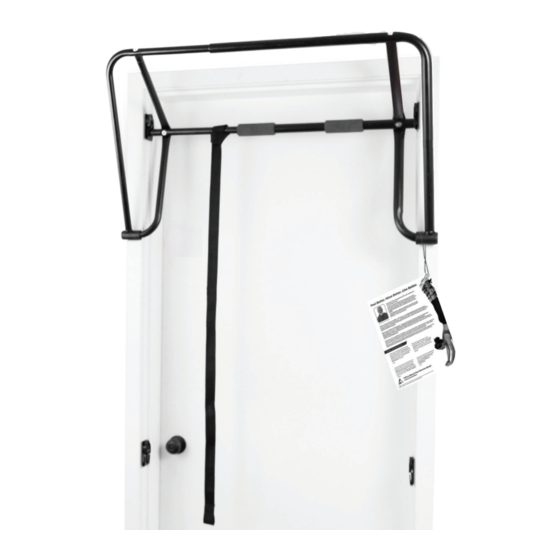
EZ-Up Chin-Up &
™
Inversion Rack and System
Assembly Instructions
FULL
5
YEAR
To download and print Teeter's EZ-Up
Chin-Up & Inversion Rack Instructions, visit the product support page at teeter.com.
™
NEW!
Follow along with
your smartphone
to make assembly
even easier!
* Specifications may vary from this image and
are subject to change without notice.
EN
Page 5
Advertisement


Need help?
Do you have a question about the Chin-Up and is the answer not in the manual?
Questions and answers