
Related Manuals for Brickcom OB-E400AF


Summary of Contents for Brickcom OB-E400AF
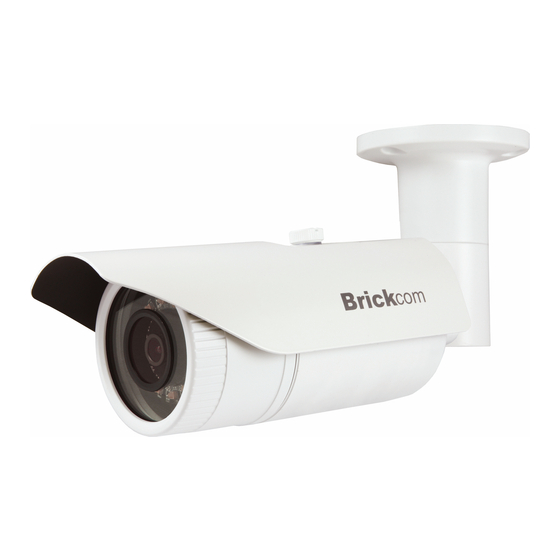
- Page 1 Easy Installation Guide Megapixel Day & Night Bullet Network Camera OB-E400Af OB-E200Af &OB-E200Nf English...
- Page 2 Product CD e. Easy Installation Guide Warranty Card g. High Power PoE (Optional) h. Waterproof connector (OB-E400Af Only) (Please refer to bottom message) The product is intended to be supplied by a Listed Power Unit marked “L.P.S”(or “Limited Power Source”) and rated output 24V AC, 50/60 Hz, 0.7A minimum or 12V DC, 1A minimum or 48V DC, 0.25A minimum”...
-
Page 3: Hardware Installation
Hardware Installation Do not mount the camera on any soft material. The camera may fall and be damaged. A compliant waterproof connector shall be attached tightly to the conduit hole of the Vandal Dome Network Camera, and all the cables shall run through the connector for the camera to be IP66-compliant. - Page 4 Step 2. Camera Connection The Bullet Series is DC12V and PoE compliant, so there are two options for connecting the camera to a power and Ethernet source. The camera can either be connected to a PoE-enabled switch or a non-PoE switch. a.
- Page 5 b. If using a non-PoE switch: i. Use a standard RJ-45 cable to connect the camera to a PoE Injector. ii. Use a standard RJ-45 cable to connect the PoE Injector to the non-PoE switch. Use a standard power cable to connect the PoE Injector to a power iii.
-
Page 6: Software Installation
Software Installation Step 1. Install the EasyConfig Software Insert the CD into the CD-ROM, and follow the instructions of the InstallShield Wizard to finish installation. Step 2. Launch the EasyConfig Software Launch the EasyConfig software, and click on the camera from the survey list to connect. - Page 7 Follow the EasyConfig software to configure the camera’s IP address and EasyLink settings. Step 3. Installation Completed Click to view the live video feed of the network camera.
Need help?
Do you have a question about the OB-E400AF and is the answer not in the manual?
Questions and answers