
Related Manuals for Southern Enterprises MS1073T0TX-Cherry


Summary of Contents for Southern Enterprises MS1073T0TX-Cherry
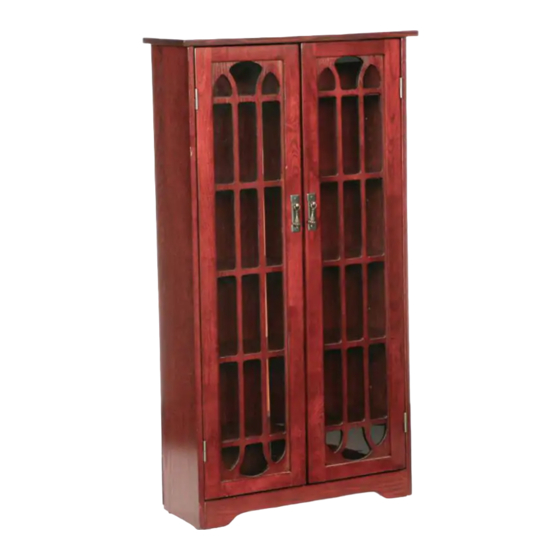
- Page 1 MS1073T0TX-Cherry MS1074T0TX-Mission Oak For assistance with assembly contact: Window-Pane Double-Door Media Cabinet Southern Enterprises Inc. Customer Service 1-800-633-5096 Assembly Instruction service@seidal.com www.seidal.com PO#11627...
- Page 2 S1073T0TX-Cherry / MS1074T0TX-Mission Oak Window-Pane Double-Door Media Cabinet Parts List Please review all parts and hardware before disposing of any packaging. Call Customer Service if missing hardware. Do not return to store/retailer. Using a screw that is too long will cause damage. Before beginning assembly, separate each type of screw.
- Page 3 26pcs 26pcs 4pcs Cam Bolt ∮6.8x36 mm Cam Lock ∮15x12 mm Wood Dowel ∮8x30 mm 26pcs 2pcs 4pcs Black Screw ∮3x12 mm Bolts ∮5/32” x12 mm Handle 8pcs 1pcs 2pcs Shelf Holder Door Catch Antique Bronze Screw 3x12 mm 4pcs 28pcs 2pcs Screw ∮3x12 mm...
- Page 4 MS1073T0TX-Cherry / MS1074T0TX-Mission Oak Window-Pane Double-Door Media Cabinet Assembly Instructions Step 1: PLEASE DO NOT OVER-TIGHTEN CAMBOLTS. PLEASE STOP WHEN YOU FEEL TIGHT Attach bottom front stretcher (D) and bottom back stretcher (H) to bottom shelf (F) by using cam bolt (1), cam lock (2) and wood dowel (3) as shown.
- Page 5 Step 3: Attach top panel (A) to the frame by using cam bolt (1), cam lock (2) as shown. Step 4: Attach left facing door (J) and right facing door (K) to the frame by using hinge (10) and screw (11) as shown.
- Page 6 Step 5: Attach back panel (G) to the back of frame by using screw (4) as shown. Step6: Insert shelf holder (7) then put on all shelves (I) as shown.
- Page 7 Step7: Attach bracket (14) to the back of cabinet by using screw (4) as shown. Step8: Drill two 3/16" holes on the wall with measurements as shown. Please mount at least 1 screw into a wall stud. No anchors needed when attaching screws directly to a wall stud Insert plastic anchors (15)
- Page 8 90 days of your receipt, we are under no obligation to provide parts or replacement merchandise. Please contact Southern Enterprises at 800-633-5096 or in Dallas 972-869-0111/ 9am – 4pm Mon-Fri Central time if you have product issues or email us at service@seidal.com. Please ask for customer service representative for issues involving damages or replacement parts.
Need help?
Do you have a question about the MS1073T0TX-Cherry and is the answer not in the manual?
Questions and answers