
Related Manuals for FIBARO FGBHCD-001


Summary of Contents for FIBARO FGBHCD-001
-
Page 1: Table Of Contents
O P E R A T I N G M A N U A L 4 x BEEP & RED LED BLINKING MOVE TO FRESH AIR! FIBARO CO SENSOR FGBHCD-001 CONTENTS v1.0 #1: Description and features #6: Functionality #2: Powering the accessory #7: Visual indications & acoustic signals... -
Page 2: Important Safety Information
HomeKit-enabled accessories using Siri on your iPhone, iPad, or iPod touch. After installing your FIBARO CO Sensor, configure it from a compatible app with just a few simple steps. You can even create your own custom scenes to control your home settings. -
Page 3: 1: Description And Features
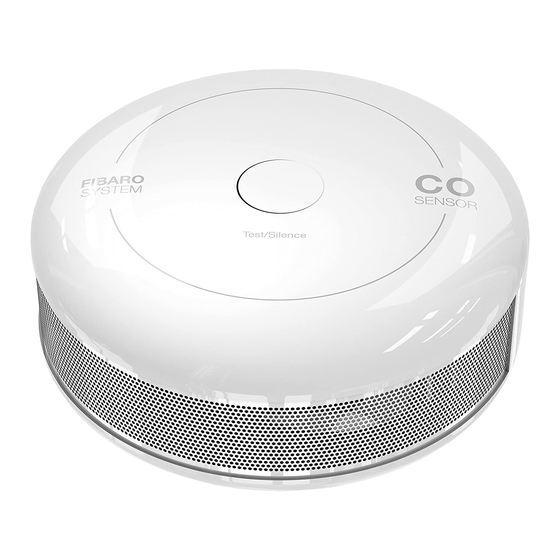
#1: Description and features FIBARO CO Sensor is a HomeKit-enabled carbon monoxide detector using Bluetooth® low energy technology. Its high sensitivity allows to detect the presence of the carbon monoxide (CO) gas at the early stage in order to prevent carbon monoxide poisoning. -
Page 4: 2: Powering The Accessory
1. Turn the cover counter-clockwise. 2. Take off the cover. 3. Remove the paper strip protecting the battery. NOTE FIBARO CO Sensor may 4. Proper powering up will be con- operate as a stand- firmed with a short beep. alone carbon monox-... -
Page 5: 3: Pairing The Accessory
#3: Pairing the accessory 1. Open the Settings app on your iOS device. 2. Go to the Bluetooth® section, and turn the Bluetooth® on. 3. Place the accessory next to your iOS device. 4. Open a HomeKit compatible app of your choosing on your iOS device. -
Page 6: 4: Physical Installation
#4: Physical installation READ BEFORE INSTALLATION AND HEED ALL THE WARNINGS! The accessory should be installed below the ceiling level. • • The accessory should be installed on the wall, at least 30 cm (1 ft) away from the corners. •... -
Page 7: 5: Operating The Device
#5: Operating the device Menu allows to perform different actions. In order to use the menu: 1. Press and hold the button for 3 seconds. Button NOTE CO Sensor must be de- tached from the wall and battery level must be greater than 30% of its full capacity to 2. - Page 8 If measured value differs from previously reported by at least 5ppm, accessory reports it to your iOS device. Last 2500 measurements are stored in non-volatile memory of the ac- cessory and can be accessed via FIBARO for HomeKit app. Temperature measuring: NOTE The CO Sensor measures ambient temperature every 30 seconds.
-
Page 9: 7: Visual Indications & Acoustic Signals
#7: Visual indications & acoustic signals Indications and signals: The CO Sensor is equipped with a LED diode and a buzzer, signalling menu position and status of the accessory. Accessory status indications: what what you see what it means what to do you hear Detected pres- 1. - Page 10 #8: Battery FIBARO CO Sensor can be powered with CR123A (included) battery. CAUTION Estimated battery life with accessory on default settings is 3 years using batteries other (tested with Panasonic Industrial Lithium). than specified may result in explosion. Checking battery level:...
- Page 11 #9: Specifications Power supply: CR123A 3.0V battery (included) CAUTION using batteries other Battery life: 3 years on default settings than specified may (tested with Panasonic Industrial Lithium) result in explosion. Dispose of properly, Lifespan under typical 8 years observing environ- conditions: mental protection...
- Page 12 All information, including, but not limited to, information regarding the features, functionality, and/or other product specification are subject to change without notice. Fibaro reserves all rights to revise or update its products, software, or documentation without any obligation to no- tify any individual or entity.
Need help?
Do you have a question about the FGBHCD-001 and is the answer not in the manual?
Questions and answers