Table of Contents
Advertisement
Quick Links
Download this manual
See also:
User Manual
Advertisement
Table of Contents

Related Manuals for Intellinet 550857


Summary of Contents for Intellinet 550857
-
Page 1: Network Camera
NSC18-WN PaN/TilT NeTWork Camera quiCk iNSTall guide Model 550857 INT-550857-QIG-0709-01... - Page 3 1) on the CD enclosed with this product; 2) on the Web site listed below; or 3) in some cases, printed and enclosed with this product. Contact your INTELLINET NETWORK SOLUTIONS dealer with comments or questions, or visit www.intellinet-network.com for information on the latest software and...
-
Page 4: Regulatory Statements
regulaTory STaTemeNTS EU Declaration of Conformity This device complies with the essential requirements of the R&TTE Directive 1999/5/EC. This device is a 2.4 GHz wideband transmission system (transceiver) intended for use in all EU member states and EFTA countries, except in France and Italy, where restrictive use applies. In Italy, the end-user should apply for a license at the national spectrum authorities in order to obtain authorization to use the device for setting up outdoor radio links and/or for supplying public access to telecommunications... -
Page 5: Safety Precautions
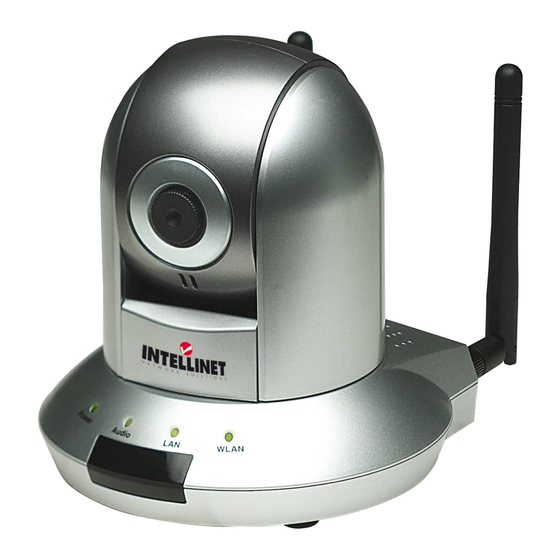
interference, and 2) This device must accept any interference received, including interference that may cause undesired operation. FCC Caution Any changes or modifications not expressly approved by the party responsible for compliance could void the user’s authority to operate this equipment. IEEE 802.11b or 802.11g operation of this product in the U.S. - Page 6 hardWare Front and Side Wireless antenna (1 of 2) Wireless Antenna(s) – Connects the camera to the wireless network. Focus Adjustment Ring – Focus For manually setting adjustment the best image quality. ring Built-in Microphone – For two-way audio. Built-in Power LED –...
-
Page 7: Back Connections
Back / Connections 1. Connect one end of the included Ethernet cable (or a similar one) to your local area network and the other end to the LAN port. NOTE: You can skip this step if you plan to use a wireless LAN only. 2. - Page 8 3. When the Welcome to the IPCam Admin Utility Setup Wizard screen displays, click “Next.” 4. When the Select Destination Location screen displays, click “Next” to continue or click “Browse” to select another folder or drive to install the admin utility. 5.
- Page 9 6. When the Ready to Install screen displays, click “Install.” 7. When the Completing the IPCam Admin Utility Setup Wizard screen displays, click “Finish” to complete the install. NOTE: The “Launch IPCam Admin Utility” option should be selected by default. Admin Utility 1.
- Page 10 2. When a camera is found and listed (as shown above), highlight it to select it, then click on the Browse Camera via Web icon (the middle of the three icons in the lower-left corner of the screen). This will launch your Web browser so you can connect to the camera.
- Page 11 4. With the LAN Setting screen displayed so you can replace an “0.0.0.0” IP address with a valid one, select “Manual IP” and enter values for “IP,” “NetMask,” “Gateway” and “DNS.” Unless you’re familiar with the effects changing the “Web Port” value would have, leave it as is. Click “OK.”...
- Page 12 6. When the Internet Camera login screen displays (right), enter a username and password and click “OK.” As before, the “User Name” and “Password” defaults are “admin” and “1234.” NOTE: If this login screen doesn’t display, go back and re-enter the IP address as necessary.
- Page 13 9. At this point, you should be able to view the images captured by the camera. For instructions in configuring/using the many features and functions of the NSC18-WN Pan/Tilt Network Camera, refer to the user manual on the included CD.
- Page 16 INTellINeT NeTWoRK SolUTIoNS offers a complete line ™ of active and passive networking products. Ask your local computer dealer for more information or visit www.intellinet-network.com Copyright © INTELLINET NETWORK SOLUTIONS All products mentioned are trademarks or registered trademarks of their respective owners.
Need help?
Do you have a question about the 550857 and is the answer not in the manual?
Questions and answers