
Subscribe to Our Youtube Channel
Related Manuals for ZERO-X Rapture ZXRAP


Summary of Contents for ZERO-X Rapture ZXRAP
- Page 1 • •• R AP T URE D R ON E • •• USER MANUAL PRODUCT CODE: ZXRAP www.zero-x.com.au www.zero-x.co.nz...
-
Page 3: General Safety
While the battery is charging the LED on the USB charger will glow red. Once charging is complete the light will glow green. While the battery is charging take the time to read the instructions and familiarise yourself with the controls of your Zero-X Rapture drone. -
Page 4: Battery Safety
• You must charge the LiPo battery in a safe area away from lammable materials. • Only use the included, or replacement Zero-X Rapture compatible charger and battery. • The battery is only to be charged under adult supervision, do not leave charging batteries unattended. -
Page 5: Package Contents
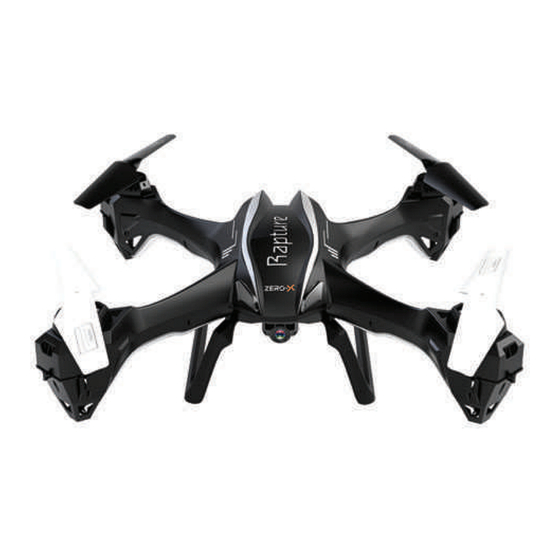
Package Contents Rapture Drone Rapture Battery Rapture Battery Charger Remote Control Remote Control Battery Remote Control Battery Charger Rotor Blades Rotor Guards Screwdriver 10. User Guide... - Page 6 Rapture Drone Diagram Top View 1. Front Rotor Blades 2. Rear Rotor Blades Under Side View 3. LED Lights 4. Feet 5. On / Off Switch 6. Camera 8. Micro SD Card Slot * 7. Battery * Micro SD Card not included...
-
Page 7: Remote Control Diagram
Remote Control Diagram Power Switch Left Thumbstick (Acceleration / Yaw) Right Thumbstick Yaw Trim Controller (Pitch / Roll) Pitch / Roll Trim Controller FPV Screen View Button Record Button Photo Button 10. Up Button 11. Down Button 12. Micro SD Card Slot 13. - Page 8 Remote Control LCD Screen Diagram Connection View Footage / Photos (Micro SD card must be inserted into the FPV screen to view) Shoot Video Footage (Micro SD card must be inserted in the Rapture Drone to shoot video footage) Shoot Still Photo (Micro SD card must be inserted in the Rapture Drone to shoot still photos) Brightness Up Brightness Down...
-
Page 9: Charging The Battery
Set Up Charging the Battery Unwind & plug the included USB charger into a powered USB port. You can connect the USB charging cable to either a computer USB port, USB C-Tick certiied DC 5V/2.1A output wall charger or USB power bank. Use only use the USB charging cable included with the Rapture drone. - Page 10 Set Up Camera • The camera on the Rapture drone should already be connected. It is advised that the camera is not removed and reconnected as this can potentially damage the camera connection. • If it is necessary to plug these cables in make sure that the plugs are facing the correct way as plugging these in incorrectly could permanently damage the connection pins on the Rapture drone.
-
Page 11: Flight Safety
Set Up Remote Control • Connect the Remote Control Battery to the included Remote Control Battery Charger and connect the USB end into a powered USB port. • The red light on the Remote Control Battery Charger will turn off once the battery is fully charged, once charged disconnect the battery form the charger. - Page 12 Launching your Rapture drone 1. After installing a fully charged battery into the Rapture drone and Remote Control and conducting a complete check of your surroundings, turn the Power Switch (5) on the Rapture drone to the ON position. 2. Once the Rapture drone is powered on, the LED lights on the arms should lash, signalling no connection to the Remote Control.
- Page 13 Launching your Rapture drone Once activated do not approach the drone again until the remote has been powered off If for any reason the Rapture drone does not work after following the launching steps, please check the following. a) The Rapture drone batteries are fully charged, correctly connected and not damaged.
- Page 14 Controlling your Rapture Drone Basic Controls Lift / Descent Push up the Throttle Rudder Stick and the drone will ly up. Push down the Throttle Rudder Stick and the drone will ly down. Yaw Left / Right Push the Left Rudder Stick to the left or to the right, the drone will rotate in the corresponding direction.
- Page 15 Controlling your Rapture Drone Speed Modes The Rapture drone has 3 speed modes that control the acceleration and manoeuvrability of the drone. To cycle through the Speed Modes, use the Speed Button (14) on the rear of the left handle of the Remote Control. When the Rapture drone is powered up it will start in LOW speed mode.
- Page 16 Controlling your Rapture Drone Trimming Trimming is used to balance the Rapture drone when the light is off centred. Please check before attempting to use trimming that the Rapture drone’s light is not being affected by outside forces such as wind. Trimming Pitch To trim the Rapture drones’...
- Page 17 Controlling your Rapture Drone Camera The camera on the Rapture drone is controlled via the Record and Snap buttons on the left hand side on the FPV screen. When you are intending to use the camera, please ensure that you have inserted a Micro SD Card (not included) into the Micro SD Card slot in the camera on the underside of the Rapture drone.
- Page 18 Controlling your Rapture Drone First Person View Display When connected the First Person Display streams the video from the Rapture drones camera as well as gives the ability to play back footage from an inserted SD Micro Card. Interface The FPV interface can be controlled using the ive buttons on the side of the FPV screen.
- Page 19 Controlling your Rapture Drone First Person View Display Directory Screen The Directory Screen is used to playback and delete Videos and Photos. Viewing 1. Delete (View Button) 2. OK / Select (Record Button) The FPV screen will allow you to view Videos and Photos taken with the Rapture drone.
- Page 20 Maintenance Cleaning: Avoid exposing your Rapture drone and it’s accessories to dust, sand and moisture as these can damage the Rapture drone. If the Rapture drone is exposed to dust or sand, use a soft brush to remove any visible particles. Rotor Blade replacement: 1.
-
Page 21: Parts And Accessories
Parts and Accessories To purchase parts and accessories for your Zero-X Rapture drone, please visit your nearest Zero-X retailer or visit us online at www.zero-x.com.au ZXRBSRBW Rotor Blades for Rapture and Spectre drones – Black and White ZXRBSRBO Rotor Blades for Rapture and Spectre drones – Black and Orange ZXRBSRBR Rotor Blades for Rapture and Spectre drones –... -
Page 22: Warranty Terms And Conditions
The retailer will then return the goods to Zero-X. Zero-X will repair, replace or refurbish the product at its discretion. The retailer will contact you when the product is ready for collection. - Page 24 www.zero-x.co.nz...
Need help?
Do you have a question about the Rapture ZXRAP and is the answer not in the manual?
Questions and answers