Sign In
Upload
Download
Table of Contents
Contents
Add to my manuals
Delete from my manuals
Share
URL of this page:
HTML Link:
Bookmark this page
Add
Manual will be automatically added to "My Manuals"
Print this page
×
Bookmark added
×
Added to my manuals
Manuals
Brands
ZERO-X Manuals
Drones
ZXRVN
User manual
ZERO-X ZXRVN User Manual
Hide thumbs
1
2
3
4
5
6
7
8
9
10
11
12
13
14
15
16
17
18
19
20
21
22
23
24
Table Of Contents
25
page
of
25
Go
/
25
Contents
Table of Contents
Bookmarks
Table of Contents
General Safety
Battery Safety
Package Contents
Remote Control Diagram
Charging the Battery
Installing the Battery
Installing a Microsd Card
Flight Safety
Remote Control
Speed Modes
Shooting Video
Shooting Photos
Directional Lock
Parts and Accessories
Specifications
Warranty Terms and Conditions
Advertisement
Quick Links
Download this manual
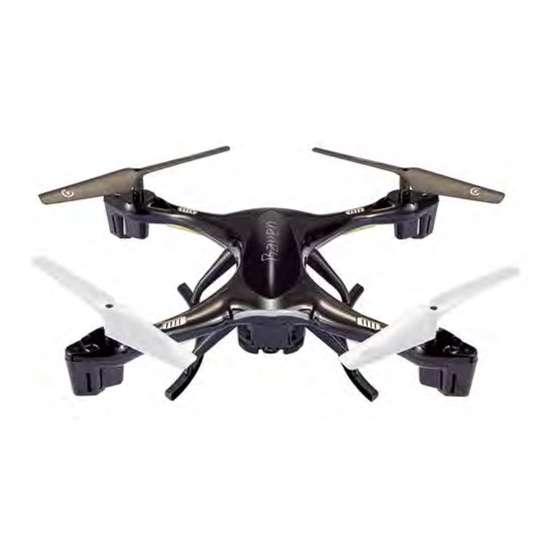
• • • R AV E N D RONE • ••
USER MANUAL
PRODUCT CODE: ZXRVN
www.zero-x.com.au
www.zero-x.co.nz
v2
Table of
Contents
Previous
Page
Next
Page
1
2
3
4
5
Advertisement
Table of Contents
Need help?
Do you have a question about the ZXRVN and is the answer not in the manual?
Ask a question
Questions and answers
Related Manuals for ZERO-X ZXRVN
Drones ZERO-X ZX-BTZ User Manual
(16 pages)
Drones ZERO-X Titan User Manual
Extended range drone with advanced flight systems (24 pages)
Drones Zero-X Scout User Manual
Compact drone with 3 speed modes (20 pages)
Drones ZERO-X swift+ User Manual
Foldable hd drone with wifi fpv (28 pages)
Drones ZERO-X ZXMP-D1000 User Manual
(42 pages)
Drones ZERO-X Glyden User Manual
Full hd drone with optical flow and wi-fi fpv (26 pages)
Drones ZERO-X pulse User Manual
Hd drone with one key take off & landing (20 pages)
Drones ZERO-X Pro Evolved 4K User Manual
(44 pages)
Drones zero-x Edge User Manual
Full hd drone with optical flow & wifi fpv (25 pages)
Drones Zero-X Spectre ZXSPT User Manual
Spectre drone (25 pages)
Drones Zero-X Hydra ZX-HRA User Manual
Full hd camera drone with wifi, gps & fpv (28 pages)
Drones zero-x nova ZX-NVA User Manual
60 metre controllable range (20 pages)
Drones ZERO-X polaris User Manual
Hd drone with wifi fpv (24 pages)
Drones Zero-X Maverick User Manual
Full-hd camera drone with gps & wifi (32 pages)
Drones Zero-X Force User Manual
Full-hd drone with advanced autopilot flight systems (25 pages)
Drones ZERO-X sirius User Manual
Fullhd drone optical flow & wifi fpv (24 pages)
This manual is also suitable for:
Raven drone
Table of Contents
Print
Rename the bookmark
Delete bookmark?
Delete from my manuals?
Login
Sign In
OR
Sign in with Facebook
Sign in with Google
Upload manual
Upload from disk
Upload from URL


Need help?
Do you have a question about the ZXRVN and is the answer not in the manual?
Questions and answers