Advertisement
Table of Contents
- 1 Table of Contents
- 2 Warning Decal Placement
- 3 Important Precautions
- 4 Before You Begin
- 5 Part Identification Chart
- 6 Assembly
- 7 How to Use the Exercise Bike
- 8 Fcc Information
- 9 Maintenance and Troubleshooting
- 10 Exercise Guidelines
- 11 Part List
- 12 Exploded Drawing
- 13 90 Day Full Warranty
- Download this manual
Model No. 831.21813.2
Serial No.
Write the serial number in the
space above for reference.
Serial Number Decal
(under frame)
• Assembly
• Operation
• Maintenance
• Part List and Drawing
Sears, Roebuck and Co.
Hoffman Estates, IL 60179
CAUTION
Read all precautions and instruc-
tions in this manual before using
this equipment. Keep this manual
for future reference.
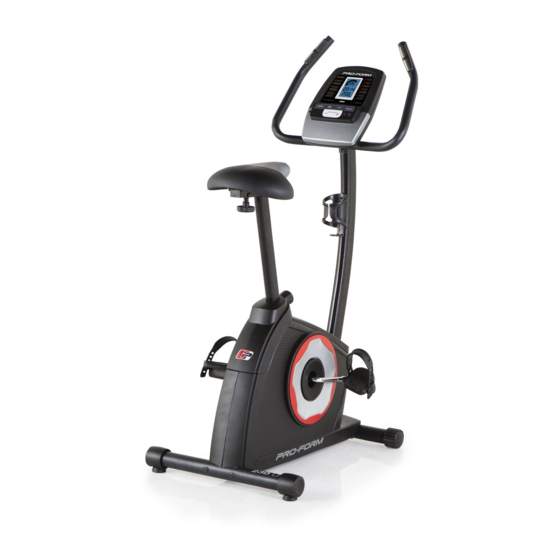
BIKE EXERCISER
User's Manual
Advertisement
Table of Contents


Need help?
Do you have a question about the 831.21813.2 and is the answer not in the manual?
Questions and answers
How do you get the batteries out of the battery compartment? I cannot pull them out to change them. Please advise.
To remove the batteries from the battery compartment of the Pro-Form 831.21813.2, first remove the screws and the battery covers. Then take out the batteries from the battery compartments.
This answer is automatically generated
Belt broke is it worth replacing ?
The manual provides instructions for adjusting the drive belt on the Pro-Form 831.21813.2 but does not mention replacing it. However, since the bike is covered by a 90-day full warranty and the frame has a 5-year warranty, it may be worth checking if the repair is covered. If the bike is out of warranty, replacing the belt could be worth it if the rest of the bike is in good condition and the cost of replacement is reasonable compared to buying a new bike.
This answer is automatically generated
Can I get a power adapter for my 230u upright bike?