Table of Contents
Advertisement
Quick Links
Advertisement
Table of Contents

Related Manuals for Provision ISR MC-392AHD37+


Summary of Contents for Provision ISR MC-392AHD37+
- Page 1 Hidden Camera 1080P Pro 4 in 1 Series...
- Page 2 Contents CAUTIONS Product Introduction Camera Introduction Product Features Menu Setup Product Installation General Notes Installation Tools and Information Setting the Video Output Type Installation Method Connections OSD Control Technical Specification...
- Page 3 6. In order to make the camera work smoothly and 1 CAUTIONS obtain a satisfactory image, the power cord and video connection can not be too long. Otherwise, the 1. To avoid the risk of electric shock, do not open or increase of line loss will lead to inadequate operating maintain the machine by yourself, please consult a voltage of the camera or inadequate video signal.
-
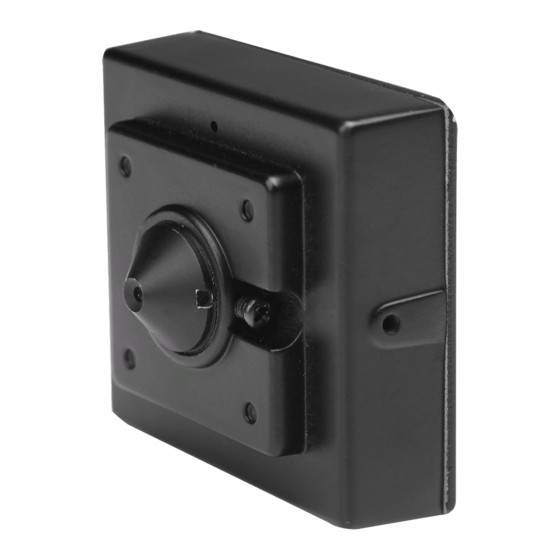
Page 4: Product Introduction
2 Product Introduction 3 Menu Setup 2.1 Camera Introduction AHD/TVI: Click on “Iris+” button from the DVR’s PTZ interface to call the OSD Menu. Use the PTZ interface PROVISION-ISR’s new series of cameras have adopted to scroll through the menu and “Iris+” to confirm. a high performance CMOS image sensor which provides HD resolution and supports high resolution CVI: Click “... - Page 5 required accessories from the manufacturers. Issues • If you are installing on a cement wall, use the caused by unauthorized repair are your responsibility. expansion screw holes and then mount the bracket or base. 4.2 Installation Tools and Information • If you are installing on a wooden wall, use the self-tapping screws to mount Prepare the required engineering data and instructions.
- Page 6 4.5 Connections Connection as show in the figure below 4.6 OSD Control The OSD control is available by CoC (Control over Coax) only. If your AHD/TVI/CVI DVR supports this function*, use the DVR’s PTZ interface to press on “Iris+” or “ ”...
-
Page 8: Specifications
Specifications: 4 in 1 Pro Hidden camera (1080P) DS-392AHD37+ / IV-390AHD37+ MC-392AHD37+ / DL-392AHD37+ Model MC-392AHD37+ DL-392AHD37+ Model DS-392AHD37+ IV-390AHD37+ Image Sensor 1/3" 2.0MP Sensor Image Sensor 1/3" 2.0MP Sensor Effective Pixels 1984(H)×1225(V) Effective Pixels 1984(H)×1225(V) Scanning System Progressive Scanning System Progressive Resolution Digital:1920×1080P, Analog:960H...
Need help?
Do you have a question about the MC-392AHD37+ and is the answer not in the manual?
Questions and answers