Advertisement
Quick Links
Advertisement

Subscribe to Our Youtube Channel
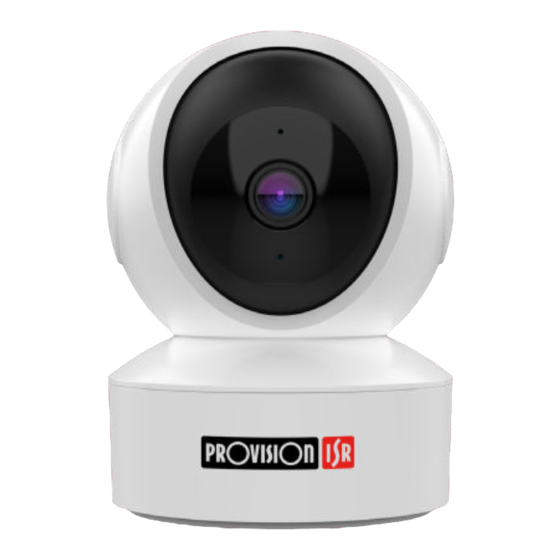
Summary of Contents for Provision ISR PT-848
- Page 1 לעברית Quick Installation Guide PT-848 As Simple As It Gets!
- Page 2 Table of contents PnV2 App Installation Page 2 Registration Page 2 Add Camera Page 3 Additional Actions Page 8...
- Page 3 Provision-ISR PnV IP Camera Quick Installation Guide: PnV2 App Installation a. Install the free 'Provision PnV2' App on your device. b. Open the App and register for it. Scan for iOS /Android Registration 2. Input the desired username and password. 1.
- Page 4 Add Camera A. Camera Installation using the App's QR code (The camera is reset and connected to power only (no network cable)) 1. On the home page, click the at the upper 2. Scan the QR code located on the side or right corner or the 'Add device' button.
- Page 5 9. Please place the QR code display on your 10. If the scan is successful, the camera phone screen in front of the camera lens will beep, and the App will ask to add the from a distance of 15-30 cm. camera.
- Page 6 B. Wireless Installation (supported on specific models only) (The camera is reset and connected to power only (no network cable)) Note: for this procedure to be successful, 3. Click on the 'Others' icon located at the your smartphone must be wirelessly bottom of the scan page.
- Page 7 9. A pop-up message will ask you to confirm 7. The WiFi network the smartphone is the password. Click on 'Confirm it' to connected to will be displayed. Please ensure it is the right network before continue. proceeding. 8. Please enter the wireless network's password and click 'OK.' 10.
- Page 8 C. Camera Installation by local network search (The camera is reset, connected to power, and to the router) Note: for this procedure to be successful, your smartphone must be wirelessly connected to the same network you want the camera to connect to. 1.
- Page 9 A. Camera Sharing B. Cloud Storage gear icon 1. Click the settings ( ) located below the camera image on home page. Device sharing 2. Click the ' ' option. Click the cloud icon located below the Camera image on the home page. Pick the desired plan (there are two: 7-day and 30-day retentions.) Cloud recordings are motion based only!
- Page 10 The guide is available for download at the company's website: www.pikok.co.il Technical Support: Website: http://pikok.co.il Tel: 073-7500848 / WhatsApp: 050-7337235 Provision-ISR Group, 11 Atir Yeda St., Kfar Sava, 4464310...


Need help?
Do you have a question about the PT-848 and is the answer not in the manual?
Questions and answers