Table of Contents
Advertisement
Quick Links
Advertisement
Table of Contents

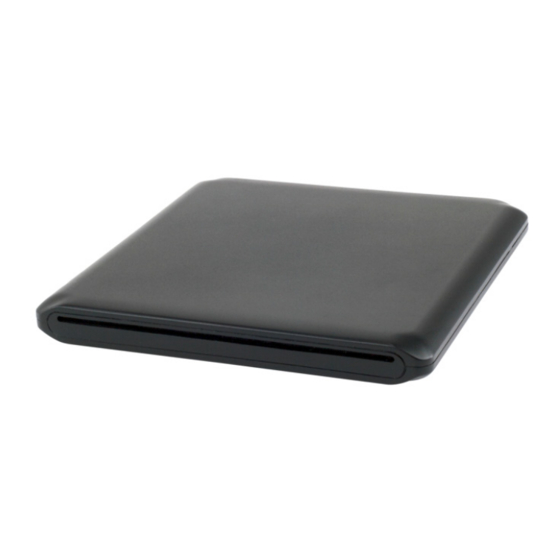
Summary of Contents for OWC Superslim
- Page 1 S U P E R S L I M Assembly Manual & User Guide...
- Page 2 PACKAGE CONTENTS A. OWC SuperSlim optical drive enclosure B. USB ‘Y type’ cable (Standard-A to mini-B) C. Collared Phillips screws (3) D. Rubber foot with adhesive backing E. Fully threaded Phillips screw Note: items C-E not shown to scale. ABOUT THIS MANUAL The images and descriptions in this manual may vary slightly from the unit shipped.
- Page 3 ASSEMBLY STEPS 1. Place the OWC SuperSlim on a soft surface with the rear of the unit to your left. Press down lightly on the top case and then push the top case to the right, as shown. This will unseat the top case from the tabs in the bottom case so that you are able to remove the top case.
- Page 4 The assembly process is now complete. For information on how to connect your OWC SuperSlim enclosure, please see the support tips provided on the next page. OWC SuperSlim...
- Page 5 SUPPORT RESOURCES Connecting the OWC SuperSlim Use the included USB cable to connect the OWC SuperSlim to your computer. Plug the mini-B connector into the OWC SuperSlim. When connecting the other end of the cable into the computer, use the USB standard-A connector that has two wires going into it. This is the connector that carries a data signal.
- Page 6 OWC reserves the right to make changes or revisions in the product design or the product manual without reservation and without obligation to notify any person of such revisions and changes.


Need help?
Do you have a question about the Superslim and is the answer not in the manual?
Questions and answers