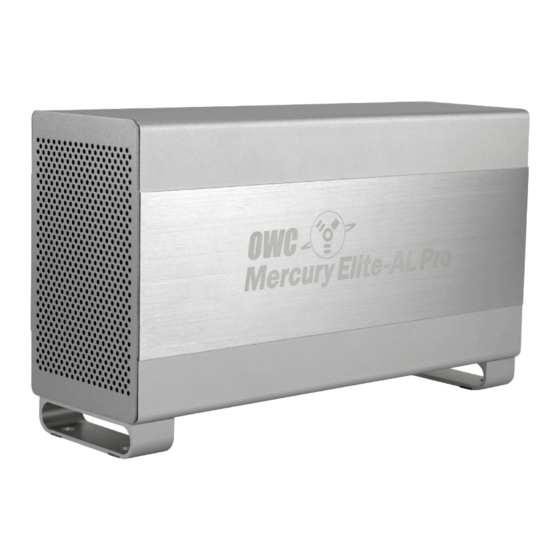
OWC Mercury Elite-AL Pro Assembly Instructions Manual
Hide thumbs
Also See for Mercury Elite-AL Pro:
- Assembly manual (28 pages) ,
- Assembly instructions manual (22 pages) ,
- Owner's manual (20 pages)
Advertisement
Quick Links
Advertisement

Related Manuals for OWC Mercury Elite-AL Pro


Summary of Contents for OWC Mercury Elite-AL Pro
- Page 1 OWC Mercury Elite-AL Pro Dual Bay Assembly Instructions...
- Page 2 This assembly guide covers the following 3 OWC Mercury Elite-AL Pro Dual Bay Drive storage enclosures: OWC Mercury Elite-AL Pro Dual Bay “Quad Interface” - Oxford 936 OWC Mercury Elite-AL Pro Dual Bay “Triple Interface” - Oxford 934 OWC Mercury Elite-AL Pro Dual Bay eSATA...
- Page 3 Remove the 2 Phillips screws from the bottom of the enclosure From the rear of the enclosure, push forwards on the interior to slide the chassis out of the outer shell. Once the chassis is re- moved from the outer shell, you can begin install- ing your hard drive mecha- nisms.
- Page 4 (Versions with FireWire & USB - Oxford 934 or 936) Begin drive installation by setting your hard drive into the chassis, towards the front of the chassis and slide the drive onto the black connec- tor on the green logic board. (Versions with eSATA ONLY) Connect one of the multi- colored power cables to the...
- Page 5 (Versions with FireWire & USB - Oxford 934 or 936) Connect the combined power and SATA cable to the back of the hard drive you’re installing in the top bay. It’s easiest to do this with the drive positioned towards the front of the chas- sis, as shown, and then slide the drive back to the mounting position shown below.
- Page 6 RAID settings - Oxford 934 (Triple Interface) model To change the RAID settings on your Oxford 934 (Triple Interface) enclo- sure, there are jumpers located on the bridge board inside the enclo- sure that need to be adjusted. To do so, you can access the switches simply by removing the exhaust fan on the back of the enclosure.
- Page 7 Secure the 2 hard drives into the chassis by inserting the 8 Phillips screws (4 each side) through the black rubber anti-vibration grommets, and into the hard drives. You may have to lift up a bit on the drives to get them into position.
- Page 8 Place the enclosure on it’s side and insert 4 Phillips screws into the holes in the bottom of the enclosure to complete assembly of your new OWC Mercury Elite-AL Pro Dual Bay. Time to power up your new OWC Mercury Elite-AL Pro Dual Bay! Turn the drive so you can see the rear ports.
- Page 9 Then, Click on the “Initialize” button. Select the device with no volumes attached to it; in this picture, that would be the 465.8GB OWC Mercury drive, your drive may be of a dif- ferent size depending on the mechanisms you use. Click once on the picture of the drive icon next to the text.
- Page 10 Once on the Erase tab, you need to name the volume you want to format, and erase it. Name the volume as you want, choose the Volume format type, (Mac OS Extended (Journaled) is default), and click the Erase button. Confirm that you want to erase the volume by pressing the Erase but- ton.
- Page 11 Firmware Updates for the OWC Mercury Elite-AL Pro If you purchased an OWC Mercury Elite-AL Pro with a FireWire interface, it shipped from the factory with a specific RAID setting that you may be able to configure differently. See our tech center for details http://eshop.macsales.com/tech_center/fwhdd.cfm...
- Page 12 Copyrights Copyright © 2006-9 Other World Computing, Inc. All rights reserved. No part of this publication may be reproduced, stored in a retrieval system, or transmitted in any form or by any means, electronic, mechanical, photocopying, recording or otherwise, without the prior written consent of Other World Computing.
Need help?
Do you have a question about the Mercury Elite-AL Pro and is the answer not in the manual?
Questions and answers