Table of Contents
Advertisement
Advertisement
Table of Contents

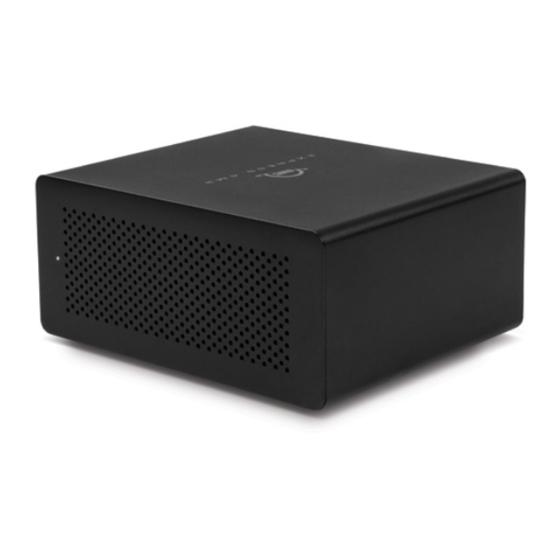
Summary of Contents for OWC EXPRESS 4M2
- Page 1 E X P R E S S 4 M 2 Assembly Manual & User Guide...
-
Page 2: Table Of Contents
1.3 Usage Notes 1.4 About This Manual 1.5 Front View 1.6 Rear View ................Device Setup 2.1 Assembly ..............Support Resources 3.1 Troubleshooting 3.2 About Data Backup 3.3 Contacting Technical Support OWC Express 4M2 Table of Contents OWC Express 4M2... -
Page 3: Introduction
The images and descriptions may vary slightly between this manual and the unit shipped. Functions and features may change depending on the firmware version. Please visit the product web page for the most current information. OWC’s Limited Warranty is not transferable and is subject to limitations. -
Page 4: Front View
1.5 Front View 1. Power LED 1.6 Rear View 2. Dual Thunderbolt 3 ports 3. DisplayPort 4. Power Input OWC Express 4M2 Introduction... -
Page 5: Device Setup
DEVICE SETUP 2.1 Assembly Please follow the instructions below to install one or more M.2 SSDs into the OWC Express 4M2 enclosure. If you have any concerns please contact our technical support team. 1. Remove the Express 4M2 from its packaging then loosen the two thumbscrews on the back of the device until they spin freely. - Page 6 SSD forward until it is fully seated. If the drive feels stuck, do not force it into the connector; remove it, re-align the SSD’s contacts with the connector and try again. OWC Express 4M2 Device Setup...
- Page 7 10. Tighten both thrumbscrews on the back of the device until you feel resistance. This completes the assembly process. You can now connect the device to power and your host computer with the included cable. OWC Express 4M2 Device Setup...
-
Page 8: Support Resources
To ensure your files are protected and to prevent data loss, we strongly suggest that you keep two copies of your data: one copy on your OWC Express 4M2 and a second copy on either your internal drive or another storage medium, such as an optical backup, or on another external storage unit. -
Page 9: Contacting Technical Support
OWC reserves the right to make changes or revisions in the product design or the product manual without reservation and without obligation to notify any person of such revisions and changes.


Need help?
Do you have a question about the EXPRESS 4M2 and is the answer not in the manual?
Questions and answers