Electrolux T4130 Installation Manual
Hide thumbs
Also See for T4130:
- Service manual (69 pages) ,
- Installation manual (21 pages) ,
- Brochure & specs (20 pages)

Related Manuals for Electrolux T4130


Summary of Contents for Electrolux T4130
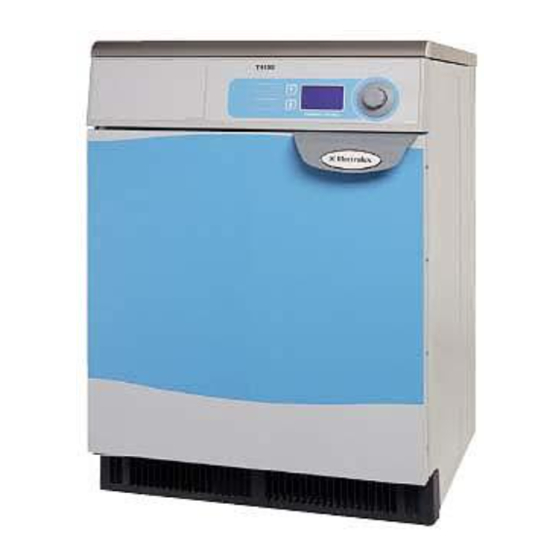
- Page 1 Installation manual Tumble dryers T4130 Type N1130 Compass Control 487 05 41 61/EN Installation manual in original language 2011.09.16...
-
Page 3: Table Of Contents
Contents Contents Safety precautions ................. 5 Technical data ..................7 Setup ...................... 9 Unpacking ..................9 Door reversal .................. 10 Installation .................... 11 Installation on board a ship ............11 Washing column ................12 Condensate dryer ................13 Installation of ventilating system ............ 13 Changing over condensate dryers .......... -
Page 5: Safety Precautions
Safety Precautions Safety Precautions Do not dry unwashed items in the machine The machine is not to be used if industrial chemicals have been used for cleaning. Do not allow minors to use the machine. Do not hose down the machine with water. The machine's door lock must under no circumstances be bypassed. -
Page 7: Technical Data
Technical data Technical data T4130/T4130C Standard Condensate Drum volume litres Weight net Drum diameter depth revolutions g-factor Capacity, max Heat effect 5.1/3.2 Motor effect 0.13 0.20 revolutions 50 Hz 2730 2730 revolutions 60 Hz 3330 3330 Air consumption Piping evacuation ø... - Page 8 Technical data Dimension sketch Ø 100 W00201 Connecting branch - condensate dryers only fl 14 W00202 Exhaust duct - standard dryers only...
-
Page 9: Setup
Setup Setup Unpacking Unpack the dryer from the packaging. There are no transportation fittings. Release the dryer from the pallet by cutting the plastic ribbon.. Positioning Place the dryer in such a way that work can be done as easily as possible by the user as well as the service technician. -
Page 10: Door Reversal
Setup Door reversal 1. Disconnect the power supply to the dryer. 2. Loosen the hinge mounting and push it down to allow the door to be lifted off. Unscrew the hinge mounting. NB! Hold the door securely while loosening the screws. -
Page 11: Installation
Installation Installation Installation on board a ship If the dryer is intended for installation on board a ship,fittingsaremountedfromfactory(insteadof feet)onthedryerforattachmenttotheshipfloor 12,5 12,5 by means of 4 M8 bolts. FRONT Drillingplan,seefig.1. W00187... -
Page 12: Washing Column
Installation Washing column The dryer can be installed on top of a 55-litre washing machine WE455H or on a 130-litre dryer T4130(C). The washer at the bottom must be levelled and rest on all four feet. • Placetheframeonthetopplateofthelower machine, ensuring that the holes for the faste- ning bracket A are at the rear. -
Page 13: Condensate Dryer
Installation Condensate dryer The condensate dryer does not have ventilation (evacuation) into the open. The air is circulated in a closed system between the dryer and condensing unit. The water in the garments condenses in the con- densing unit. All the energy (3,4/2,4 kW) used for drying the garments ends up in the room in the form of heat. -
Page 14: Changing Over Condensate Dryers
Installation Changing over condensate dryers To be carried out by qualified personnel 3 x 200/230/240V 3,4kW 3 x 400/415V + N 3,4kW W00193 W00194 1 x 230/240V 3,4kW Applies to all dryer types W00195 W00196... -
Page 15: Evacuation System
Installation Evacuation system (does not apply to condensate dryers) Air principle The ventilator creates low pressure in the dryer, drawing air into the drum via the heating unit. The heated air passes through the garments and the holes of the coarse filter. Then the air flows through a lint screen positio- ned in the door. -
Page 16: Exhaust Duct
Installation Exhaust duct • Theexhaustductmustbesmoothontheinside(lowairresistance). • Theexhaustductmustleadtotheoutdoors. • Theexhaustductmustleadclearofthebuildingascondensationmay cause frost damage to the building. • Theexhaustductmustbeprotectedagainstrainandforeignobjects. • Theexhaustductmusthavegentlebends. • Theexhaustductmustnotbeasharedductbetweendryersandappli- ances using gas or other fuels as their energy source. When several dryers share an exhaust duct • Theexhaustductdiametermustincreaseaftereachdryer. The table below shows the exhaust duct diameter and the necessary fresh-air inlet area. - Page 17 Installation Gentle bends W00145 Several dryers share an exhaust duct W00198...
-
Page 18: Electric Installation
Installation Electric installation To be carried out by qualified personnel Connection The dryer must be given a fuse group of its own of external Ext. connection and switch in accordance with IEC 60947. contactor Max. 1,25A For each dryer, a multi-pole permanent switch is to be placed in the permanent installation. -
Page 19: Cable Dimensioning Table
Installation Cable dimensioning table Type Voltage Power intake Heating Fuse Standard dryer 400-440V3N/3AC 5.3 5.1 200-240V 3 AC 230-240V 3 AC 230-240V 1 AC Condensate dryer 400-440V3N/3AC 3.4 3.0 230-240V 3 AC 230-240V 1 AC 200V 3 AC... -
Page 21: Function Check
Function check Function check To be carried out by qualified personnel Check whether the drum is empty and the door has been closed. Start the dryer Check whether the door lock is working: The drum must stop if the loading door is opened. The dryer has a single phase motor, which is why W00200 the direction of rotation (clockwise) is always cor-... - Page 24 Electrolux Laundry Systems Sweden AB 341 80 Ljungby, Sweden www.electrolux.com/laundrysystems Share more of our thinking at www.electrolux.com...
Need help?
Do you have a question about the T4130 and is the answer not in the manual?
Questions and answers