
Related Manuals for Community C4


Summary of Contents for Community C4
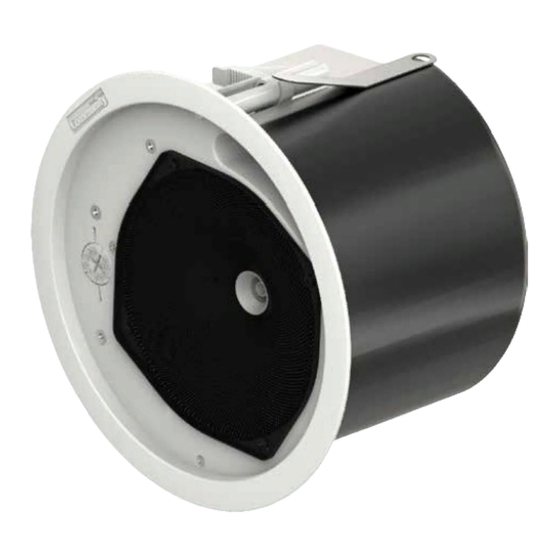
- Page 1 C SERIES Coaxial Ceiling Loudspeakers Installation and Operation Manual MODELS C4: 4.5" Full-Range C6: 6.5" Full-Range C8: 8" Full-Range...
-
Page 2: Safety Agency Compliance
SUITABLE FOR USE IN AIR HANDLING SPACES EC Statement of Conformity Community Professional Loudspeaker products bearing the CE label meet all the requirements in the EMC directive 2014/30/EU laid down by the Member States Council for adjustment of legal requirements, furthermore the products comply with the rules and regulations referring to the electromagnetic compatibility of devices from 16 April 2016. -
Page 3: Table Of Contents
Community does not use OEM or off-the-shelf utility loudspeakers in the C SERIES. We designed these units from the coil formers to the back cans. We... -
Page 4: Important Safety Instructions
The terms caution, warning, and danger may be used in this manual to alert the reader to important safety considerations. If you have any questions or do not understand the meaning of these terms, do not proceed with installation. Contact your local dealer, distributor, or call Community directly for assistance. -
Page 5: Packing List And Product Identification
• Loudspeakers secured in their back cans (2) Please note that once the shipment has left your dealer or the Community • Grilles (2) factory, the responsibility for damage is always borne by the freight company. -
Page 6: Component Identification
Component Identification Combination terminal block cover 3/4" knockout strain relief and cable strain relief clamp on terminal block cover (with conduit installed) Can-Locking Clamp (x2) (shown deployed) Drop-Stop™ Installation Assistant Tabs (x2) Seismic Safety Tabs U-Channel Tile Support Bridge Rails Input terminal block Locking Clamps (x2) shown retracted... -
Page 7: Installation And Wiring
Community package of loudspeakers and accessories, including the integral back cans, grilles, tile rails and so forth. We include instructions for use of optional Community C SERIES retrofit adapters so that Community C SERIES loudspeakers can be mounted in other manufacturer’s cutouts. If accessory products from a different manufacturer are used, please refer to the installation manuals supplied with those products. - Page 8 The selection of appropriate electrical and mounting hardware to interface with C SERIES Ceiling Loudspeakers lies solely with the installation professional. Community recommends that an appropriately licensed engineer, electrician, or other professional identify and select the appropriate conduit, fittings, wire, etc. for the installation.
-
Page 9: Installation In The Ceiling
Lay out the loudspeaker locations according to the requirements of the specific installation and in compliance with applicable safety and building codes. It is beyond the scope of this manual to provide guidance in this area. Community offers our Forecaster HD ceiling system software to assist you in distributed loudspeaker system design. - Page 10 Installation in the Ceiling (continued) 3. Make sure mounting clamps are tight against sides of back can before sliding the loudspeaker into the hole, aligning it so that the mounting clamps Important: Always are nearest to the two bridge support rails, labels on the loudspeaker face attach a safety cable to indicate the position of the mount clamps and the required alignment.
- Page 11 (Figures 8 and 9 on page 10). These clamps open fully to 2.35” (59.6 mm), but we allow at least 0.60” (15.2mm) to grab the Tile Bridge Support Rail atop the ceiling. Loudspeakers leave the Community factory with these ”...
-
Page 12: Attach Grille Safety Cable
Attach Grille Safety Cable Note: Some codes now require that the grille have a safety cable. Your local codes may vary. Community makes it easy to comply with an included security cable system, as detailed below. 1. Once the loudspeaker is secured in the back can, you can attach the safety cable between the grille and loudspeaker. -
Page 13: Painting The Loudspeaker
(or if damaged install a new cloth mesh). Optional Accessories Community offers helpful optional accessories that are not included with the basic packages. Please be sure to order these parts separately if you need them. -
Page 14: Drawings / Dimensions
(162) (137) (140) 0.36" (9) 0.33" (8) Ø8.62" (219) Ø7.13" (181) Ø9.80" (249) Ø8.31" (211) Figure 15. C4 loudspeaker dimensions Figure 16. C6 loudspeaker dimensions 7.55" 7.44" (192) (189) 0.39" (10) Ø10.12" (257) Ø11.30" (287) Figure 17. C8 loudspeaker dimensions... -
Page 15: Warranty Information And Service
Make sure that the number of cartons shown on the freight documents have actually been delivered. Find the latest online The latest version of this manual and the most recent product information is always available at Community’s website: www.communitypro.com Notes... - Page 16 Community Professional Loudspeakers 333 East Fifth Street, Chester, PA 19013-4511 USA Phone: (610) 876-3400 • Fax: (610) 874-0190 www.communitypro.com ©2017 Community Professional Loudspeakers 16FEB2017 All Rights Reserved.
Need help?
Do you have a question about the C4 and is the answer not in the manual?
Questions and answers