
Subscribe to Our Youtube Channel
Related Manuals for Community CS6


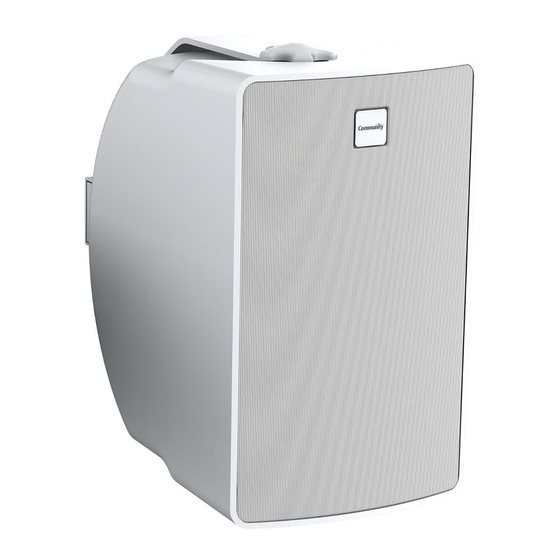
Summary of Contents for Community CS6
- Page 1 C SERIES Surface Mount Loudspeaker Installation and Operation Manual MODELS CS6 6.5" Full-Range...
-
Page 2: Important Safety Instructions
The terms caution, warning, and danger may be used in this manual to alert the reader to important safety considerations. If you have any questions or do not understand the meaning of these terms, do not proceed with installation. Contact your local dealer, distributor, or call Community directly for assistance. -
Page 3: Table Of Contents
Painting the Loudspeaker ......... 11 loudspeakers, including everything needed for standard installations. Drawings / Dimensions ........11 The CS6 is a full-range model, with high and low frequency drivers and built-in crossover. You can use 8 ohm or constant voltage distribution with the built-in 70/100 volt autoformer. -
Page 4: Packing List And Feature Identification
However, it is wise to thoroughly inspect each unit after it has been removed from the packaging, as damage could occur during shipping. Please note that once the shipment has left your dealer or the Community factory, the responsibility for damage is always borne by the freight company. -
Page 5: Installation
Installation IMPORTANT: Community does not provide hardware for mounting the wall mount plate to the install surface. This hardware is customer supplied and subject to local codes and requirements. It is strongly recommended that a licensed and certified professional structural engineer approve the mounting. -
Page 6: Wiring
Wiring The provided 4-Pin Euroblock connector, required to wire the loudspeaker, allows for individual unit wiring or “loop-thru” wiring for connecting multiple loudspeakers in parallel. The provided input panel cover allows for multiple pairs of wires in and out of the sealed ingress. It is IP56 rated. Determining the correct wiring location Depending on the mounting direction of the cabinet, you will need to use one of the two provided rubber wiring plugs. - Page 7 Wiring (continued) The rubber plugs are designed to grip cables from approximately 0.125"(3.2mm) to 0.3"(7.6mm) in diameter to prevent water ingress. For cables 0.3" (7.6mm) up to 0.34" (8.6mm), (roughly the size of most standard 16-2 and 14-2 SJOW cables), the cable may be passed through the cover without using the rubber plugs.
- Page 8 11. See the page 9 for final aiming procedures. 2-Position Rubber Plug 3-Position Rubber Plug with wires WARNING: Community does not recommend the use of any liquid thread Figure 9. Install the weather cover locking compound, such as Loctite, on the yoke to cabinet mounting hardware during the installation of this product.
-
Page 9: Aiming
Aiming Vari-Tilt yoke assembly allows horizontal and vertical aiming adjustments of the loudspeaker. The maximum angles for each Pinch plate bolt direction are shown in the table below. Aiming the Loudspeaker 1. Supporting the weight of the cabinet, gently rotate the yoke through the yoke mounting plate / pinch plate assembly until the desired aiming angle is achieved. -
Page 10: Finalizing The Installation
Note: The enlarged label shows the 70-volt/100-volt and 8 ohm power tap IMPORTANT: Adjustment of the tap-position settings for the CS6. With 100-volt switch should be done before applying distribution, do not use the N.C. setting. power to the loudspeaker. -
Page 11: Painting The Loudspeaker
Painting the Loudspeaker Type of Paint Painting Process Follow this procedure to obtain the best results: These loudspeakers’ ABS plastic cabinets accept almost any type of latex or enamel 1. Remove the grille. (oil based) paint. We recommend application of two coats. Please note that painting the 2. -
Page 12: Community Professional Loudspeaker
Make sure that the number of cartons shown on the freight documents have actually been delivered. Find the latest online The latest version of this manual and the most recent product information is always available at Community’s website: www.communitypro.com Community Professional Loudspeakers 333 East Fifth Street, Chester, PA 19013-4511 USA Phone: (610) 876-3400 •...
Need help?
Do you have a question about the CS6 and is the answer not in the manual?
Questions and answers