Table of Contents
Advertisement
425 Clair Rd. W, Guelph, Ontario, Canada N1L 1R1
t. (+1) 519.763.1032 • tf. (+1) 800.265.7246 (US and Canada only)
t. (+31) 73 747 0144 (Europe only) • f. (+1) 519.763.5069
e-mail: info@viqua.com
www.viqua.com
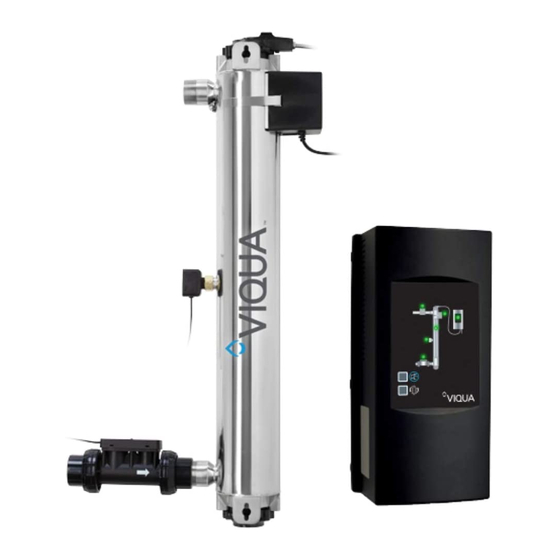
Owner's Manual
Powered by
System Tested and Certified by
NSF International against CSA
B483.1 and NSF/ANSI 55 for
Disinfection Performance, Class A
Models:
H, K
Plus Models:
H+, K+
PRO Models:
PRO10, PRO20, PRO30, PRO50
602936_RevAF
Advertisement
Table of Contents


Need help?
Do you have a question about the K and is the answer not in the manual?
Questions and answers