Table of Contents
Advertisement
Quick Links
Advertisement
Table of Contents

Subscribe to Our Youtube Channel
Related Manuals for Zavio D8520


Summary of Contents for Zavio D8520
- Page 1 Motorized Outdoor Dome 86085A3000010...
-
Page 2: Table Of Contents
Please follow the installation steps below to set up Motorized Outdoor Dome IP Camera. Check the package contents against the list below. See P.1 Physical overview. See P.2 I/O Terminal Block Circuit. See P.3 I/O Terminal Block Pin Definition. See P.3 LED Indicator Definition. -
Page 3: Physical Overview. See
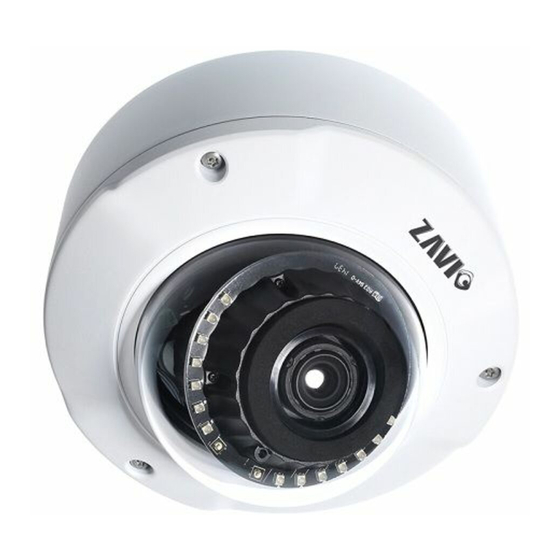
Physical overview Conduit hole Dome bubble I/O Terminal Block: 1: Ground, 2: +12VDC, 3: Audio in, 4: Audio out, Light Sensor 5: Digital Output 1, Network / PoE 6: Digital Output 2, 7: Digital Input 1, 8: Digital Input 2 DC 12V/1.5A Lens IR LEDs (16units,... -
Page 4: I/O Terminal Block Circuit. See
I/O Terminal Block Circuit I/O Terminal Block Pin Definition This Camera provides an external I/O terminal block which is used to connect input/ output devices. The pin definitions are described below. PIN Definition Description Max. V/A Ground 12V DC + 12VDC 1.2 W Audio In Unbalanced, 1.4Vp-p, 1Vrms, terminal block... -
Page 5: Led Indicator Definition. See
LED Indicator Definition Color Indication Steady blue for Network link Blue Network Flash blue while Network activity Steady red for booting up process Blue Steady blue for booting up completion Power when reset button pressed for at least 5 sec. Unlit to factory default Steady yellow means SD card ready... -
Page 6: Install The Hardware And Connect All Cables. See
Install the hardware and connect all cables A. Hardware installation a. Connect the power adaptor to the supplied 2pin I/O terminal block. Please make sure the red wire of the power adapter is connected with the positive polarity of the terminal block. b. - Page 7 C. Connect all cables c1. Without Power over Ethernet (PoE) connection 1. Connect the power adaptor to the IP Camera. 2. Connect the IP Camera to a normal Hub / Switch / Router. c2. Power over Ethernet (PoE) 1. Connect the IP Camera to a PoE-enabled Hub / Switch / Router.
- Page 8 D. To adjust the view angle- 3 axis mechanism design 1. Turn the lens module right and left to your desired pan position. 2. Turn the lens module up and down to your desire tile position. 3. Turn the lens module to adjust the image orientation to satisfied angle. Important: Do not rotate the IR LEDs so that it gets blocked by the housing as it will affect the IR performance (as shown below).
-
Page 9: Microsoft Os: Use The Software Cd To Install Intelligent Ip Installer. See
E. Completion 1. Clean the dome bubble to remove the dust and finger print. 2. Fix the tamper-proof screws using supplied special hex. Be careful do not scratch the cover glass. 3. The installation is complete now. Microsoft OS: Use the software CD to install Intelligent IP Installer Power on your PC and insert the CD-ROM. -
Page 10: Access The Ip Camera Using Intelligent Ip Installer. See
Access the IP Camera using Intelligent IP Installer 1. Please check two settings before using Intelligent IP Installer . a. Browser’s Internet Properties b. Browser’s Internet Properties → → Security Privacy → Uncheck Pop-up Blocker → Default Level 2. Click the Intelligent IP Installer Icon on your desktop. The main page will show up listing all active camera and video server devices. - Page 11 3. Enter your Username and Password to login to the IP Camera. (Default is admin / admin) 4. When accessing the IP Camera for the first time, a yellow information bar appears below the address bar: This website wants to install the following add-on: ‘AxvideoView.cab ’.
-
Page 12: Mac Os Using Safari Browser. See
7. Live video displays in the centre of your web browser. Mac OS using Safari Browser 2. Click Bonjour function and select 1. Select Safari icon the camera you wish to access. 3. Enter name and password to 4. The monitor image will be displayed in your browser. -
Page 13: Change The Web Interface Into Your Preferred Language. See
Lighting environment setting The default setting of lighting environment is Auto. However, you may also select 50 or 60 Hz upon the lighting environment of your country. Go to “Setting > Live View > Camera Setting > Image Setting”, select the environment setting you wish. -
Page 14: Application Of Ip Camera. See
Application of IP Camera...
Need help?
Do you have a question about the D8520 and is the answer not in the manual?
Questions and answers