Table of Contents
Advertisement
Quick Links
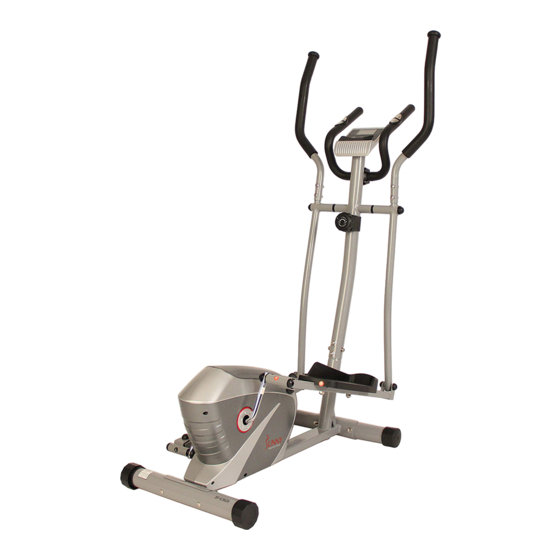
MAGNETIC ELLIPTICAL TRAINER
SF-E3628
USER MANUAL
WARNING! Your elliptical trainer is not designed for reverse pedaling. Failure to comply
with this warning may result in permanent damage to your new equipment.
IMPORTANT! Read all instructions carefully before using this product. Retain owner's
manual
for
future
reference.
For
customer
service,
please
contact:
support@sunnyhealthfitness.com
Advertisement
Table of Contents

Related Manuals for Sunny SF-E3628


Summary of Contents for Sunny SF-E3628
- Page 1 MAGNETIC ELLIPTICAL TRAINER SF-E3628 USER MANUAL WARNING! Your elliptical trainer is not designed for reverse pedaling. Failure to comply with this warning may result in permanent damage to your new equipment. IMPORTANT! Read all instructions carefully before using this product. Retain owner’s...
-
Page 2: Important Safety Notice
IMPORTANT SAFETY NOTICE Note the following precaution before assembling and operating the machine. 1. Assemble the machine exactly as described in the instruction manual. 2. Check all the bolts, nuts and other connections before using the machine for the first time to ensure the machine is in the safe condition. -
Page 3: Exploded Diagram
EXPLODED DIAGRAM - 2 -... -
Page 4: Parts List
PARTS LIST DESCRIPTION DESCRIPTION Main frame Nylon nut M8 Handlebar post Hex bolt M10X45 Front stabilizer Flat washer d10X1.5 Rear stabilizer Nylon nut M10 5L/R Pedal support (L/R) 1.pr Nut cap S16 6L/R Swing bar(L/R) 1.pr Hex bolt M10X50 7L/R Handlebar (L/R) 1.pr 38L/R Pedal locking bolt (L/R) -
Page 5: Assembly Instruction
ASSEMBLY INSTRUCTION Step 1: Attach the Front Stabilizer (3) and Rear Stabilizer (4) to the Main Frame (1) with 4 Carriage Bolts (12), 4 Arc Washers (13) and Acorn Nuts (14). Step 2: Check the Tension Controller (17) is at Level 1 (lowest resistance) to ensure the cable is the longest. - Page 6 Step 3: Important: Please read entire page before starting this step and note all cautions. A: Attach the Swing Bar (6L) on the long axle of the Handlebar Post (2) with Hex Bolt (24), Spring Washer (52), Flat Washer (25), Waveform Washer (54) and Long Axle (27) as shown.
- Page 7 - 6 -...
- Page 8 Step 4: A: Insert the Pulse Sensor Wire (50) through the Handlebar Post (2) and then out of the hole of the computer bracket. Fix the Armrest (8) on the Handlebar Post (2) with Hex Screw (51), Spring Washer (52) and Flat Washer (31) and then cover with the Handlebar Chuck Cover (53).
- Page 9 Step 5: Connect the Pulse Sensor Wire (50) and Extension Wire (18) with the wires coming from the Computer (9), and then fix the Computer (9) onto the computer bracket of the Handlebar Post (2) with Cross Screw (55) - 8 -...
- Page 10 To move the elliptical, hold by the handles of the Armrest (8). Tilt the elliptical until the wheels of the Front Stabilizer (3) touch the floor. Then you can wheel the elliptical to the desired location. - 9 -...
-
Page 11: Exercise Computer
EXERCISE COMPUTER SPECIFICATIONS: TIME …………………………………...00:00-99:59 MIN: SEC SPEED ……………………………….. 0.0-99.9 MPH DISTANCE ……………………………0.00-9999 MILES CALORIES ……………………………0.0-9999 KCAL ODOMETER…………………………..0.0-9999 MILES PULSE ……………………………….. 40-240 BPM FUNCTION KEY: MODE: Press to select function. RESET: Press to reset the value back to zero. Does not reset odometer value. SET: Press to preset the desired countdown of TIME, DISTANCE, or CALORIES.
Need help?
Do you have a question about the SF-E3628 and is the answer not in the manual?
Questions and answers