Table of Contents
Advertisement
Quick Links
Advertisement
Table of Contents

Related Manuals for Sunny SF-E3862


Summary of Contents for Sunny SF-E3862
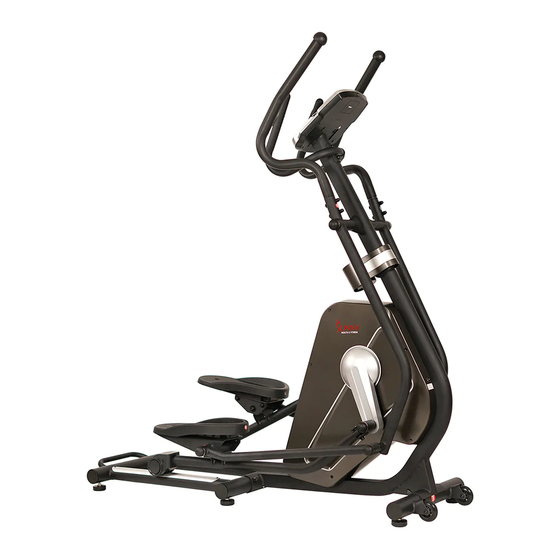
- Page 1 CIRCUIT ZONE ELLIPTICAL SF-E3862 USER MANUAL IMPORTANT! Please retain owner’s manual for maintenance and adjustment instructions. Your satisfaction is very important to us, PLEASE DO NOT RETURN UNTIL YOU HAVE CONTACTED US: support@sunnyhealthfitness.com or 1- 877 - 90SUNNY (877-907-8669).
-
Page 2: Important Safety Information
IMPORTANT SAFETY INFORMATION We thank you for choosing our product. To ensure your safety and health, please use this equipment correctly. It is important to read this entire manual before assembling and using the equipment. Safe and effective use can only be achieved if the equipment is assembled, maintained, and used properly. -
Page 3: Exploded Diagram
EXPLODED DIAGRAM 1... -
Page 4: Hardware Package
EXPLODED DIAGRAM 2 HARDWARE PACKAGE #106 S14, 19 1PC... -
Page 5: Parts List
PARTS LIST Description Spec. Description Spec. Main Frame Bolt M8*49 Front Post Cap Nut Φ38 Left Swing Tube Right Swing Tube Bolt M8*20 Φ8 Left Foot Tube Spring Washer Φ8*Φ33*2.0 Right Foot Tube Washer Φ19*Φ38*3.0 Drive Tube Big Washer Foot Tube Connect Ф27*11 POM Bushing Patch... - Page 6 Description Spec. Description Spec. Φ19* 174 Connecting shaft Belt Pulley Left Roller Cover Straight Spindle Assembly Right Roller Cover Belt Roller Connecting Φ8*32 Plastic Bolt Shaft Roller Spacing Left Chain Cover Bearing 6202 Right Chain Cover Pulley Limit File Piece Foot Turn Tube M10*1.25 Assembly...
- Page 7 ASSEMBLY INSTRUCTIONS We value your experience using Sunny Health and Fitness products. For assistance with parts or troubleshooting, please contact us at support@sunnyhealthfitness.com or 1-877-90SUNNY (877-907-8669). STEP 1: Attach 4 Foot Pads (No. 44) onto the Rear Main Frame (No. 9).
- Page 8 We value your experience using Sunny Health and Fitness products. For assistance with parts or troubleshooting, please contact us at support@sunnyhealthfitness.com or 1-877-90SUNNY (877-907-8669). STEP 3: Remove 6 Bolts (No. 32), 6 Spring Washers (No. 33), 4 Big Washers (No.
- Page 9 We value your experience using Sunny Health and Fitness products. For assistance with parts or troubleshooting, please contact us at support@sunnyhealthfitness.com or 1-877-90SUNNY (877-907-8669). STEP 5: Remove 2 Bolts (No. 32), 2 Spring Washers (No. 33), 2 Washers (No. 34), and 2 Big Washers (No.
- Page 10 We value your experience using Sunny Health and Fitness products. For assistance with parts or troubleshooting, please contact us at support@sunnyhealthfitness.com or 1-877-90SUNNY (877-907-8669). STEP 6: Remove 8 Screws (No. 111) and 2 Stoppers (No. 110) from the ends of 2 Drive Tubes (No.
- Page 11 We value your experience using Sunny Health and Fitness products. For assistance with parts or troubleshooting, please contact us at support@sunnyhealthfitness.com or 1-877-90SUNNY (877-907-8669). STEP 8: Attach the Left Handrail Arm (No. 11) onto the Left Swing Tube (No. 3) with 2 Bolts (No.
- Page 12 We value your experience using Sunny Health and Fitness products. For assistance with parts or troubleshooting, please contact us at support@sunnyhealthfitness.com or 1-877-90SUNNY (877-907-8669). STEP 10: Remove 4 Screws (No. 15) from the back of the Computer (No. 14). Connect the Extension Sensor Wire (No.
-
Page 13: Adjusting The Balance
ADJUSTMENTS GUIDE HOW TO MOVE THE ELLIPTICAL Hold the Rear Main Frame (No. 9) and pull upward to lift the rear of the elliptical off the floor until the Roller Wheel (No. 49) on the Front Stabilizer (No. 10) touch the ground. -
Page 14: Important Electrical Information
IMPORTANT ELECTRICAL INFORMATION WARNING: This elliptical trainer requires a power source of 1 amp (100-240V) in order to properly operate. For your safety, as well as the safety of others, please verify that the power source is correct before plugging in the equipment. Any power source above or below this level could cause significant damage to the equipment and or user. -
Page 15: Workout Parameters
There are 7 basic workout modes: Manual, Pre- programs, Watt Program, Body Fat Program, Target Heart Rate Program, Heart Rate Control Program, and User Program. FUNCTIONS: SPEED: Displays current training speed. Maximum speed is 99.9 MPH. RPM: Displays current rotation per minute. TIME: Accumulates the workout time from 00:00 to 99:59. -
Page 16: Program Operation
More About Workout Parameters Default Increment/ Field Setting Range Description Value Decrement 1.When display is set as 0:00, Time will count up. Time 0:00~99:00 00:00 ±1:00 2.When Time is set as 1:00-99:00, it will count down to 0. 1.When display is set as 0.0, Distance will count up. - Page 17 Pre-set programs (P2~P13) Program profile There are 12 pre-set programs ready for use. All program profiles have 16 levels of resistance. SETTING PARAMETERS FOR PRE- SET PROGRAMS 1. Select one of the Pre-set Programs using the UP or DOWN button, then press ENTER. TIME will flash so the value can be adjusted using the UP or DOWN key.
- Page 18 Workout in any pre-set program You can adjust the level of resistance by pressing the UP or DOWN button during the workout. Note: If you set up the target time for workout, then the next parameter of Distance cannot be adjusted. Once the workout parameter counts down to zero, it will beep and stop the workout automatically.
- Page 19 “5’8 (inches)” of Height will flash so Height can be adjusted using the UP or DOWN button. Press ENTER to save the value and move to the next data. “165 (lbs)” of Weight will flash so Weight can be adjusted using the UP or DOWN button. Press ENTER to save the value and move to the next data.
- Page 20 HEART RATE CONTROL Program (P17-P20) Program profile There are 4 selections for target pulse (HR): HRC - 55% TARGET HR= 55% of (220-AGE) HRC - 65% TARGET HR= 65% of (220-AGE) HRC - 75% TARGET HR= 75% of (220-AGE) HRC - 85% TARGET HR= 85% of (220-AGE) SETTING PARAMETERS FOR HEART RATE CONTROL 1.
- Page 21 User Program Program profile (P21-P24) The 4 user programs allow the user to set their own program that can be used immediately. SETTING PARAMETERS FOR USER PROGRAM 1. Select the User Program using the UP or DOWN button then press ENTER. 2.
-
Page 22: Troubleshooting
TROUBLESHOOTING PROBLEM POSSIBLE CAUSE CHECK SOLUTION Check if the motor wires are Plug in the cable again motor doesn’t plugged in or check if the or change the motor. work. motor is stuck. Check if the cables are Change the cables or There something damaged.
Need help?
Do you have a question about the SF-E3862 and is the answer not in the manual?
Questions and answers