Advertisement
Advertisement
Table of Contents

Related Manuals for gio ITALIA


Summary of Contents for gio ITALIA
- Page 2 Please determine the exact models that you have and follow up the correct instructions: For ITALIA Scooter – see pages: 5-10, 12-18, 20, 22, 24, 26, 27 For RZR Scooter – see pages: 5-9, 11, 12, 14-17, 19, 21, 23, 25-27...
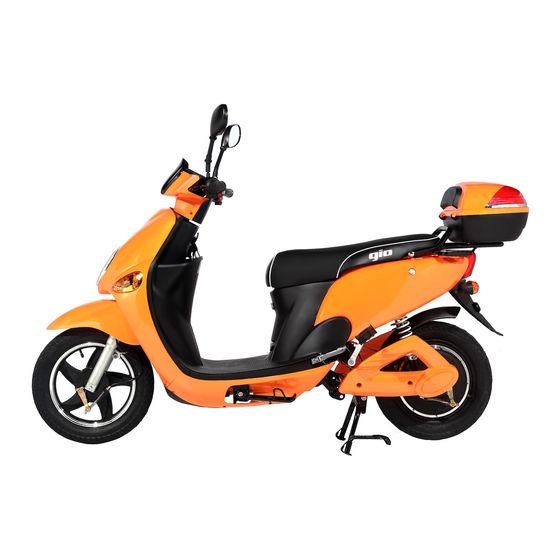
- Page 3 Thank you for purchasing GIO ITALIA 500W Electric Scooter. On the following pages you will find assembly instructions and controls description of the GIO ITALIA 500W Electric Scooter. If any additional information needed, don’t hesitate to contact GIO Customer Service Support at: 1-877-274-0480 support@giobikes.com...
- Page 4 Tools Requirement: 1. Wrench: 15mm + 14mm + 12mm + 10mm or adjustable wrench. 2. Screwdrivers 3. Utility knife...
- Page 5 Accessories and hardware enclosured : 1. Front wheel 2. Front fork covers 3. Mirrors set 4. Rear trunk box 5. Rain cover 6. Charger 7. Users manual 8. Foot pegs set 9. Pedal cranks set 10.U-Lock + keys 11.Hardware ITALIA + RZR...
- Page 6 1. Remove the scooter from the crate Tools Requirement and place it on a main kick stand Main kick stand ITALIA + RZR...
- Page 7 2. Remove front wooden base support Tools Requirement 12mm ITALIA + RZR...
-
Page 8: Brake Lever
3. Cut the plastic straps that holding Tools Requirement the front drum brake and left side brake lever Plastic Strap ITALIA + RZR... -
Page 9: Front Wheel
4. Insert spacer on the right side of the Tools Requirement front wheel ITALIA + RZR... - Page 10 5.1 Install front brake drum into the front Tools Requirement wheel and install the wheel Note! Make sure the front fork pin is installed properly on the round mount on the brake drum Spacer Front Axle ITALIA...
- Page 11 5.2 Install front brake drum into the front Tools Requirement wheel and install the wheel Note! Make sure the front fork pin is installed properly on the mount on the brake drum Spacer Front Axle...
- Page 12 6. Tighten up the self lock nut Tools Requirement 12mm 14mm ITALIA + RZR...
- Page 13 7. Install front fork covers Tools Requirement 10mm ITALIA...
- Page 14 8. Install front mirrors. Tools Requirement After adjusting the mirrors, tighten up the support nut! 14mm ITALIA + RZR...
-
Page 15: Pedals Installation
9.1 Install both cranks (L+R) on the middle axle. Make sure, that the hole on the crank line up with spring ball on the axle Spring ball Note, pedals and cranks are designed for particular sides. Correct side stamp located on the crank/pedal. Right Left ITALIA + RZR... - Page 16 9. Pedals installation: Tools Requirement 9.2 Screw the pedal (foot peg) into the crank. 15mm Note, Thread direction: right side - clockwise, left side – counterclockwise. Left Side Right Side clockwise counterclockwise ITALIA + RZR...
- Page 17 10. Rear trunk installation: Tools Requirement 10.1 Place rubber spacers on the rear rack. 10mm 10.2 Install the hardware and tighten up the bolts. 10.1 10.2 ITALIA + RZR...
- Page 18 11.1 Open the seat compartment and Tools Requirement connect the battery: ITALIA...
- Page 19 11.2 Open the seat compartment and Tools Requirement connect the battery:...
-
Page 20: Brakes Adjustment
* To adjust front / rear brakes: raise front/rear wheels, 14mm turn the wheel by hand and tighten clockwise the adjusting nut. Brakes are adjusted when you hear the pads touching the wheel drum. Front Brakes Rear Brakes Brakes adjustment nut ITALIA... - Page 21 12.2 Brakes adjustment: Tools Requirement To adjust front / rear brakes: raise front/rear wheels, 14mm turn the wheel by hand and tighten clockwise the adjusting nut. Brakes are adjusted when you hear the pads touching the wheel drum. Front Brakes Rear Brakes Brakes adjustment nut...
-
Page 22: Controls Description
13.1 Controls description: Lights switch Throttle High/Low beam switch Left Handlebar Right Handlebar Turn signal switch Power switch High / Low speed switch Horn ITALIA... - Page 23 13.2 Controls description: Lights switch Throttle High/Low beam switch Left Handlebar Right Handlebar Turn signal switch Power switch Horn High / Low speed switch...
-
Page 24: Speedometer Description
14.1 Speedometer description: Ampers Consumption gauge Running Distance Battery level indicator Speed ITALIA... - Page 25 14.2 Speedometer description: Ampers Consumption gauge Running Distance Battery level indicator Speed...
- Page 26 To disengage – Insert the round key into green lock (located on the left side of the rear wheel) and turn the key counterclockwise 360°. Turn the wheel by hand to disengage the lock. 15.2 – Rear Wheel Lock ITALIA + RZR...
-
Page 27: Serial Number Location
The S.N (16.1) located on the back side of the steering column. To see the S.N, remove the plastic cover (16.1) below the gloves compartment – the S.N should be visible. 16.2 16.2 ITALIA + RZR... - Page 28 Important Information! After assembling the scooter, please check all nuts and screws are tighten after your first ride.
Need help?
Do you have a question about the ITALIA and is the answer not in the manual?
Questions and answers
How many volts it’s the battery?
The GIO Italia MK 500W e-Bike battery set operates at a nominal voltage of 48V. Each individual battery in the set should have a voltage between 12.8V and 13.5V when fully charged.
This answer is automatically generated