Advertisement
Advertisement
Table of Contents

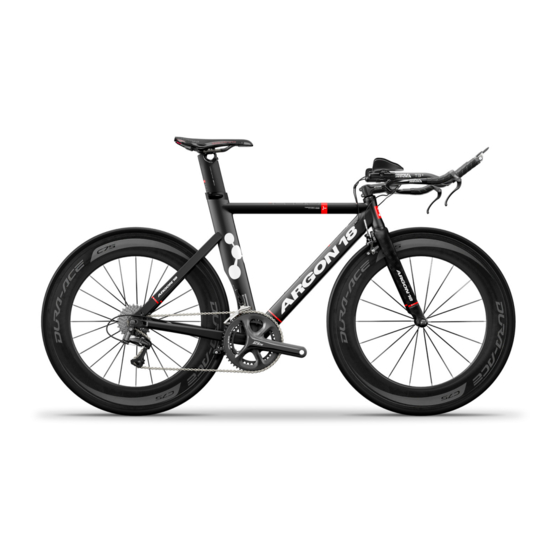
Summary of Contents for Argon 18 E-80
- Page 1 E-80 : ASSEMBLY GUIDE Revision 3.0 - 06-02-2016...
-
Page 2: Table Of Contents
6. Parts listing ......... 13-15 For the warranty to be valid, the bicycle must be fully assembled by an authorized Argon 18 dealer. High-end components, particularly carbon parts, need extra care when assembled. -
Page 3: Assembly Overview
E-80 : Assembly overview 1. Frame inspection 2. Cable housing installation 3. Brake installation IMPORTANT NOTICE: It is easier to install the cables and cable housings before the bearings. Images are for reference only. Proportions are not accurate. 4. Seatpost installation 5. -
Page 4: Frame Inspection
E-80 : 1. Frame inspection When assembling a new frame, be sure to check if the following parts are assembled correctly. Parts installed on the frame Description Screw Torque Detail type Front derailleur hanger Screw (2) Loctite Rear derailleur hanger... -
Page 5: Cable Housing Installation
E-80 : 2. Cable housing installation 1. Install the front derailleur and the rear brake housing starting at the top of the downtube (left side). 2. Install the rear derailleur housing starting at the top of the downtube (right side). - Page 6 E-80 : 2. Cable housing installation Remove the cable guide (3f) and add a plastic cap on the front derailleur housing. Insert the plastic cap and the rear derailleur housing into the cable guide, then fix the guide to the frame with the M5 screw.
- Page 7 E-80 : 2. Cable housing installation Fix the front derailleur cable to the front derailleur. Insert the rear derailleur housing into the hole near the bottom bracket until it comes out next to the right side drop out.
-
Page 8: Cable Housing Installation
E-80 : 2. Cable housing installation For each cable housing, measure a sufficient length to be able to turn the handlebar both ways correctly. This will also ensure the grommets stay in place correctly. -
Page 9: Brakes Installation
E-80 : 3. Brakes installation GREASE GREASE Install the rear brake (8) as shown; the drive side arm must be placed first. Insert the retention spring in the center tension hole. Screw in the brake bolt at 8Nm. Finally, place the plastic bolt covers on their respective sides, follow the natural curves of the brake design. - Page 10 E-80 : 3. Cable housing installation The front brake is installed behind the fork. Use the provided sunken nut to fix the brake caliper to the fork; tighten it to 8 Nm.
-
Page 11: Seatpost Installation
E-80 : 4. Seatpost installation CARBON FIBER ASSEMBLY COMPOSITE 1. Make sure the clamp (3e) sits GREASE correctly on the seat tube. 2. Insert the seatpost (5) on which some carbon fiber assembly gel has been applied. 3. Position the seatpost at the desired... -
Page 12: Saddle Adjustment
E-80 : 5. Saddle adjustment 1. Install the saddle on the rocker (5f) and slightly tighten the rail clamp (5e) using a ball end hex key. 2. Tighten the upper screw of the rocker clamp (5a) by keeping a space of 2 to 3mm between the aluminum and carbon parts. -
Page 13: Saddle Adjustment
E-80 : 5. Saddle adjustment The 2waypost ASP-4000 can be flipped to achieve a triathlon or a road position (75°/78°). The seat clamp offset can be set by flipping the rail clamp (5d) and the rocker (5f). Road : -10mm to -15mm... -
Page 14: Parts Listing
E-80 : 6. Parts listing... - Page 15 E-80 : 6. Parts listing Name A18 SKU# Frameset Parts E-80 frame E-80 fork FK.E80.219A Parts installed on the frame Rear derailleur hanger with screws M4x7mmF - Model F 37831 1 set Front derailleur hanger with screws M4x8mmF - Model E...
-
Page 16: Parts Listing
E-80 : 6. Parts listing Name A18 SKU# Also included with the frameset - shipped separately Headset No. IS-2 15mm with compressor TH-874-1 32580 RX 4.1 brake levers 32593 1 left + 1 right T822-1 rear brake 36404 R725 front brake...


Need help?
Do you have a question about the E-80 and is the answer not in the manual?
Questions and answers