Moxa Technologies ioLogik E1200 Series Quick Installation Manual
Hide thumbs
Also See for ioLogik E1200 Series:
- User manual (105 pages) ,
- Quick installation manual (6 pages) ,
- User manual (69 pages)
Table of Contents
Advertisement
Quick Links
Download this manual
See also:
User Manual
ioLogik E1200 Series
Quick Installation Guide
Moxa Americas:
Toll-free: 1-888-669-2872
Tel:
1-714-528-6777
Fax:
1-714-528-6778
Moxa Europe:
Tel:
+49-89-3 70 03 99-0
Fax:
+49-89-3 70 03 99-99
Moxa India:
Tel:
+91-80-4172-9088
Fax:
+91-80-4132-1045
Edition 5.0, September 2016
Technical Support Contact Information
www.moxa.com/support
2016 Moxa Inc. All rights reserved.
Moxa China (Shanghai office):
Toll-free: 800-820-5036
Tel:
+86-21-5258-9955
Fax:
+86-21-5258-5505
Moxa Asia-Pacific:
Tel:
+886-2-8919-1230
Fax:
+886-2-8919-1231
P/N: 1802012001014
*1802012001014*
Advertisement
Table of Contents

Subscribe to Our Youtube Channel
Related Manuals for Moxa Technologies ioLogik E1200 Series


Summary of Contents for Moxa Technologies ioLogik E1200 Series
-
Page 1: Quick Installation Guide
E1200 Series Quick Installation Guide Edition 5.0, September 2016 Technical Support Contact Information www.moxa.com/support Moxa Americas: Moxa China (Shanghai office): Toll-free: 1-888-669-2872 Toll-free: 800-820-5036 Tel: 1-714-528-6777 Tel: +86-21-5258-9955 Fax: 1-714-528-6778 Fax: +86-21-5258-5505 Moxa Europe: Moxa Asia-Pacific: Tel: +49-89-3 70 03 99-0... -
Page 2: Package Checklist
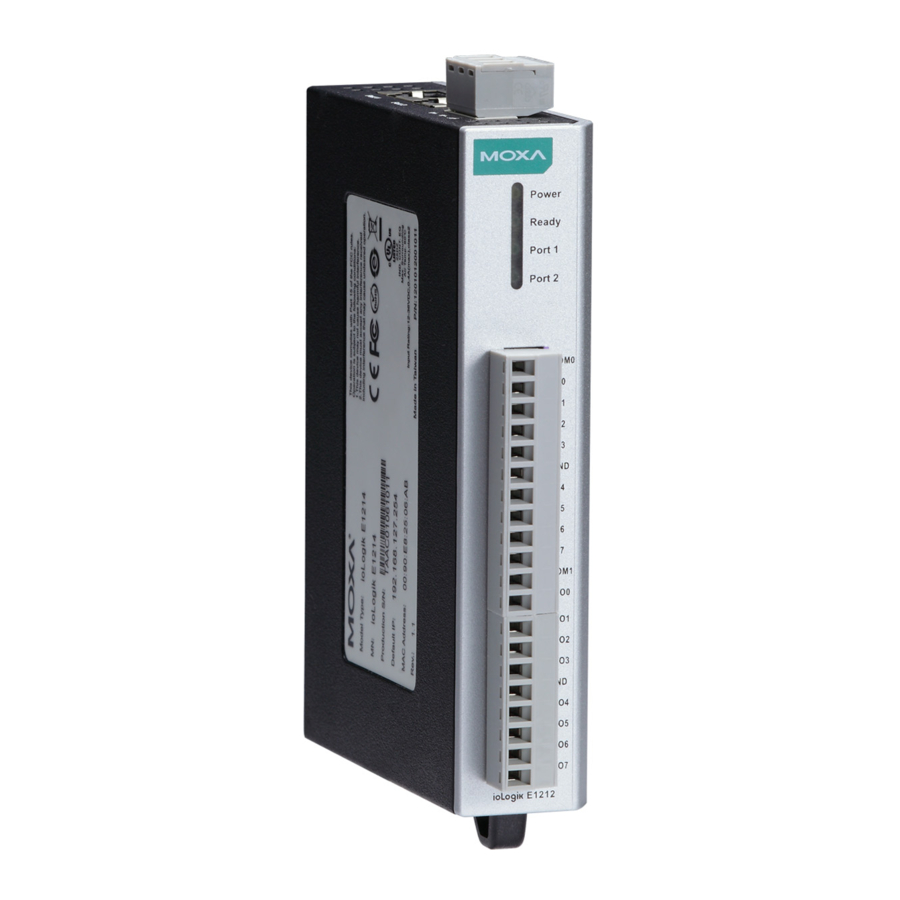
Overview The ioLogik E1200 series comes with 2 embedded Ethernet switch ports that can form a daisy-chain topology, which is the easiest way to add more Ethernet devices to a network or connect your ioLogiks in series. Moxa’s free Active OPC Server offers active (or “push”) communication that works between Moxa’s ioLogik units and HMI/SCADA systems,... -
Page 3: Digital Input
Digital Input Sensor Type NPN, PNP, and Dry contact I/O Mode DI or Event Counter Dry Contact • On: short to GND • Off: open Wet Contact (DI to COM) • On: 10 to 30 VDC • Off: 0 to 3 VDC Isolation: 3K VDC or 2K Vrms Counter/Frequency:... -
Page 4: Installation
Accuracy ±0.1% FSR @ 25°C ±0.3% FSR @ -10 and 60°C ±0.5% FSR @ -40 and 75°C Sampling Rate (all 12 samples/second channels) Input Impedance 10M ohms (min.) Built-in Resistor for 120 ohms Current Input Analog Output Resolution 12 bits Output Range 0 to 10 VDC, 4 to 20 mA Voltage Output... -
Page 5: Jumper Settings
Jumper Settings Models with DIO, AI, or external power channels require configuring the jumpers inside the enclosure. Remove the screw located on the back panel and open the cover to configure the jumpers. DIO mode configurations are Analog mode configurations are shown above (Default: DO Mode). -
Page 6: Led Indicators
LED Indicators Type Color Description Power Amber System power is ON System power is OFF Ready Green System is ready Flashing Flashes every 1 sec when the “Locate” function is triggered Flashing Flashes every 0.5 sec when the firmware is being upgraded Flashing An on/off period cycle: 0.5 second shows... -
Page 7: Rtd Inputs
Relay Output (Form A) RTD Inputs TC Inputs System Configuration Configuration via Web Console Main configuration of an ioLogik E1200 is by web console. • Default IP Address: 192.168.127.254 • Subnet Mask: 255.255.255.0 NOTE Be sure to configure the host PC’s IP address to the same subnet as the ioLogik E1200. -
Page 8: Load Factory Default Settings
Load Factory Default Settings There are three ways to restore the ioLogik E1200 to factory default settings. 1. Hold the RESET button for 5 seconds. 2. In the ioSearch utility, right-click on the ioLogik device to be reset and select Reset to Default. 3.
Need help?
Do you have a question about the ioLogik E1200 Series and is the answer not in the manual?
Questions and answers