Table of Contents
Advertisement
Advertisement
Table of Contents

Related Manuals for DAITEM 144-21X


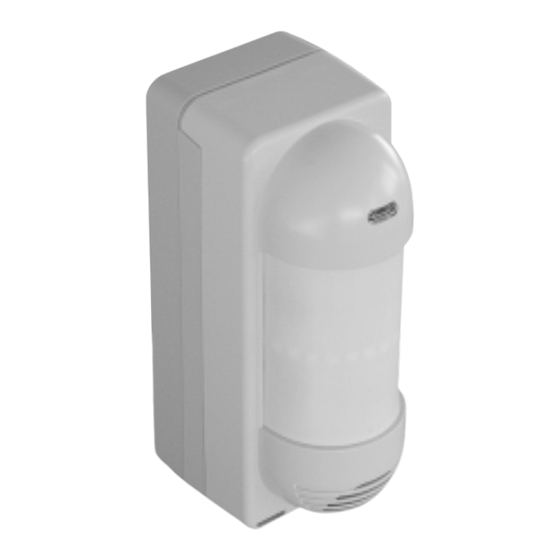
Summary of Contents for DAITEM 144-21X
- Page 1 Upgraded for e-Nova applications...
-
Page 2: Table Of Contents
The user must not attempt to access the detector’s internal parts, except areas described in this manual. If the user does access these parts, the product guarantee will be considered null and void and DAITEM shall not be held responsible for any problems. Touching the detector’s internal parts and/or electronic components can damage the product. -
Page 3: Preparation
If you are adding to an existing system, use the guarantee certificate supplied with this product. 144-21X Coller sur certif A1142A047879 144-21X Coller sur certif A1142A047879 2.2 Power supply Cover Connect the battery. -
Page 4: Programming
3. Programming IMPORTANT: the device does not need to be placed close to the control panel for recognition programming. In fact, we advise you to move the product at least 2 metres away from the control panel. This operation allows the control panel to recognise the detector. 1. -
Page 5: Configuration
4. Configuration 5. Installation precautions In factory configuration, the movement detector is configured in IMPORTANT: make sure there is a distance of at least 2 meters between Deterrence (for the reactions of the system see the control panel each product, except between two detectors. installation guide). -
Page 6: Installation
6. Installation 6.1 Testing the radio link 6.2 Wall fixing 6.3 Pole fixing 1. Before fixing the detector, place them IMPORTANT: the post must have a Ø from 43 1. To fix the back box on the wall using close to the fixing point and check the to 48 mm. -
Page 7: Configuration And Adjustments Of Detection
7. Configuration and adjustments of detection 7.1 Range of detection 7.2 Horizontal orientation The range of the lower beam determines To adjust the range of detection, slide the To adjust the area of detection, hold the range of the detector. switch to the desired position. -
Page 8: Mask A Zone
7.3 Mask a zone 7.5 Adjustment of the operational options The adjustment of the options is done by IMPORTANT: as previously indicated (see “Horizontal orientation”), the zone of detection always 3 DIP switches located inside the detector. includes 7 detection beams. If you modified the horizontal orientation angle and thus the zone of detection, check the positioning of these beams before setting up the zone mask. -
Page 9: Operating Test
8. Operating test 8.1 Detection zone test IMPORTANT • According to environmental temperature conditions, the zone of detection can vary from 1.5 to 2 m. 1. Put DIP switch 1 in the ON position. Example: If the range of detection is set in position A (12 m), 2. -
Page 10: Maintenance
• The lithium battery pack must be replaced by the same type of pack with the same technical characteristics, i.e. (3.6 V - 4 Ah). • We advise you to use the DAITEM BatLi05 pack available in the catalogue in order to guarantee individual safety and equipment reliability. -
Page 11: Technical Data
Address: F-38926 Crolles Cedex - France Product type: Special animal immune external detector Trade mark: Daitem We declare under our sole responsibility that the product to which this declaration relates is compliant with the essential requirements of the following directives: •...
Need help?
Do you have a question about the 144-21X and is the answer not in the manual?
Questions and answers