Table of Contents
Advertisement
Advertisement
Table of Contents

Related Manuals for DAITEM 145-21X


Summary of Contents for DAITEM 145-21X
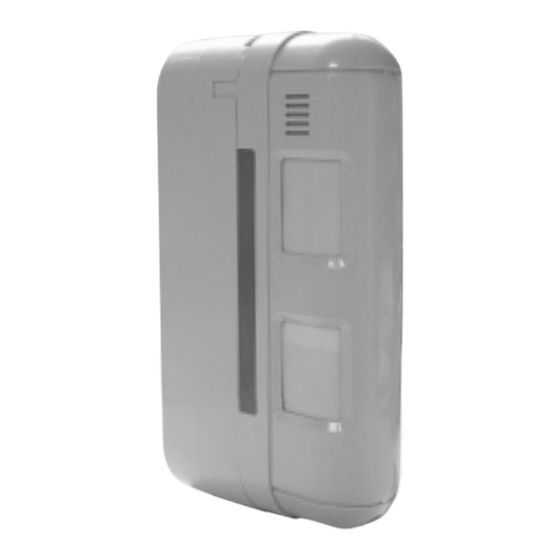
- Page 1 145-21X Outdoor motion detector 2 x 12 m INSTALLATION MANUAL...
-
Page 2: Table Of Contents
If the user does access these parts, the pr oduct guarantee will be considered null 1. Introduction ..........67 and void and DAITEM shall not be held responsible f or any problems. Touching the siren’s internal parts and/or electronic components can dam age the product. Furthermore, the siren 2. - Page 3 Back box Detector module Cover Radio box Led Indicator Top pyro sensor Switch for sensitivity options Range detection switch Bottom pyro sensor Anti-tamper Locking screw Locking screw x 2 mechanism Detection unit with radio box open Radio board Lithium battery connector Lithium battery Indicator lamp...
-
Page 4: Preparation
2 sec., • incorrect, the LED indicator lamp flashes every 5 sec. Guarantee sticker: remove the pre-cut part of the sticker and stick 145-21X Coller sur certif it to the guarantee certificate in the user manual s upplied with the A1142A047879 control panel. -
Page 5: Programming
3. Programming 2. Programme the detector as follows: IMPORTANT: during recognition programming, the product to be programmed for use with the control panel does not need “group?” “beep, detector X, group Y, immediate to be placed next to it. In fact, we recommend (or delayed you place the product at a short distance “detector X”... -
Page 6: Configuration
4. Configuration In factory configuration, the movement Sequence of Parameter n° Alarm level Parameter value detector is configured in deterrence (for the parameter setting Intrusion reactions of the system see the control panel Prealarm installation guide). It is possible to modify the Deterrence 3 (factory setting) level of alarm using the following sequence... -
Page 7: Installation Precautions
5. Installation precautions IMPORTANT: Make sure there is a distance of at least 2 meters between each product, except between two detectors. The motion detector must be placed: • so that the detection beams are parallel to • facing moving objects (branches, bushes, •... -
Page 8: Installation
6. Installation 6.1 Testing the radio link 6.2 Fixing 1. Before fixing the detector, place them 1. Drill the fixing holes using the drilling 2. To fix the back close to the fixing point and check the template provided in the packing box. box on the wall radio link with the control panel. -
Page 9: Configuration And Adjustments Of Detection
7. Configuration and adjustments of detection 7.1 Range of detection The higher beam remains always parallel on the grou nd. Being given that the beams (higher and lower) m ust be broken simultaneously to set off an alarm, the range of the detector is limited to the range of the lower beam. - Page 10 The lower beam is adjusted according to the positio n of the lens as the figures show it below. To adjust the range of detection: 1. Separate the support from 2. Adjust the detection ranges separately by sliding t he lenses 3.
-
Page 11: Horizontal Adjustment Of The Detection Angle
7.2 Horizontal adjustment of the detection angle If there is an obstacle in the way of the To adjust the detection angle: detection beams, they can be horizontally 1. Separate the support from lens and the cover (see 1.Range of detection). offset by 3°. -
Page 12: Adjustment Of The Sensitivity
7.3 Adjustment of the sensitivity 7.4 Adjustment of the operational This adjustment makes it possible to adjust The adjustment of the options is done by 3 DIP swit ches located inside the detector. the sensitivity level of the detector. For environmental conditions: Detector in TEST mode , •... -
Page 13: Operating Test
8. Operating test 9. Maintenance 8.1 Detection zone test 8.2 Real test 9.1 Fault indication 9.2 Changing the battery 1. Put DIP switch 1 in the ON 1. Switch the control panel to The control panel takes battery IMPORTANT: the detector’s position. -
Page 14: Technical Data
Operating temperature - 20°C a + 50°C characteristics, i.e. (3.6 V - 4 Ah). • We advise you to use the DAITEM BatLi05 Degrees of mechanical protection IP 55 pack available in the catalogue in order... - Page 15 Indirizzo: F-38926 Crolles Cedex - France Type de produit : Détecteur de mouvement extérieur 2 x 12 m Tipo di prodotto: Rivelatore PET immune esterno 2 lati x 12 m Marque : Daitem Modello depositato: Daitem Nous déclarons sous notre seule responsabilité que le produit auquel se réfère...
- Page 16 Adresse: F-38926 Crolles Cedex - France Dirección: F-38926 Crolles Cedex - France Gerätetyp: IR-Bewegungsmelder (Außenbereich) Tipo de producto: Detector de exterior 2 x 12 m Marke: Daitem Marca: Daitem Diese Produkte entsprechen den grundsätzlichen Anfo rderungen der folgenden Declaramos bajo nuestra responsabilidad que los pro ductos a los que se refiere esta...
- Page 17 Adres: F-38926 Crolles Cedex - France Address: F-38926 Crolles Cedex - France Soort produkt: Externe bewegingsdetector 2 x 12 m • Merk: Daitem Product type: Outdoor motion detector 2 x 12 m Wij verklaren op onze eigen verantwoordelijkheid dat het product waarop deze Trade mark: Daitem gelijkvormigheidsverklaring betrekking heeft, beantw oordt aan de fundamentele...
Need help?
Do you have a question about the 145-21X and is the answer not in the manual?
Questions and answers