Table of Contents
Advertisement
Quick Links
Installation, Operating and Servicing
Instructions
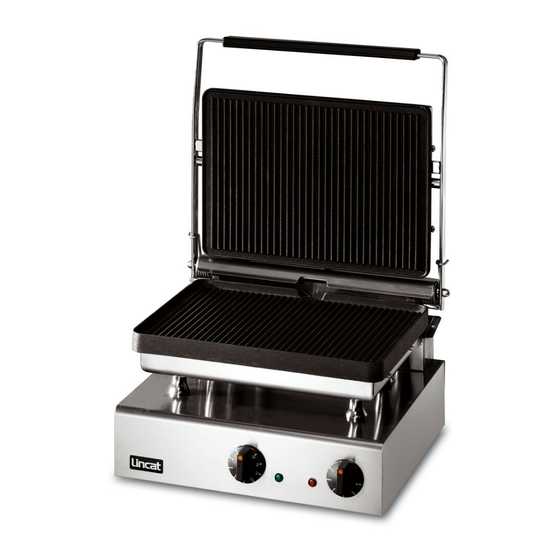
Lynx 400 Heavy-Duty Contact Grill
GG1, GG1R, GG1P
Please make a note of your product details for
future use:
Date Purchased:_________________________
Model Number:__________________________
Serial Number:__________________________
Dealer:_________________________________
_______________________________________
IS 316 ECN 3607
Page 1 of 9
Advertisement
Table of Contents

Subscribe to Our Youtube Channel
Related Manuals for Lincat Lynx 400 GG1R


Summary of Contents for Lincat Lynx 400 GG1R
- Page 1 Installation, Operating and Servicing Instructions Lynx 400 Heavy-Duty Contact Grill GG1, GG1R, GG1P Please make a note of your product details for future use: Date Purchased:_________________________ Model Number:__________________________ Serial Number:__________________________ Dealer:_________________________________ _______________________________________ IS 316 ECN 3607 Page 1 of 9...
-
Page 2: Table Of Contents
WARNING! This symbol is used whenever there is a risk of personal injury. CAUTION! This symbol is used whenever there is a risk of damaging your Lincat product. NOTE: This symbol is used to provide additional information, hints and tips. -
Page 3: Warnings And Precautions
WARNINGS AND PRECAUTIONS This appliance must be installed, commissioned and serviced by a qualified person in accordance with national and local regulations in force in the country of installation. If the supply cord is damaged, it must be replaced by the manufacturer, its service agent or similarly qualified person. - Page 4 Install this appliance on a level surface ensuring all vents are unobstructed. Install this appliance on a level surface ensuring all vents are unobstructed. Any partitions, walls or furniture must be of non-combustible material. Minimum distances A 100mm B 500mm – see Fig 1. Fig 1 Power Rating Model...
-
Page 5: Operating Instructions
OPERATING INSTRUCTIONS Only qualified or trained personnel should use this appliance. Fig 2 Connect the appliance to the electricity supply by means of the fitted plug and lead. Consult Fig 2. The green neon (C) illuminates to indicate power to the appliance. Set the desired temperature on the control knob (A). -
Page 6: Cleaning
Use the timer (D) to set an audible reminder. The timer does not control the hot plates – to switch off the appliance, turn the control knob to ‘0’ and switch off at the supply. This appliance is fitted with a safety thermostat to cut off the power in the event of a fault. -
Page 7: Servicing, Maintenance And Component Replacement
SERVICING, MAINTENANCE AND COMPONENT REPLACEMENT All servicing, maintenance and component replacement on these appliances should be carried out by one of our recommended service engineers. FAULT FINDING Please refer to the Service Helpdesk number on the final page of this manual. SPARE PARTS LIST Part Number Description... -
Page 8: Accessories
ACCESSORIES Part Number Description Used on Sandwich spacer Omelette spacer CM01 Charmarker IS 316 ECN 3607 Page 8 of 9... -
Page 9: Service Information And Guarantee
All available on serial plate Type number Serial number Lincat reserve the right to carry out any work under warranty, given reasonable access to the appliance, during normal working hours, Monday to Friday, 08:30 to 17:00. GUARANTEE This unit carries a comprehensive UK mainland 2 year warranty. The guarantee is in addition to, and does not diminish your statutory or legal rights.
Need help?
Do you have a question about the Lynx 400 GG1R and is the answer not in the manual?
Questions and answers