
Related Manuals for Altronix eBridge8E


Summary of Contents for Altronix eBridge8E
- Page 1 Ethernet over Coax Solutions Installation Guide Models Include: eBridge8E - Eight (8) Port EoC Receiver with Integral PoE+ Switch More than just power.™ Rev. 081716...
-
Page 2: Installation Instructions
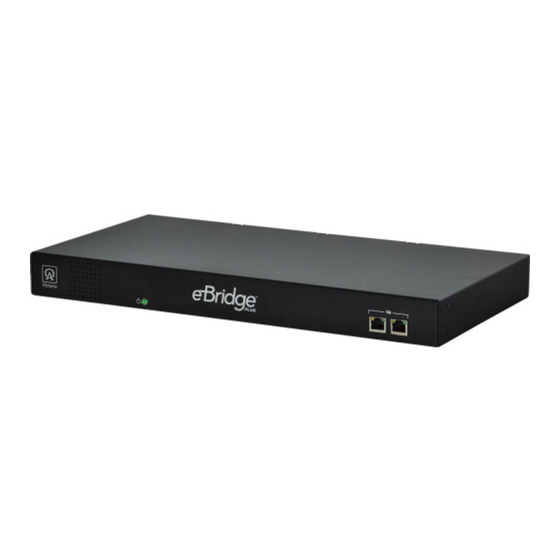
Overview: The eBridge8E is an all-in-one head-end solution for upgrading coax to IP that combines a PoE+ switch and EoC Receiver into a single integrated unit for upgrading existing coax infrastructure and deploying the latest IP devices. This 8-Port Managed EoC Receiver with Integral PoE+ switch provides 30W full power per port (240W max) at 10/100/1000Mbps. -
Page 3: Technical Specifications
2. Unit should be located in proximity to ethernet switch/network, NVR or video server. 3. Plug the grounded AC line cord (included) into the IEC 320 connector of the eBridge8E unit (Fig. 1, pg. 4). Plug unit into a reliable earth grounded socket. - Page 4 Fig. 1 Front of eBridge8E Rear of eBridge8E + BAT – AC POWER Coax - Data & PoE+ up to 500m Coax - Data & PoE+ up to 500m eBridge1PCTX eBridge1ST Stand-by Batteries PoE + Camera PoE + Camera eBridge1PCTX...
-
Page 5: User Interface And Programming
Click OK. Close all windows. Step 2. Connect a laptop or PC to any of the Ethernet ports marked [1Gb] of your eBridge8E unit. The eBridge8E unit should be powered up at this moment. Step 3. Open a browser window (it is necessary to update your browser software to the latest version so that the pages display and function correctly). - Page 6 Port Status You may now configure your eBridge8E unit for network connection. Enabled Date/Time: NETWORK SETTING MENU. Fig. 3 This menu is for configuring the EBridge8E units for a network connection. eBridge Network Settings x 192.168.168.168/networksetup.htm Management Interface Version 0.88 Status...
-
Page 7: Network Type
Note: Port 80 is the default port used for web browsing. Because of this, in order to prevent the average user from hosting a web server, most ISPs BLOCK traffic using port 80 from reaching the average site. If you only plan to monitor your eBridge8E unit on a LAN, you can use port 80 and you don’t have to concern yourself with routers. - Page 8 Management Interface Version 0.88 Status Setup Network Settings eBridge8E Setup You may now configure the eBridge8E unit settings and Change the Username and Password (located on the bottom of Setup screen). Site ID: Altronix Site ID Update Site ID Date/Time: November...
- Page 9 Rack Mount Chassis Mechanical Drawing and Dimensions: 1.625” x 19.125” x 8.5” (42mm x 486mm x 216mm) Fig. 5 19.125" 486mm 0.75" 19.05mm 17.625" 447.7mm 8.5" 216mm 1.625" + BAT – 42mm AC POWER www.altronix.com - 9 - eBridge8E...
-
Page 10: Rack Mount Installation
1- Position and affix rubber pads (C) (included) at each corner on the bottom of the unit (Fig. 7). 2- Place unit in desired location. Fig. 7 Left Side Mounting Hardware (Included): Two (2) mounting brackets Rubber Pad Six (6) flat head screws for mounting brackets. Four (4) rubber pads. www.altronix.com - 10 - eBridge8E... - Page 11 Notes: www.altronix.com - 11 - eBridge8E...
- Page 12 Notes: Altronix is not responsible for any typographical errors. 140 58th Street, Brooklyn, New York 11220 USA, 718-567-8181, fax: 718-567-9056 website: www.altronix.com, e-mail: info@altronix.com. Lifetime Warranty, Made in U.S.A. IIeBridge8E H29P MEMBER www.altronix.com - 12 - eBridge8E...
Need help?
Do you have a question about the eBridge8E and is the answer not in the manual?
Questions and answers