Table of Contents
Advertisement
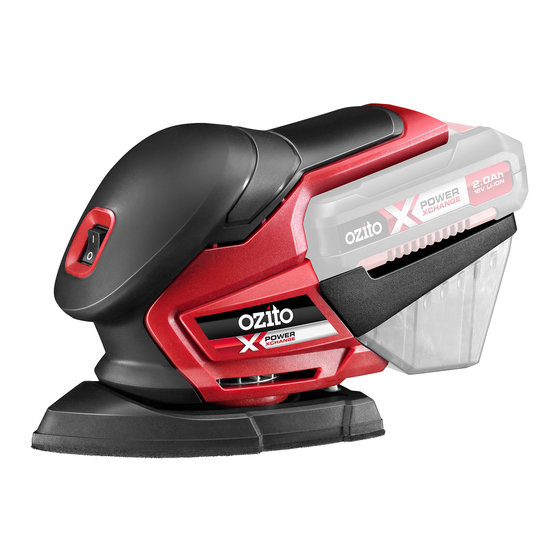
CORDLESS
DETAIL SANDER
18V Lithium Ion
INSTRUCTION MANUAL
SPECIFICATIONS
Input:
18V
No Load Speed:
12,000/min
Pad Size:
102 x 62 x 93mm
Paper Fitment:
Hook & Loop
Weight:
0.75kg
ozito.com.au
WHAT'S IN THE BOX
Detail Sander
Dust Extraction
Adaptor
Sandpaper x 6
Battery & Charger
sold separately
PXMSS-700
Advertisement
Table of Contents

Related Manuals for Ozito PXMSS-700


Summary of Contents for Ozito PXMSS-700
- Page 1 DETAIL SANDER 18V Lithium Ion Dust Extraction INSTRUCTION MANUAL Adaptor SPECIFICATIONS Input: No Load Speed: 12,000/min Pad Size: 102 x 62 x 93mm Paper Fitment: Hook & Loop Weight: 0.75kg ozito.com.au Sandpaper x 6 Battery & Charger sold separately PXMSS-700...
-
Page 2: Know Your Product
KNOW YOUR PRODUCT SETUP & PREPARATION CORDLESS DEtAIL SANDER 1. ASSEMBLY 1 Hook & Loop Pad 4 Battery Seating 2 On/Off Switch 5 Dust Container WARNING! ENSURE thE tOOL IS SWItChED OFF AND 3 Sure Grip Handle DISCONNECtED FROM thE pOWER SUppLy bEFORE pERFORMING ANy OF thE FOLLOWING tASkS. - Page 3 2. BATTERY & CHARGING (sold separately) Charging your lithium ion battery - Eco Charger CAUtION: thE ChARGER FOR thIS pRODUCt ShOULD 1 Connect the charger into a mains power outlet. bE pROtECtED by A RESIDUAL CURRENt DEvICE (RAtED At 30MA OR LESS). 2 T he charger LED will flash green showing power The purchased battery will be shipped in a low charge condition, and...
-
Page 4: Operation
OPERATION 3. FITTING & REMOVING THE BATTERY 4. CONTROLS battery Compability Switching On and Off The detail sander is designed 1 To start the sander to operate with a 1.5Ah press the on/off battery when using the dust switch into the on container, however the 3.0Ah position “I”. - Page 5 DO NOt USE FOR SANDING pLAStER AS thIS WILL vOID thE WARRANty. 3 Gradually lower the sander onto the workpiece with a slight forward movement. 4 For optimum results, use either of these strokes. backward/ Forward Side to Side PXMSS-700...
-
Page 6: Maintenance
MAINTENANCE TROUBLESHOOTING LED lights do not illuminate on charger WARNING! ALWAyS ENSURE thE tOOL hAS Check the charging adaptor is securely plugged into the wall out let. COMpLEtELy StOppED AND thE bAttERy IS REMOvED Check the battery is firmly connected to the charging cradle. pRIOR tO ANy MAINtENANCE. Check that the charging jack is securely connected to the charging cradle. -
Page 7: Spare Parts
For further information, or any parts not listed here, visit Do not place any object on top of the charger or place the charger on a soft surface www.ozito.com.au or contact Ozito Customer Service: that may result in excessive internal heat. Place the charger in a position away from any heat source. -
Page 8: Electrical Safety
Replace the extension lead if damaged or defective. Note: The supply of 230V and 240V on Ozito tools are interchangeable for Australia and New Zealand. When using an extension lead on a reel, always unwind the lead completely. Use of an extension lead not suitable for the power input of the tool or which is damaged or defective may result in a risk of fire and electric shock. -
Page 9: Warranty
• Failure to perform maintenance as set out within the instruction manual. • If the tool is disassembled or tampered with in any way. OZItO 1014 Australia/New Zealand (Head Office) 1-23 Letcon Drive, Bangholme, Victoria, Australia 3175.
Need help?
Do you have a question about the PXMSS-700 and is the answer not in the manual?
Questions and answers