GeoVision GV-BX120D Quick Start Manual
Gv-box camera
Hide thumbs
Also See for GV-BX120D:
- User manual (723 pages) ,
- Quick start manual (282 pages) ,
- Hardware manual (72 pages)
Table of Contents
Advertisement
Quick Links
Quick Start Guide
GV-BX120D / 220D / 320D
Thank you for purchasing GV-BX120D / 220D / 320D Camera. This guide is designed to
assist the new user in getting immediate results from the GV-BX120D / 220D / 320D
Camera. For advanced information on how to use the GV-BX120D / 220D / 320D Camera,
please refer to GV-IPCam H.264 User's Manual on Software CD.
© 2010 GeoVision Inc. All rights reserved.
GV-Box Camera
2010/10
English
ICH264V10-BX-QG-A-EN
1
Introduction
Welcome to the GV-Box Camera Quick Start Guide. In the following
sections, you will learn about the basic installations and configurations of the
GV-Box camera (GV-BX120D / 220D / 320D). For a detailed user's manual,
see GV-IPCam H.264 User's Manual on the GV-IPCam H.264 software CD.
Packing List
• Box Camera
• Terminal Block
• Bag of Six C Mount Lens Adapters
• DC 12V Power Adapter
• GV-IPCAM H.264 Software CD
Advertisement
Table of Contents

Related Manuals for GeoVision GV-BX120D


Summary of Contents for GeoVision GV-BX120D
-
Page 1: Packing List
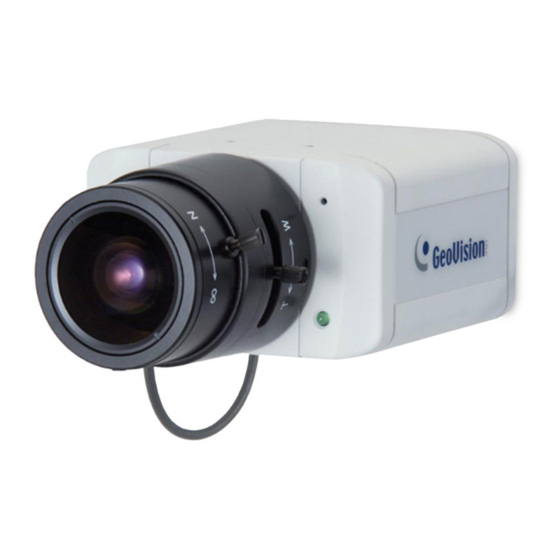
GV-Box Camera GV-BX120D / 220D / 320D Thank you for purchasing GV-BX120D / 220D / 320D Camera. This guide is designed to assist the new user in getting immediate results from the GV-BX120D / 220D / 320D Camera. For advanced information on how to use the GV-BX120D / 220D / 320D Camera, 2010/10 please refer to GV-IPCam H.264 User's Manual on Software CD. - Page 2 Overview Name Description Video Out Connects to a portable monitor for setting the focus and angle of Box Camera during initial installation. Micro SD Card Slot Inserts a micro SD/SDHC card to store recording data. Audio Out Connects a speaker for audio output. Audio In Connects a microphone for audio input.
-
Page 3: Connecting The Camera
Connecting the Camera Optional Installation The GV-BX120D / 220D / 320D camera is designed for indoor usage. Please A certain distance from the camera’s imaging chip is required to focus the make sure that the installing location is shielded from rain and moisture. -
Page 4: System Requirement
For details, see Appendix B in GV-IPCam H.264 User’s must set your browser to allow ActiveX Controls and perform a Manual on the software CD. one-time installation of GeoVision’s ActiveX component onto your computer. Assigning an IP Address Important:... -
Page 5: The Web Interface
The Web Interface Name Function Play Plays live video. Stop Stops playing video. Microphone Talks to the surveillance area from the local computer. Speaker Listens to the audio around the camera. Snapshot Takes a snapshot of live video. File Save Records live video to the local computer. -
Page 6: Upgrading System Firmware
Upgrading System Firmware GeoVision will periodically release the updated firmware on the website. The 1. In the Live View window, click the Show System Menu button, select new firmware can be simply loaded into the GV-IPCAM H.264 by using the Remote Config, and click the Firmware Upgrade tab. -
Page 7: Restoring To Default Settings
Restoring to Default Settings To restore factory default settings, follow the steps below: Using the Web Interface: 1. On the left menu of Web interface, select Management and select Directly on the Camera: Tools. The Additional Tools dialog appears. 1. Unplug the power cable and the network cable to start. 2. - Page 8 9F, No. 246, Sec. 1, Neihu Rd., Neihu District, Taipei, Taiwan Tel: +886-2-8797-8376 Fax: +886-2-8797-8335 support@geovision.com.tw http://www.geovision.com.tw...
Need help?
Do you have a question about the GV-BX120D and is the answer not in the manual?
Questions and answers