Table of Contents
Advertisement
Quick Links
Package Contents
(1)
(4)
(7)
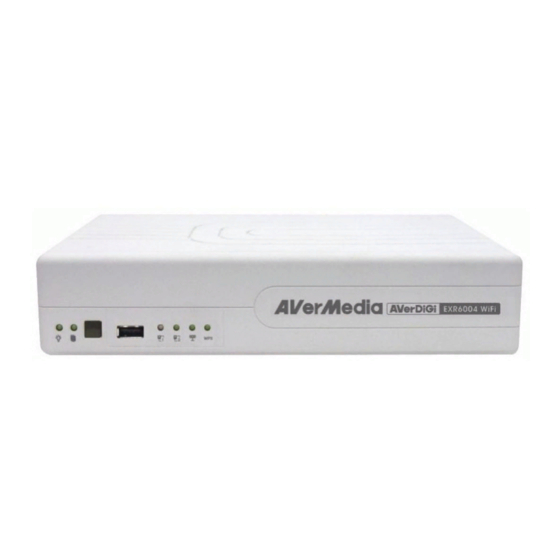
(1) AVerDiGi EXR6004 WiFi unit
(2) Quick Installation Guide
(3) Software CD (Manual is included)
(4) Power Adaptor
(1)
(5)
(1) Wireless IP camera unit
(2) Power Adapter (The power cord varies
depending on the standard power outlet of the
country where it is sold).
If there is any damage, shortage or inappropriate item in the package contents, please
i
contact with local dealer
SPECIFICATIONS ARE SUBJECT TO CHANGE WITHOUT PRIOR NOTICE
i
THE INFORMATION CONTAINED HEREIN IS TO BE CONSIDERED FOR REFERENCE
ONLY
AVerMedia
AVerDiGi EXR6004 WiFi
Quick Installation Guide
(2)
(5)
(8)
(2)
(6)
®
(3)
(6)
(5) Power Cord (*The power cord may vary 64
according to the local electricity system.)
(6) HDD holder (including 8 screws)
(7) Antenna x 2
(8) AVerMedia USB optical mouse
(3)
The unit of the Wireless IP camera (1 or 4)
i
in package may vary that depends on the
model of DVR user has purchased.
(3) Software CD (Manual is included)
(4) Antenna
(5) Camera Stand
(6) RJ-45 Ethernet Cable
1
(4)
Advertisement
Table of Contents

Summary of Contents for Avermedia AVerDiGi EXR 6004 WiFi
-
Page 1: Package Contents
(6) HDD holder (including 8 screws) (4) Power Adaptor (7) Antenna x 2 (8) AVerMedia USB optical mouse The unit of the Wireless IP camera (1 or 4) in package may vary that depends on the model of DVR user has purchased. -
Page 2: Hardware Installation
Hardware Installation Install the hard disk The DVR unit may include hard disk that depends on the model user has purchased. If the model user has purchased is included hard disk, use doesn’t need to install the hard disk by yourself. - Page 3 Device Connection The back panel of the DVR unit, user can connect the 4 sensor devices, 1 alarm device, audio input/output device and an external HDD storage device. Through the Gigabit LAN ports can connect with the IP cameras and allows user to remote access the DVR server. The USB ports can connect the mouse and keyboard for more easily to operate DVR server.
- Page 4 For the First Time Using the DVR Unit STEP 1: To Connect with the IP Camera 1. Please make sure the DVR unit and IP camera are in communication area. 2. Press and hold the WPS button of the DVR unit. To release button until hear the beep sound. The Wireless indicator that is located at front panel of the DVR unit will light up.
- Page 5 STEP 2: To Format the Hard Disk The hard disk must be formatted before can be used to record the video. 1. Click Setup and enter the password. 2. Click System. Click Switch to Advance Setup if the setup mode is in Basic Setup mode. 3.
-
Page 6: Familiarizing The Buttons In Preview Mode
Familiarizing the Buttons in Preview Mode Name Function (1) Logout Reboot: To restart the DVR system. Power Off: To shutdown the DVR system. Login: To login DVR system with different user account. Cancel: Close the logout dialog box. (2) Split Screen Mode Select from 2 different split screen types to view all the camera, or one camera on a single screen. - Page 7 Name Function (14) Full screen View in full screen. To return, press the right button of the mouse or ESC on the keyboard or click the arrow icon. When you switch to full screen in multiple-screen mode, Left click to toggle to only display one of the video in the multiple-screen mode or all.
-
Page 8: Familiarizing The Buttons In Playback Mode
Familiarizing the Buttons in Playback Mode To switch in Playback mode, click Playback button at the lower right corner of Preview mode user interface. Name Function Select from 2 different split screen type to playback the recorded video file (1) Split Screen of all the camera or one camera on a single screen. - Page 9 Name Function (5) Date Select the date on the calendar and the time from 00 to 23 to where to start playing the recorded video file. The numbers from 00 to 23 represent the time in 24-hour clock. The numbers from 01 to 04 represent the camera ID.
- Page 10 Name Function Mark a reference point when reviewing the recorded video file to which you (14) Bookmark may return for later reference. Click Bookmark button In the Bookmark dialog box, you may do the following: Add to create the new reference mark in the bookmark list. Edit to change the mark description.


Need help?
Do you have a question about the AVerDiGi EXR 6004 WiFi and is the answer not in the manual?
Questions and answers