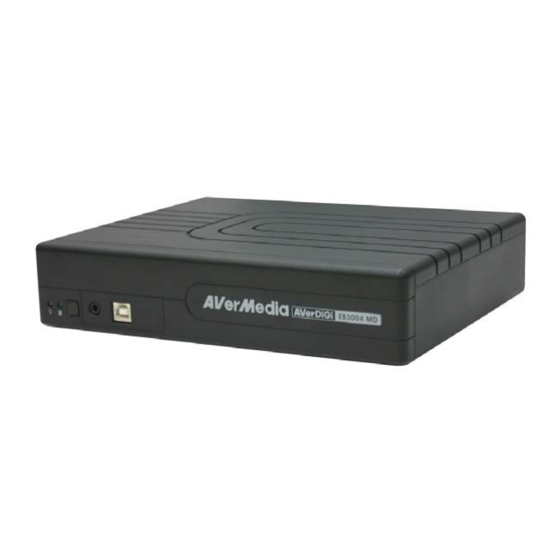
Summary of Contents for Avermedia AVERDIGI EB3004 MD
- Page 1 EB3004 MD – Firmware Update Procedure 1. Download and extract the .ZIP file containing the latest firmware to a local folder on your PC 2. Connect the RS232 cable to your PC’s desired COM port Page 1/6...
- Page 2 EB3004 MD – Firmware Update Procedure 3. Connect the 3 lines of the RS232 cable to the DVR unit as shown in the picture below RED – TX GREEN – RX BLACK - G 4. Power off the DVR unit by removing its power cord Page 2/6...
- Page 3 EB3004 MD – Firmware Update Procedure 5. Start the update program “C2B2_ISP.EXE” – the following window will appear – select the COM-port from the dropdown list 6. Click the button “Identify” 7. Power on the DVR unit by plugging in the power cord Page 3/6...
- Page 4 EB3004 MD – Firmware Update Procedure (The DVR will show the following screen and switch to FW upgrade mode) 8. Click the button “Read File” and select the new firmware file Page 4/6...
- Page 5 EB3004 MD – Firmware Update Procedure 9. Click the button “Program” to initiate the update process During the update process, the DVR will display the following screen – do not turn off your DVR, or interrupt the connection 10. After the update procedure is completed the following windows will appear on your PC and DVR Page 5/6...
- Page 6 EB3004 MD – Firmware Update Procedure 11. The DVR will reboot automatically and display the newly installed firmware version in the boot up self test 12. The FW update procedure has been completed 13. You may remove all the cables connected previously Page 6/6...


Need help?
Do you have a question about the AVERDIGI EB3004 MD and is the answer not in the manual?
Questions and answers