Table of Contents
Advertisement
Quick Links
Download this manual
See also:
User Manual
Advertisement
Table of Contents

Related Manuals for Avermedia AVerDiGi EH5116 Pro


Summary of Contents for Avermedia AVerDiGi EH5116 Pro
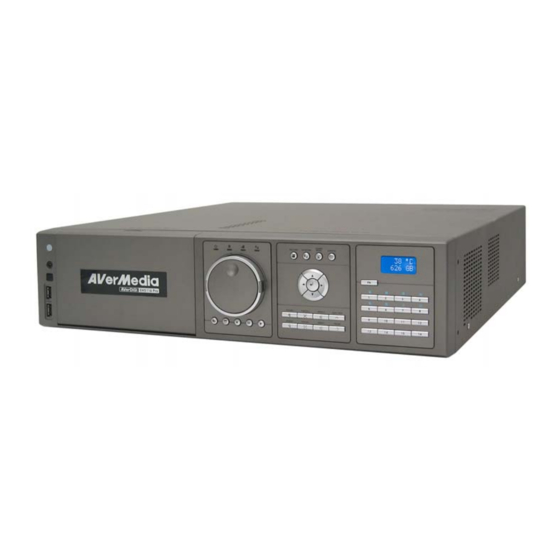
- Page 1 ® AVerMedia AverDiGi EH5116 PRO Quick Installation Guide...
- Page 3 CONSIDERED FOR REFERENCE ONLY WARNING TO REDUCE RISK OF FIRE OR ELECTRIC SHOCK. DO NOT EXPOSE THIS APPLIANCE TO RAIN OR MOISTURE WARRANTY VOID FOR ANY UNAUTHORIZED PRODUCT MODIFICATION Copyright © 2008 AVerMedia INFORMATION, Inc All rights reserved Reproduction without permission is prohibited...
-
Page 5: Package Contents
Package Contents If there is any damage, shortage or inappropriate item in the package contents, please contact with local dealer (1) EH5116 PRO unit (5) Audio cable (16CH audio out, 1CH (2) Remote Control (Batteries are audio in, 1CH microphone in) included) (6) Software CD (Manual is included) (3) Quick Installation Guide... -
Page 6: Hardware Installation
Follow the steps to install the hard disk: For hard disk spec, please referring to → Embedded Hybrid http://www.avermedia.com/AVerDiGi/Product/ DVR/NVR → AVerDiGi EH5116 → Hardware Recommendations Follow the illustrated instructions below to install the hard disk: Unlock the removable hard disk... - Page 7 Carefully insert the hard disk in Turn the removable hard disk the removable rack drawer over and screw hard disk with screws And then, close the removable Slide the drawer back hard disk drawer cover Lock the removable hard disk 10.
- Page 8 B. After the hard disk installation, please connect the cables and power as the illustration showed DVR unit can connect 16 cameras in analog and IP cameras combo. – DVR unit doesn’t supply the power to connected external device. – Each time you change the video display output, the power must be –...
-
Page 9: Using Dvr System
Using DVR System A、 Way to Operate DVR There are three ways can be managed the DVR unit: 1. Using mouse and keyboard Connecting the mouse and keyboard through USB interface, user can easily to management the DVR unit. For the first time using DVR unit, mouse and keyboard is the best way to set up all DVR relevant configurations. - Page 10 After login, the main GUI as following shown: 5. The hard disk must be formatted before user can use it with DVR unit. Following the below steps to format the hard disk. Click Setup and enter the password Click System → Add Select the hard disk from device list and select Format type Click Format button to start formatting When formatting is done, click OK.
- Page 11 To connect IP camera: Click Setup and enter the password Click Camera Select camera channel and type of camera – IP Camera And then, enable the camera Click IP Setting Enable Protocol, and then, select protocol, mode, video format, resolution, and channel of IP camera. Enter IP address or URL of IP camera.
-
Page 12: Familiarizing The Buttons In Preview Mode
Familiarizing the Buttons in Preview Mode (16) (15) (14) (13) (12) (11) (10) Name Function (1) Exit Reboot: To restart the DVR system. It is required to enter the password Power Off: To shout down the DVR system. It is required to enter the password Login: Using different ID to login to DVR system. - Page 13 Name Function Display the current date, time, hard disk free space, and system (10) Status bar temperature. Show the number of cameras that are being viewed. When you are in (11) Camera ID single screen mode, click the camera ID number to switch and view other camera.
-
Page 14: Familiarizing The Buttons In Playback Mode
Familiarizing the Buttons in Playback Mode To switch in Playback mode, click Playback button at the lower right corner of Preview mode user interface. (16) (15) (14) (13) (12) (11) (10) (4)(5) Name Function (1) Split Screen Select from 6 different split screen type to playback the recorded video Mode file of all the camera, or one camera over the other or alongside on a single screen. - Page 15 Name Function Next: Go to the next frame. (4) Playback End: Go to the end of the recorded video file. Control Buttons (5) Date Select the date on the calendar and the time from 00 to 23 to where to start playing the recorded video file.
- Page 16 Name Function View in full screen. To return, press the right button of the mouse or ESC (12) Full screen on the keyboard or click the arrow icon. Click to exit from full screen mode When you switch to full screen in multiple-screen mode, Left click to toggle to only display one of the video in the multiple-screen mode or all.
Need help?
Do you have a question about the AVerDiGi EH5116 Pro and is the answer not in the manual?
Questions and answers