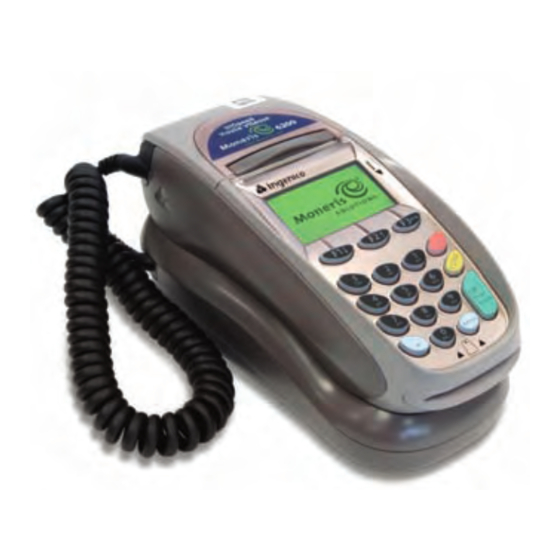
Moneris hispeed 6200 Installation Manual
Hide thumbs
Also See for hispeed 6200:
- Operating manual (250 pages) ,
- User manual (28 pages) ,
- Quick reference manual (9 pages)
Table of Contents
Advertisement
Quick Links
Moneris HiSpeed 6200
Merchant Self Installation Guide
IMPORTANT – If this is your first POS device with Moneris Solutions, in the package with
your POS device you should have received your Moneris Visa Merchant Agreement /
Moneris MasterCard Merchant Agreement / Moneris Debit Card and Terminal Agreement
(Moneris Agreements English 80016 (07/05). If you did not receive this document, please do
not proceed with this installation. Please contact us at 1-866-319-7450, Select option 1 for
English and Option 4 for Technical support. Once you have obtained a copy of this
document please proceed with your install.
If you have an existing POS device with Moneris Solutions, this document is not required to
proceed with your installation.
© Copyright Moneris Solutions, 2008.
All rights reserved. No part of this publication may be reproduced, stored in retrieval system, or transmitted, in any form or
by any means, electronic, mechanical, photocopying, recording, or otherwise, without the prior written permission of
Moneris Solutions.
Advertisement
Table of Contents

Related Manuals for Moneris hispeed 6200


Summary of Contents for Moneris hispeed 6200
- Page 1 Moneris HiSpeed 6200 Merchant Self Installation Guide IMPORTANT – If this is your first POS device with Moneris Solutions, in the package with your POS device you should have received your Moneris Visa Merchant Agreement / Moneris MasterCard Merchant Agreement / Moneris Debit Card and Terminal Agreement (Moneris Agreements English 80016 (07/05).
- Page 2 Plug Ethernet cable into yellow bar on back of terminal base (see Picture#1.) Plug other end of cable into router/switch/hub/internal wiring – whatever is applicable to your specific location (please refer to Moneris IP readiness checklist if necessary) Picture #1...
- Page 3 Helpful Hints F1 is to say yes to any questions and to scroll down. F3 is to say no and to scroll up. You always need to press OK or enter for it to accept any prompts and to move on to next step. If you ordered a VIVOPay 5000 Contactless Reader please refer to the Contactless Reader Quick Reference Guide for set up instructions.
- Page 4 The terminal will now ask for your MERCHANT ID NUMBER which is your existing merchant number with Moneris Solutions. It is a 13 digit number. NOTE - You can confirm your existing merchant number by printing an ADMIN 16 report on your existing terminal.
- Page 5 Press blue admin button twice, enter admin code 01, press OK. The terminal will now ask for your MERCHANT ID NUMBER which is your existing merchant number with Moneris Solutions. It is a 13 digit number. Key in the 13 digit merchant id and press OK NOTE - You can confirm your existing merchant number by printing an ADMIN 16 report on your existing terminal.
- Page 6 When finished, the screen should indicate “PURCHASE ENTER AMOUNT”. This will always be your main screen when the terminal is ready to be used. Your device is ready to process transactions! Further Instructions Printer Options The printer is set up for the second receipt to come out in 10 seconds of the first. To change this setting: Press admin button twice, enter admin code 14 &...
- Page 7 If you are set to System Close Moneris automatically settles your transactions for you at the end of each day and the following end of day reporting applies to you:...
Need help?
Do you have a question about the hispeed 6200 and is the answer not in the manual?
Questions and answers