Schlage SENSE Installation Instructions Manual
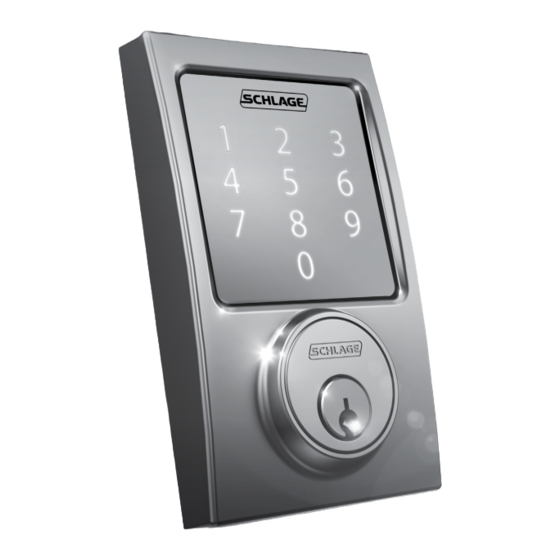
Smart deadbolt
Hide thumbs
Also See for SENSE:
- User manual ,
- Manual (9 pages) ,
- Installation instructions manual (48 pages)

Related Manuals for Schlage SENSE


Summary of Contents for Schlage SENSE
- Page 1 SCHLAGE SENSE™ Smart Deadbolt Installation Instructions Download the Schlage Sense app to get started!
-
Page 2: Installation Instructions
Schlage Sense ™ Installation Instructions Package Contents Camelot Style shown throughout guide. Support Plate Battery Cover Backup Key Alarm Touchscreen Assembly Assembly Strike Bolt Reinforcement Plate Set Screw Bolt/Strike Screws (4) Support Plate Screws (2) Alarm Assembly Screw Reinforcement Screws (2) Need Help? U.S.A.: 888-805-9837... -
Page 3: Table Of Contents
Let’s get started! Once you have all your tools together, please follow each step carefully and in order. Because this is an electronic lock, the order of steps is very important. If you skip a step, you may have to perform a factory default reset and start over. You will definitely need this tool: You may also need these tools: •... -
Page 4: Check Current Door/Frame Alignment
Download the app. Download the Schlage Sense app from the App Store. Just search for “Schlage Sense” to find the app. Apple HomeKit™ technology provides an easy, secure way to control your home’s lights, doors, thermostats, and more from your iPhone�, iPad�, or iPod touch�. -
Page 5: Check Door/Frame Dimensions
Ingersoll Rand (NYSE:IR) advances the quality of life by creating and Ingersoll Rand (NYSE:IR) advances the quality of life by creating and and our family of brands—including Club Car®, Ingersoll Rand®, Schlage®, Thermo King® and Trane® —work together to enhance... -
Page 6: Install Bolt And Strike
Install bolt and strike. Adjust bolt length, if necessary. • If the backset (see step 5 on page 5) of your door was 2C\,” (60 mm), you do not need to do anything. Proceed to step step 7b. • If the backset (see step 5 on page 5) of your door was 2C\v” (70 mm), you need to adjust your bolt. -
Page 7: Install The Bolt Into The Door
Install the bolt into the door. Choose the picture below that matches your door. Figure B: No Mortise FIgure A: Mortise Make sure the word TOP faces up when installing the bolt. Actual Size (2) Use a block of wood and a hammer (not included) to tap the bolt into place. -
Page 8: Test Bolt Alignment
4. If the operation was not smooth, or if the bolt did not fully extend, adjust your frame and/or door preparation. Go to answers.schlage.com and watch the video Proper Alignment of Door and Frame for a Smoothly Operating Lock for further instructions. -
Page 9: Install The Support Plate On The Inside Of The Door
8b Install the Support Plate on the inside of the door. » Make sure the Touchscreen and Support Plate are straight on the door before tightening the screws. Tighten screws fully to prevent the lock from moving over time. Hold the Touchscreen on the outside of the door while you tighten the screws. -
Page 10: Connect The Cable To The Alarm Assembly
9b Connect the cable to the Alarm Assembly. » Locate the screws in step 9d before beginning this step so they will be handy when you need them. The connector fits only one way. Match the dot on the connector with the dot on the circuit board. -
Page 11: Secure The Alarm Assembly To The Support Plate
9d Secure the Alarm Assembly to the Support Plate. Install the lower screw first. Actual Size Actual Size 8-32 x .187 UP 8-32 x 1Z\,” FHMS NOTE Please do not rotate the thumbturn at this time. It may not rotate easily. -
Page 12: Install The Battery Cover
DO NOT install screw! Set up the Lock. 1. Open the door if it is not already open. 2. Press the Outside Schlage Button. 3. Enter one of the Default Access codes into the lock (see label shown in step 6 on page 5). -
Page 13: Extend The Bolt (Lock) Using The Touchscreen
11). If that does not help, make sure the cable is connected to the Alarm Assembly and is not crimped (see step 9b on page 10). 2. If the lock had power but you need to adjust your door/frame, please go online to answers.schlage.com for complete adjustment instructions and videos. - Page 14 Spacer Removal (Option for small crossbores only) ONLY if your door has less than a 2Z\,” (54 mm) crossbore, remove the spacer as shown. Less than 2Z\," (54 mm) Crossbore 1. Remove screw. 2. Rotate and remove 3. Replace screw. spacer.
-
Page 15: Continue To The User's Guide
Apple, iPhone, iPad, iPad Air, and iPod touch are trademarks of Apple Inc., registered in the U.S. and other countries. HomeKit is a trademark of Apple Inc. Need Help? For technical documents and videos, U.S.A.: 888-805-9837 visit schlage.com or download the Canada: 800-997-4734 Schlage Sense app. Mexico: 018005067866 15 15... - Page 16 Sans frais : 800-997-4734 answers.schlage.com Si tiene dudas acerca de cualquier parte de la instalación o programación, no devuelva su Schlage Sense a la tienda. Nuestros representantes del Departamento de Servicio de Asistencia al Cliente de Schlage están listos para ayudarlo.
Need help?
Do you have a question about the SENSE and is the answer not in the manual?
Questions and answers