
Related Manuals for Schlage S-7800


Summary of Contents for Schlage S-7800
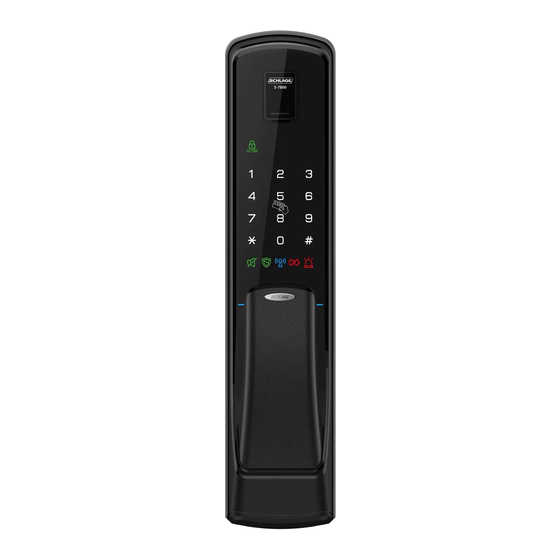
- Page 1 S-7800 DIGITAL PUSH-PULL DOOR LOCK WITH FINGERPRINT READER USER MANUAL Notice Please read this manual before installation and operation...
- Page 2 Safety Precautions Safety precautions Do not disassemble or alter the lock. Disassembling the door lock may damage the product. Damage to the product caused by unauthorised persons may void the warranty. Please keep the product away from water or any liquids. If the product is exposed to water or liquids, please wipe the moisture off with a soft cloth.
-
Page 3: Table Of Contents
Contents Ⅰ. Before using Product features ............... 04 Product composition and components ........06 Overview ..................08 Description shortcut icons ............10 How to replace batteries ............10 How to apply external power in an emergency ....... 10 How to use mechanical override key ......... 10 How to use random security coding function ...... -
Page 4: Ⅰ. Before Using
Ⅰ. Before using Product features Convenient push pull handle conversion Direction of lever may be adjusted according to door opening direction. Smart auto safety handle Operation of the handle is restricted to provide higher security level. Non-handed The product can be installed in a left or right handed configuration. Automatic/manual locking modes Either automatic or manual locking modes can be selected. - Page 5 Ⅰ. Before using Prevent trespass and hacking After multiple incorrect attempted entries an alarm will sound and all the functions of the lock will be suspended for three minutes. The alarm activates after three incorrect PIN/card entries and five incorrect fingerprint entries.
-
Page 6: Product Composition And Components
Ⅰ. Before using Product composition and components PATCH CARD Screws Remote key Part # RP-10 (Optional) Communication pack Part # RXP-10 (Optional) - Page 7 Ⅰ. Before using Name Product specification Notes Front assembly 88mm(W) X 396mm(H) X 40mm(D) Including rubber pad Back assembly 83.7mm(W) X 373mm(H) X 38.7mm(D) Back cover 88mm(W) X 381mm(H) X 8.7mm(D) Including rubber pad Mortice lock 105.4mm(W) X 240mm(H) X 24mm(D) Strike 24mm(W) X 240mm(H) X 4.5mm(D) Card key...
-
Page 8: Overview
Ⅰ. Before using Overview 1. Front assembly Fingerprint sensor Status indicator Touch the registered Indicates operation status fingerprint on sensor, and then and checking battery open the door Lock/unlock lamp Indicates lock/unlock status Card key touch plate Touch the registered card Touch type key to open the door. - Page 9 Ⅰ. Before using 2. Back Assembly Battery cover Push up to open the battery cover [ N ] button [Option] button Registration/deletion of code, card, fingerprint in normal mode To register or delete optional RF communication module [ S ] button Auto/Manual mode switch Registration/deletion of code, A : Auto mode...
-
Page 10: Description Shortcut Icons
Ⅰ. Before using Shortcut icons : [N] button : [S] button : [Option] button : Press [ ] : Press [#] : Touch the front pad : PIN code : Card key : Fingerprint : User code : Manager code : Registration code : Trespass alarm : Unlock... -
Page 11: Ⅱ. Basic Functions
Ⅱ. Basic function How to unlock/to lock from outside How to unlock from outside PIN code Card key How to unlock from outdoor (mute function) PIN code Card key How to lock from outside Auto-locking mode Manual- locking mode How to set auto-locking/manual-locking Auto-locking auto-locking mode, door will be locked automatically after closing. -
Page 12: How To Set Double-Locking Function
Ⅱ. Basic function How to set double locking function Set-up Cancel Press [double lock] button for 3 second Press [manual-locking] button Safety handle function The safety handle function may be set up from both outside and inside, and is automatically cancelled when the registered PIN code or card is validated from the outside. -
Page 13: Ⅲ. Normal Mode
Ⅲ. Normal Mode & Safety Mode How to change normal mode/safety mode • Normal mode: ideal for new users or low security environments • Safety mode: higher security level via use of a manager PIN code. Provides individual register and delete function PIN code: 10 entries (6-12 digits) | Card key: 20 entries | Fingerprint: 100 entries : [N] Button : [S] Button... -
Page 14: How To Register/Delete Pin Codes In Safety Mode
Ⅲ. Normal Mode & Safety Mode Safety mode PIN code: 10 entries (6-12 digits) | Card key: 20 entries | Fingerprint: 100 entries : [N] Button : [S] Button : User code : Manager code : Registration code : Card key Safety mode PIN code Card... -
Page 15: How To Control Voice Guide Volume
Ⅳ. Applications Additional functions How to control voice guide volume Min. volume Mid. volume Max. volume Guest PIN code (temporary use) REG. How to control operation volume Vol. Vol. down Status checking guide Voice guide Check battery capacity Voice guide Safety handle function Set up Warning function against hacking... -
Page 16: How To Install Communication Pack
Ⅳ. Applications optional Communication pack /remote key 1. How to install the communication pack Communication pack Portable remote key Battery [lock] button [unlock] button • One round battery (CR1620) is supplied • To replace battery open the back cover with screwdriver Installing 1. - Page 17 MEMO...
- Page 20 Allegion (Southeast Asia) Pte. Ltd Allegion (Australia) Pty Ltd Allegion (New Zealand) Limited Phone +65 6488 2562 Phone 1800 098 094 Phone 0800 477 869 www.allegion.com www.allegion.com.au www.allegion.co.nz S-7800 USER MANUAL 04/18...
Need help?
Do you have a question about the S-7800 and is the answer not in the manual?
Questions and answers