Table of Contents
Advertisement
Quick Links
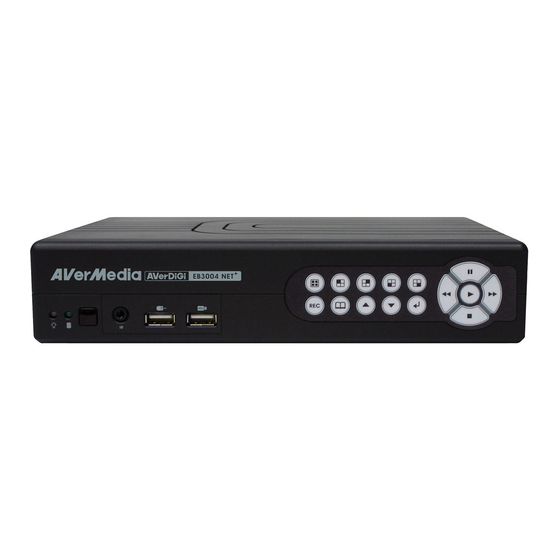
AVerDiGi EB3004 NET/EB3004 NET
Package Contents
(1)
a
(3)
(7)
(1) DVR unit
a. EB3004 NET
(2) Remote Control (Batteries are included)
(3) Quick Installation Guide
(4) Power Adaptor
WARNING
TO REDUCE RISK OF FIRE OR ELECTRIC SHOCK. DO NOT EXPOSE THIS
APPLIANCE TO RAIN OR MOISTURE
WARRANTY VOID FOR ANY UNAUTHORIZED PRODUCT MODIFICATION
AVerMedia INFORMATION Inc. © 2009
AVerMedia
Quick Installation Guide
(4)
i
If there is any damage, shortage or inappropriate item in the package
contents, please contact with local dealer
b. EB3004 NET
®
b
(5)
(5) Power Cord (*
+
to the local electricity system
(6) Software CD (Manual is included)
(7) HDD holder (including 8 screws)
1
+
(2)
(6)
The power cord may vary according
.)
P/N: 300AC2SB3-DCD
Nov.2009
Advertisement
Table of Contents

Related Manuals for Avermedia VerDiGi EB3004 NET


Summary of Contents for Avermedia VerDiGi EB3004 NET
-
Page 1: Package Contents
(7) HDD holder (including 8 screws) (4) Power Adaptor WARNING TO REDUCE RISK OF FIRE OR ELECTRIC SHOCK. DO NOT EXPOSE THIS APPLIANCE TO RAIN OR MOISTURE WARRANTY VOID FOR ANY UNAUTHORIZED PRODUCT MODIFICATION P/N: 300AC2SB3-DCD AVerMedia INFORMATION Inc. © 2009 Nov.2009... -
Page 2: Hardware Installation
Hardware Installation A. Install the hard disk Follow the steps to install the hard disk: Loosen all screws Push the cover backward and lift Secure the brackets on the hard disk Connect the end of the SATA cable and the power connector to the hard disk Push the cover forward and secure the cover Secure the hard disk inside the unit then... - Page 3 B. Connecting Devices Each time you change the video display output or video system (NTSC/PAL), the power must be turned off and on to reset the DVR unit.
- Page 4 First Time to Use the DVR System Make sure all devices and power cables are well connected. Turn on the DVR unit by connecting the power cable into the power plug. User should see the SYSTEM INITIALIZE windows appear on the surveillance screen. The system will do hard disk detection automatically.
-
Page 5: Network Setup
Network Setup Configuring network parameter for internet connection and remote accessing. NETWORK SETUP IP MODE STATIC VIDEO PORT 0080 UPGRADE PORT 5005 STREAM SETUP to go up and down to make a selection buttons to go left and right Press and select NETWORK Select IP MODE. - Page 6 Playback the Recorded File Press (play). Use the buttons to go up and down and select TIME SEARCH, FILE LIST, or SMART MOTION SEARCH. And then, press to make a selection. SEARCH METHOD TIME SEARCH FILE LIST SMART MOTION SEARCH TIME SEARCH (search by date and time): In TIME SEARCH window, the START TIME and END TIME show the date and time from when the recording begins and ends.
- Page 7 FILE LIST (search by condition): In FILE LIST window, press and use buttons to set the date and time for searching. And then, select the EXECUTION to start searching. The searching result will be list out. Using buttons to go up and down and press to make a selection.
- Page 8 SMART MOTION SEARCH (search by motion event): In SMART MOTION SEARCH window, the START TIME and END TIME show the date and time from when the recording begins and ends. SMART MOTION SEARCH START TIME: 2009 / 11 / 01 11:36:21 TIME: 2009 / 11 / 02 11:36:21 SEARCH START TIME : 2009 / 11 / 01 11:36:21...
Need help?
Do you have a question about the VerDiGi EB3004 NET and is the answer not in the manual?
Questions and answers