Table of Contents
Advertisement
Quick Links
Digital Parking Assistance Camera
Caméra numérique d'assistance au parking
Installation Manual
Manuel d'installation
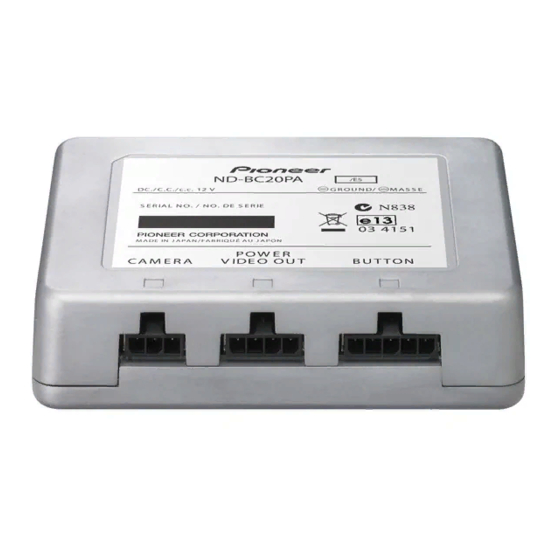
ND-BC20PA
PIONEER CORPORATION
4-1, MEGURO 1-CHOME, MEGURO-KU, TOKYO 153-8654, JAPAN
PIONEER ELECTRONICS (USA) INC.
P.O. Box 1540, Long Beach, California 90801-1540, U.S.A.
TEL: (800) 421-1404
PIONEER EUROPE NV
Haven 1087, Keetberglaan 1, B-9120 Melsele, Belgium
TEL: (0) 3/570.05.11
PIONEER ELECTRONICS ASIACENTRE PTE. LTD.
253 Alexandra Road, #04-01, Singapore 159936
TEL: 65-6472-7555
PIONEER ELECTRONICS AUSTRALIA PTY. LTD.
178-184 Boundary Road, Braeside, Victoria 3195, Australia
TEL: (03) 9586-6300
PIONEER ELECTRONICS OF CANADA, INC.
300 Allstate Parkway, Markham, Ontario L3R 0P2, Canada
TEL: 1-877-283-5901
PIONEER ELECTRONICS DE MEXICO, S.A. de C.V.
Blvd. Manuel Avila Camacho 138 10 piso
Col. Lomas de Chapultepec, Mexico, D.F. 11000
TEL: 55-9178-4270
Published by Pioneer Corporation.
Copyright © 2007 by Pioneer Corporation.
All rights reserved.
Publié par Pioneer Corporation.
Copyright © 2007 par Pioneer Corporation.
Tous droits réservés.
Printed in Japan
Imprimé au Japon
<KKNNX> <07D00000>
<CZR5092-A> E
�� Rear view camera × 1
�� RCA power supply cable × 1
�� Image processing
unit power supply × 1
�� Button unit × 1
�� Hexagon wrench × 1
�� Velcro tape
�� Velcro tape
(soft type) × 1
(hard type) × 1
�� Metal clamp × 5
�� Plastic clamp × 10
�� Waterproof pad × 1
�� Double-sided tape (rectangular) × 1
�� Double-sided tape (square) × 1
�� Camera stand bracket �� × 1
③ Install on the center part
① Glass surface
② Make sure it doesn't touch the wiper
��
��
Fig. 2
Fig. 3-1
Fig. 3-2
Fig. 3-3
Fig. 3-4
Abb. 2
Abb. 3-1
Abb. 3-2
Abb. 3-3
Abb. 3-4
② Rear view
Fig. 4
Abb. 4
④ Installation
Fig. 5
Abb. 5
① Turn
② Twist
③ Camera stand
Fig. 7
Abb. 7
② When sticking to the center
Fig. 1
Abb. 1
③ When attaching using camera stand bracket ��
① Camera
(attaching while rotating by 90°)
stand
Fig. 9
Abb. 9
① Top
camera
③ Bottom
⑤ Camera stand
Fig. 11
screw
Fig. 6
Abb. 11
Abb. 6
① Top
③ Mark
② Bottom
① Angle of view
Fig. 8
Horizontal: 135°
Abb. 8
② Angle of view
Vertical: 100°
Fig. 10
Abb. 10
③ Bumper or rear edge of car
Fig. 13
Abb. 13
① Image processing unit
power supply
Fig. 12-1
Abb. 12-1
② Velcro tape
(hard type)
Fig. 12-2
③ Velcro tape
(soft type)
Abb. 12-2
Fig. 14
Abb. 14
① Double-sided tape (square)
② Button unit
Fig. 12-3
③ Metal
Abb. 12-3
clamp
Fig. 12-4
Fig. 15
Abb. 12-4
Abb. 15
Advertisement
Table of Contents

Related Manuals for Pioneer ND-BC20PA


Summary of Contents for Pioneer ND-BC20PA
- Page 1 300 Allstate Parkway, Markham, Ontario L3R 0P2, Canada ③ Metal Abb. 12-3 Abb. 1 TEL: 1-877-283-5901 clamp PIONEER ELECTRONICS DE MEXICO, S.A. de C.V. Blvd. Manuel Avila Camacho 138 10 piso Col. Lomas de Chapultepec, Mexico, D.F. 11000 �� TEL: 55-9178-4270 Published by Pioneer Corporation.
- Page 2 Installation <ENGLISH> Instalación <ESPANÕL> Parts supplied Piezas suministradas 4. Attach the camera stand and rear • Install so that it does not obstruct the rear field of 4. Attach the camera stand removed in 3. Fije la cámara de vista posterior a la •...
- Page 3 Instalación <ESPANÕL> Einbau <DEUTSCH> • Encuentre la posición que desea instalar la cámara 3. Alinee el soporte de la cámara con la 7. Instale la fuente de energía de la Mitgelieferte Teile 2. Befestigen Sie die • Falls dieses Gerät im Beifahrerraum montiert wird, 1.
- Page 4 Einbau <DEUTSCH> Installation <FRANÇAIS> Pièces fournies Installation en utilisant l’applique du sup- 6. Stellen Sie den Winkel so ein, dass 8. Bringen Sie die die Tasteneinheit an • Si vous installez l’appareil dans l’habitacle, veillez à 2. Retirez la caméra de recul de son 6.
- Page 5 Installazione <ITALIANO> Installazione della videocamera di visione Il disegno delle parti fornite e le figure da 1 a • Se l’apparecchio viene installato sotto uno dei sedili 3. Allineate il supporto della • La posizione e l’angolo dell’immagine trasmessa anteriori, verificare che la posizione non blocchi il 15 sono mostrati sul lato opposto.
- Page 6 ① Image processing unit power supply Connection <ENGLISH> ③ RCA power supply ⑩ Button unit ⑨ Button unit cable connector connector Note: Accessory power supply ② Rear view camera ② Waterproof pad • This unit is for vehicles with a 12-volt battery and To electric terminal controlled by ignition connector negative grounding.
- Page 7 Conexión <ESPAÑOL> Anschluss <DEUSTCH> Muestra de conexión (Fig. 16) Nota: Anschlussbeispiel (Abb. 16) Tras la instalación del cable (Fig. 19, Fig. 20) Hinweis: Nach der Kabelverlegung (Abb. 19, Abb. 20) • Esta unidad es para vehículos con una batería de 12 •...
- Page 8 Connexion <FRANÇAIS> Collegamento <ITALIANO> Esempio di collegamento (Fig. 16) Exemple de connexion (Fig. 16) Nota: Remarque: Après l’installation du câble (Fig. 19, Fig. 20) Successivamente all’installazione • Questo apparecchio è destinato ad autovetture con • Cet appareil est conçu pour les véhicules alimentés par une del cavo (Fig.
Need help?
Do you have a question about the ND-BC20PA and is the answer not in the manual?
Questions and answers