
Related Manuals for KT&C KPC-N635NH10


Summary of Contents for KT&C KPC-N635NH10
- Page 1 KPC-N635NH10 IR Dual Voltage Varifocal IP66 Bullet Camera User Guide / Installation / Operation Instructions www.ktncusa.com...
-
Page 2: Operation Instructions
Operation Instructions Please read this manual first for correct installation and operation. This manual should be retained for future reference. The information in this manual was current when published. The manufacturer reserves the right to revise and improve its products. All specifications are therefore subject to change without notice. -
Page 3: Federal Communication Commission Interference Statement
Federal Communication Commission Interference Statement This equipment has been tested and found to comply with the limits for a Class A digital device, pursuant to Part 15 of the FCC Rules. These limits are designed to provide reasonable protection against harmful interference in a residential installation. This equipment generates, uses and can radiate radio frequency energy and, if not installed and used in accordance with the instructions, may cause harmful interference to radio communications. -
Page 4: Table Of Contents
Table of Contents Chapter 1 Product Overview Features Accessory Parts List Specifications Dimensions Camera Component Description Chapter 2 Installation Wiring and Mounting Adjust Camera Position... -
Page 5: Product Overview
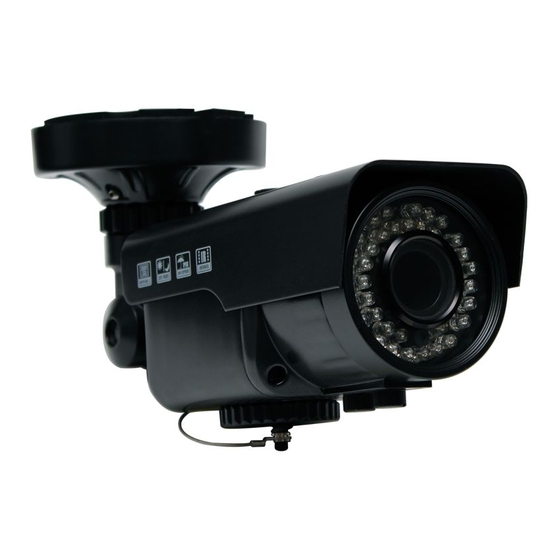
The KT&C KPC-N635NH10 uses 42 IR LEDs with adjustable level control to produce 600TVL day/night images in low or no light out to a range of 120 feet or more. The KPC-N635NH10 offers flexible positioning for wall or ceiling mounting in an IP66 weather resistant, vandal resistant bullet housing with operation down to -4°F;... -
Page 6: Accessory Parts List
1.2 Accessory Parts List Please be careful when you unpack the box and the electronic device inside. Check and make sure that you have all the items listed below inside the original box: • Camera Unit x 1 • Rapid Mount Ring x 1 •... -
Page 7: Specifications
1.3 Specifications Imaging Device 1/3" High Sensitivity CCD Video Format NTSC Effective Picture Elements 768(H) x 494(V) Horizontal Resolution More than 600TVL Sensitivity 0 lux with IR on .01 lux native from sensor IR LEDs 42 LEDs with output at 850nm and adjustable level IR Range to 120 feet (depending on scene IR reflectivity) IR Switch Points... -
Page 8: Dimensions
1.4 Dimensions Camera Body... -
Page 9: Camera Component Description
1.5 Camera Component Description Speedy-mount Ring Speedy-mount Ring Grasp and twist to remove the cover. Test point and IR level controls are inside the cover 1) IR Level Control: adjust IR level to control excessive illumination 2) Video Test : for aim and focus access to video at the camera, use the Video Test Cable supplied to a hand held test monitor (EN220 or similar). -
Page 10: Installation
Chapter 2 2 INSTALLATION This chapter will describe, in general terms, how to install the KPC-N635NH10 camera. STEPS: 1. Wire and mount the camera. See 2.1 2. Adjust the camera position. See 2.2 Warning To prevent electrical shock, turn off the electrical power before making electrical connections. - Page 11 Video & Power cables Power Socket Connect the power and video cables. Attach the camera to the rapid-mount ring, securing it with the 4 socket head cap screws provided. Power and Video connection:...
-
Page 12: Adjust Camera Position
2.2 Adjust Camera Position Adjust the viewing angle to the desired direction. With this unique 3-axis positioning system, installers ca from virtually any angle, without compromising. The camera can be adjusted in 3 ways. 1st axis Use a hexagon key to loosen this screw 2nd axis to rotate the camera 360°... - Page 13 3rd axis Loosen lock ring and set screw to rotate camera 360° Sunshield To remove or install the sunshield, use flat blade screw driver to loosen the screw at sunshield. Secure with this screw Note: When properly installed, the rear of the sunshield is even with the rear of the camer the sunshield to ‘shade’...
Need help?
Do you have a question about the KPC-N635NH10 and is the answer not in the manual?
Questions and answers